


A multimeter
Trim Removal tools
Wire Strippers
Cable Crimper
Tint safe window cleaner
Cigarette socket
Add a Circuit
A blade fuse
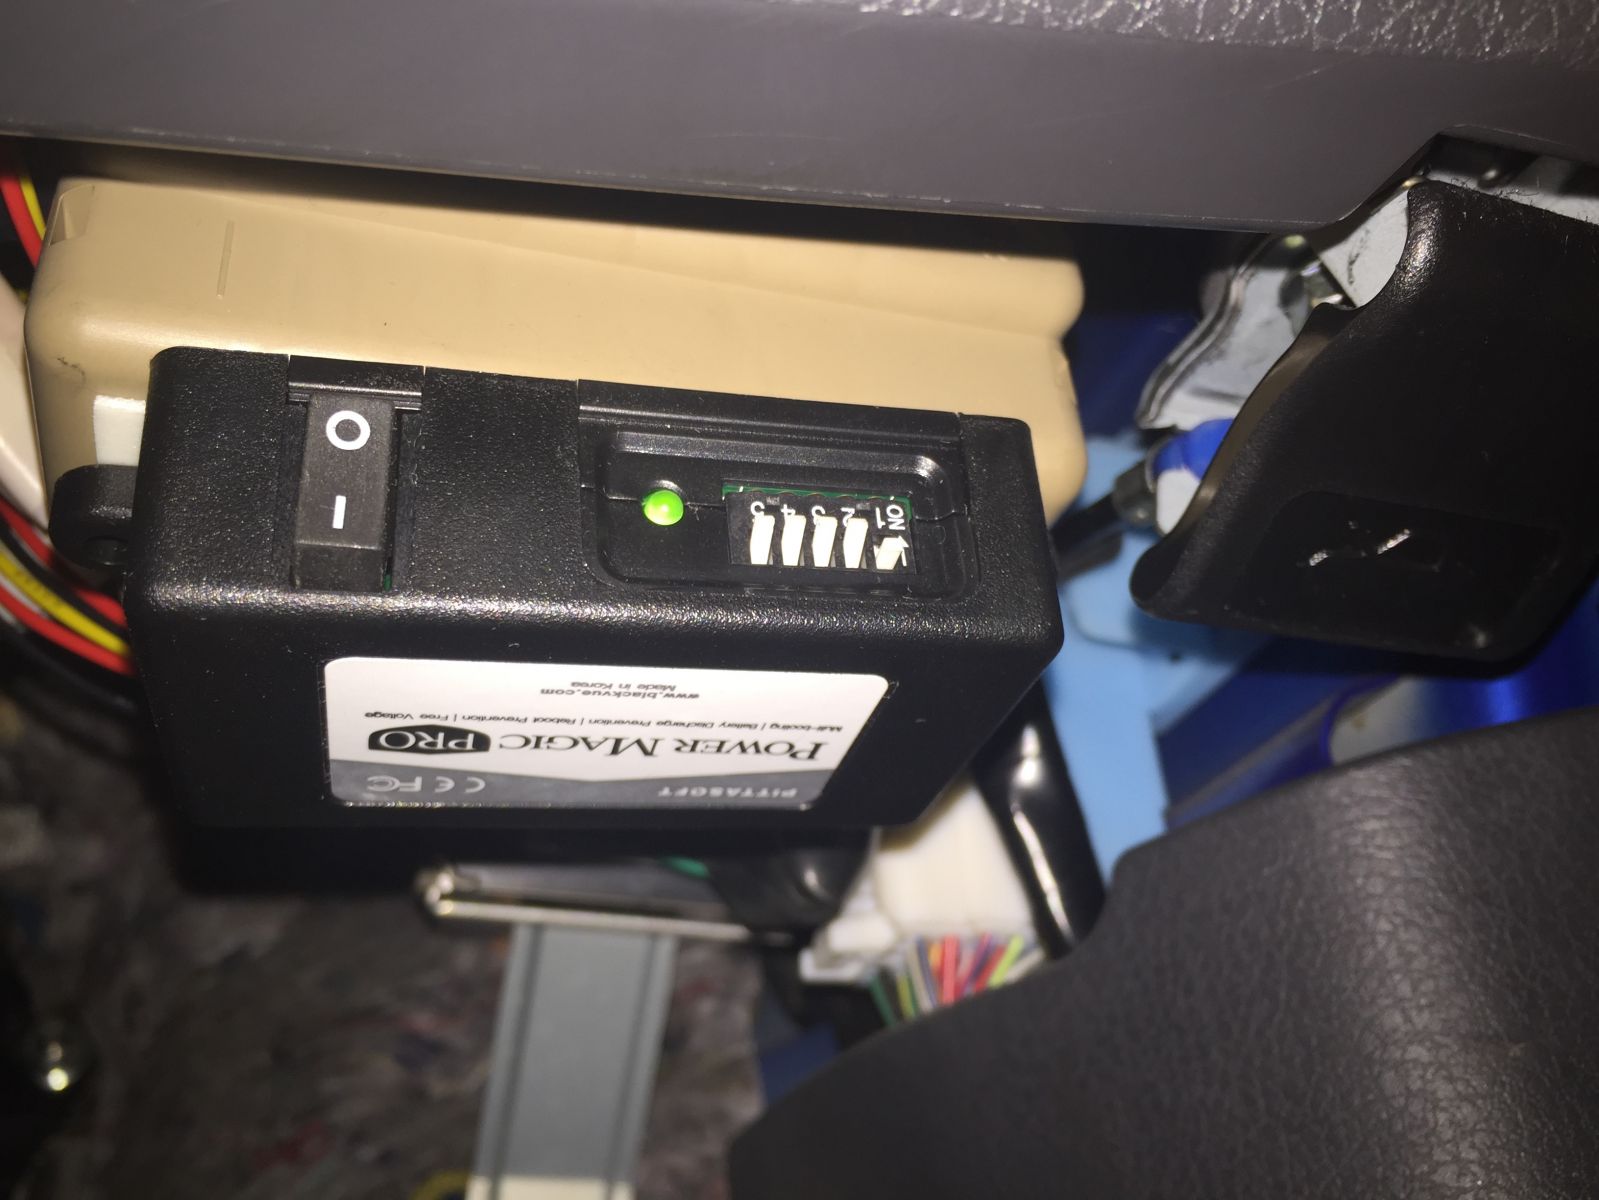
I have a blackvue DR650GW-2CH, but this guide can be used for any dual channel dashcam system
1: Start by plugging in the dashcam and updating the firmware

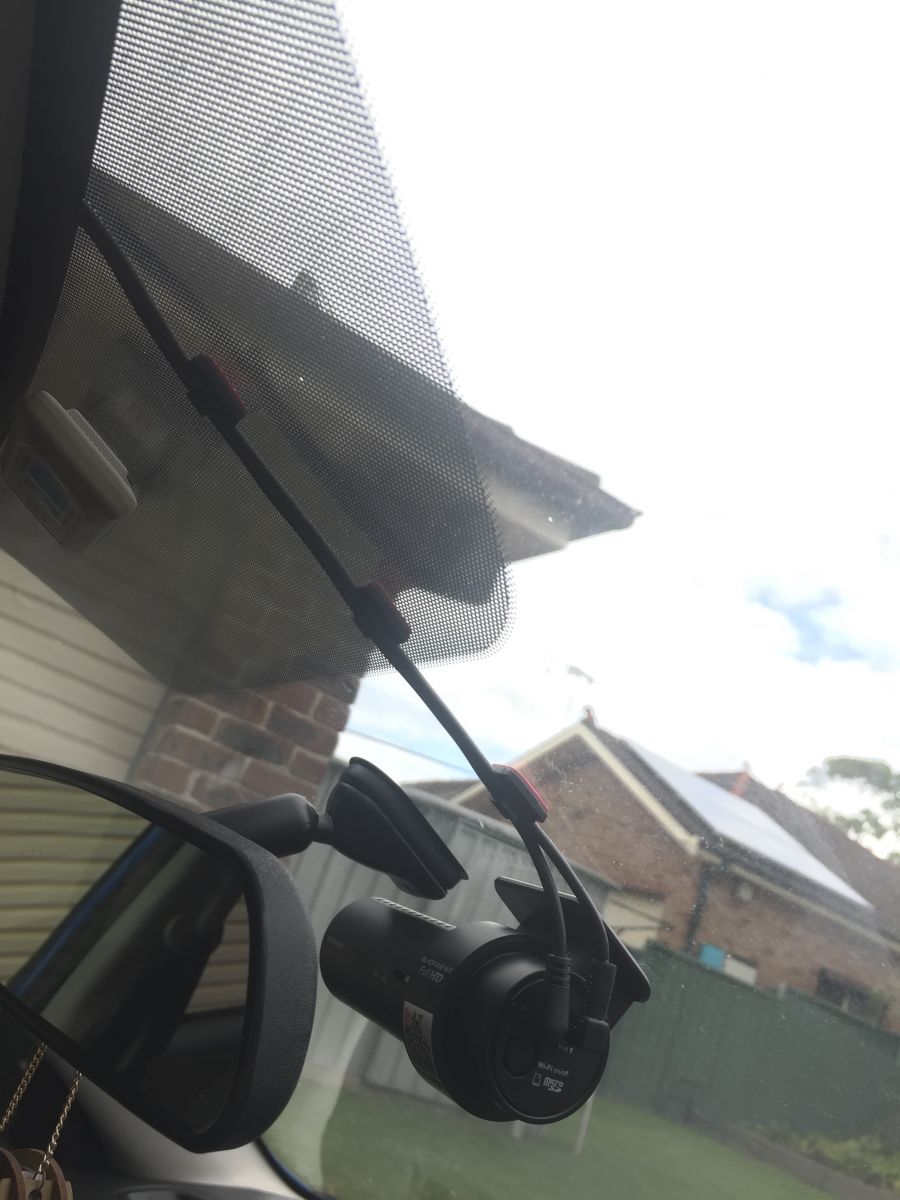
2: Apply the double sided tape to the dashcams window mount without removing the backing

3:Using the dashcam mobile app or LCD find the best position that is still in the path of the wipers to insure a clear picture in all weather
4: once you are satisfied with the position, Clean the area using a tint safe window cleaner, then remove the backing tape and surcure the dashcam

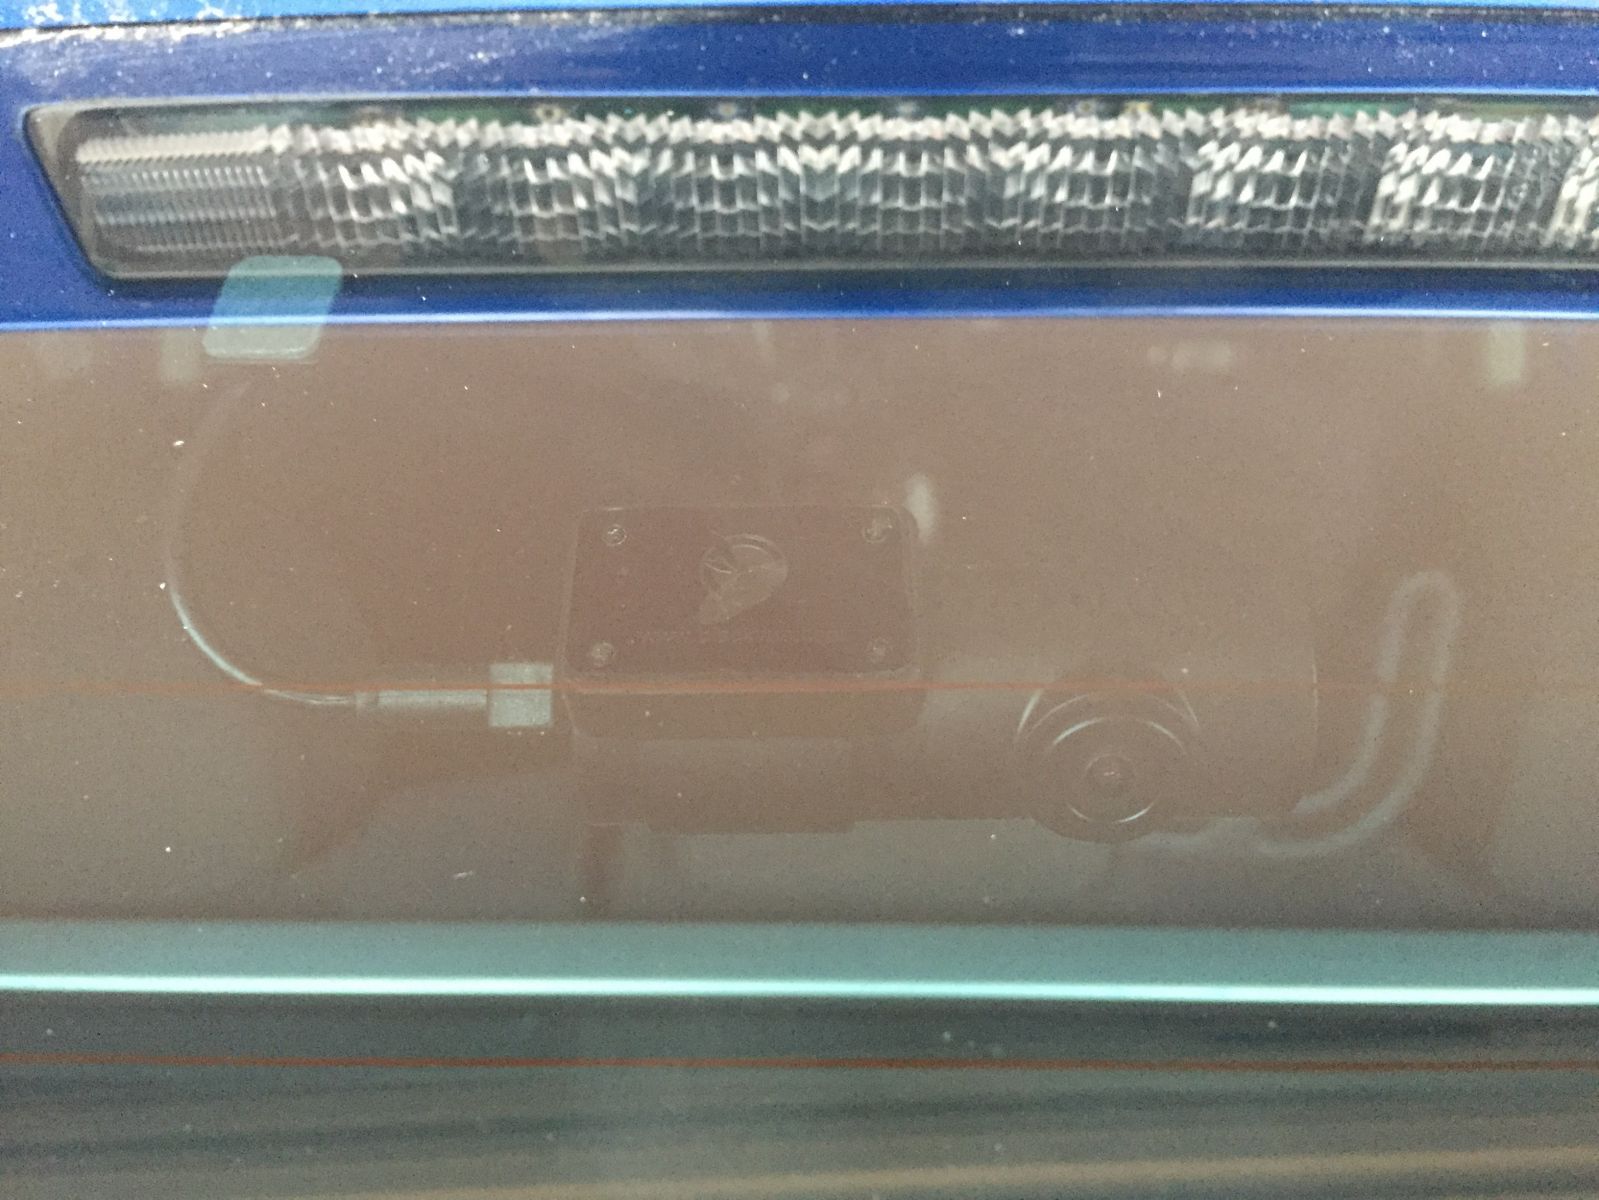
5: Now connect the rear dashcam using the coaxial cable or USB cable and find the best position for the rear dashcam using the app or LCD screen on the front dashcam


6: Disconnect the cable from the rear dashcam and bring it to the center of the car
Place a cable clip above the front dashcam unit and secure the cable

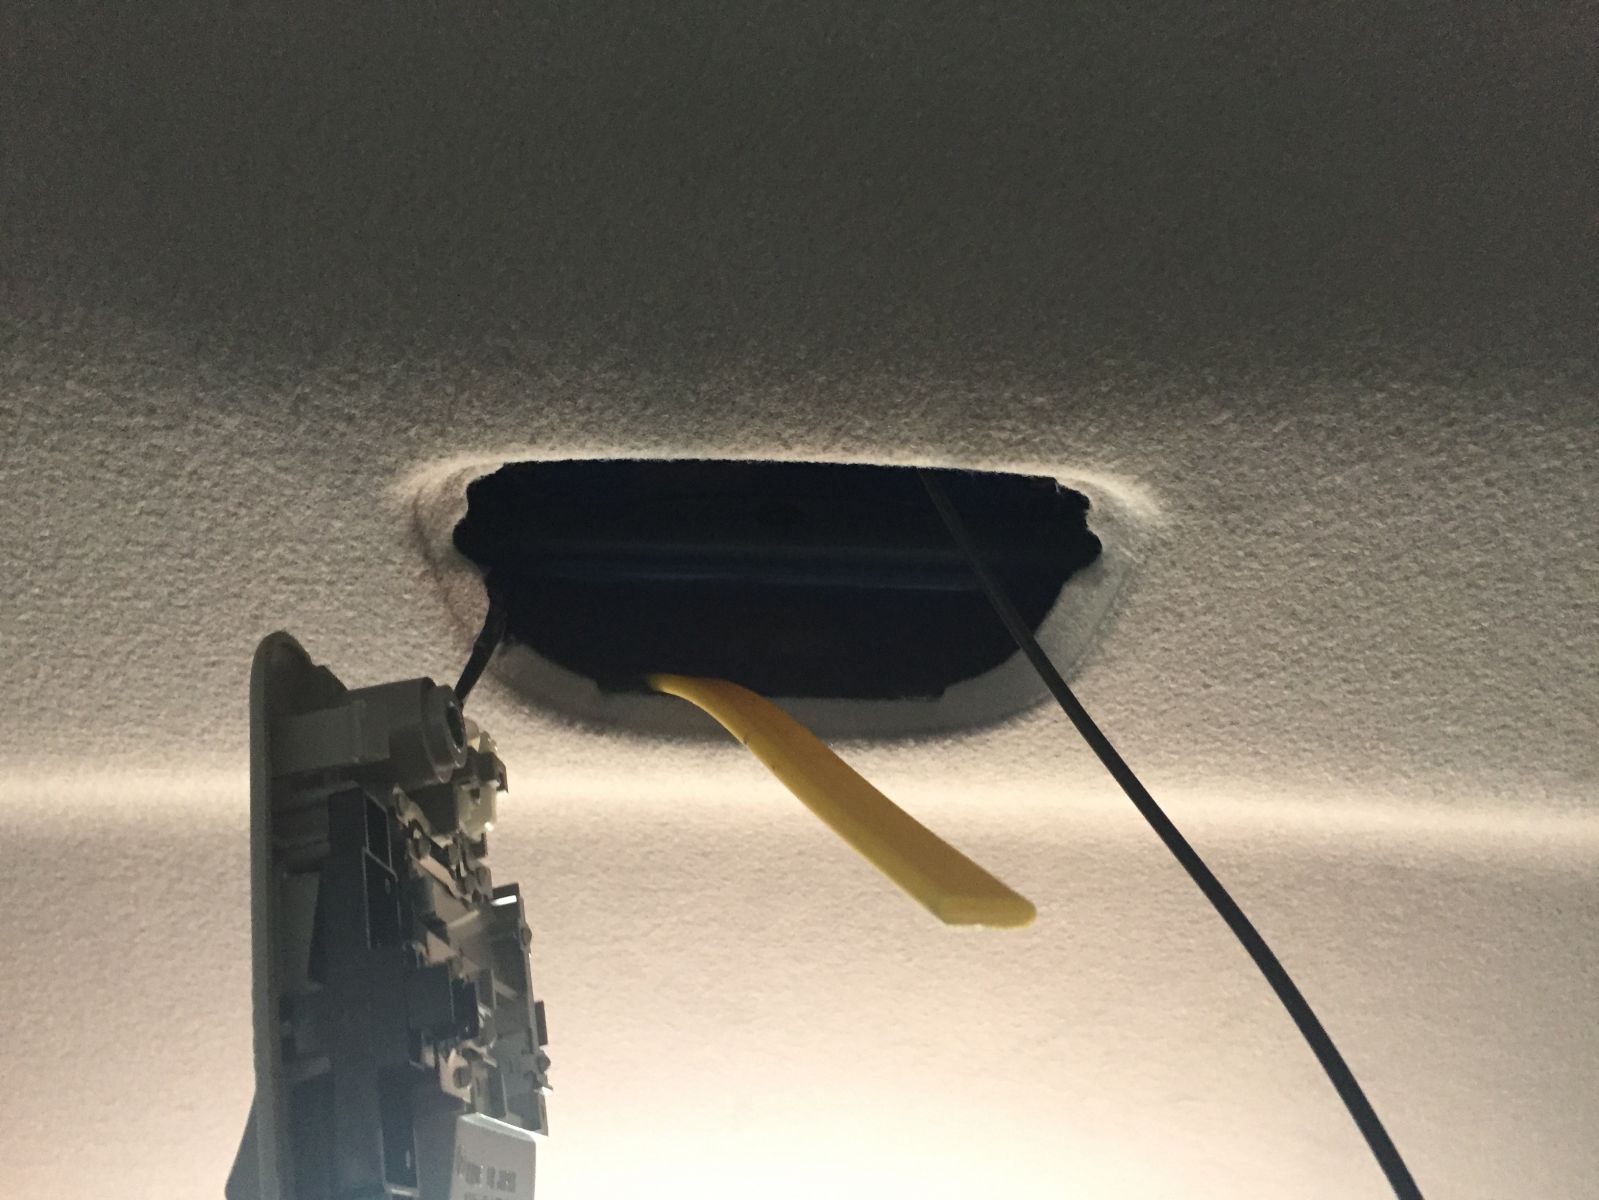
7: Guide the cable along to one side of the car(I placed the cable in the headliner)
When it comes to the A pillar take caution if your car has airbags in the A pillar
I just placed the cable under the A pillar

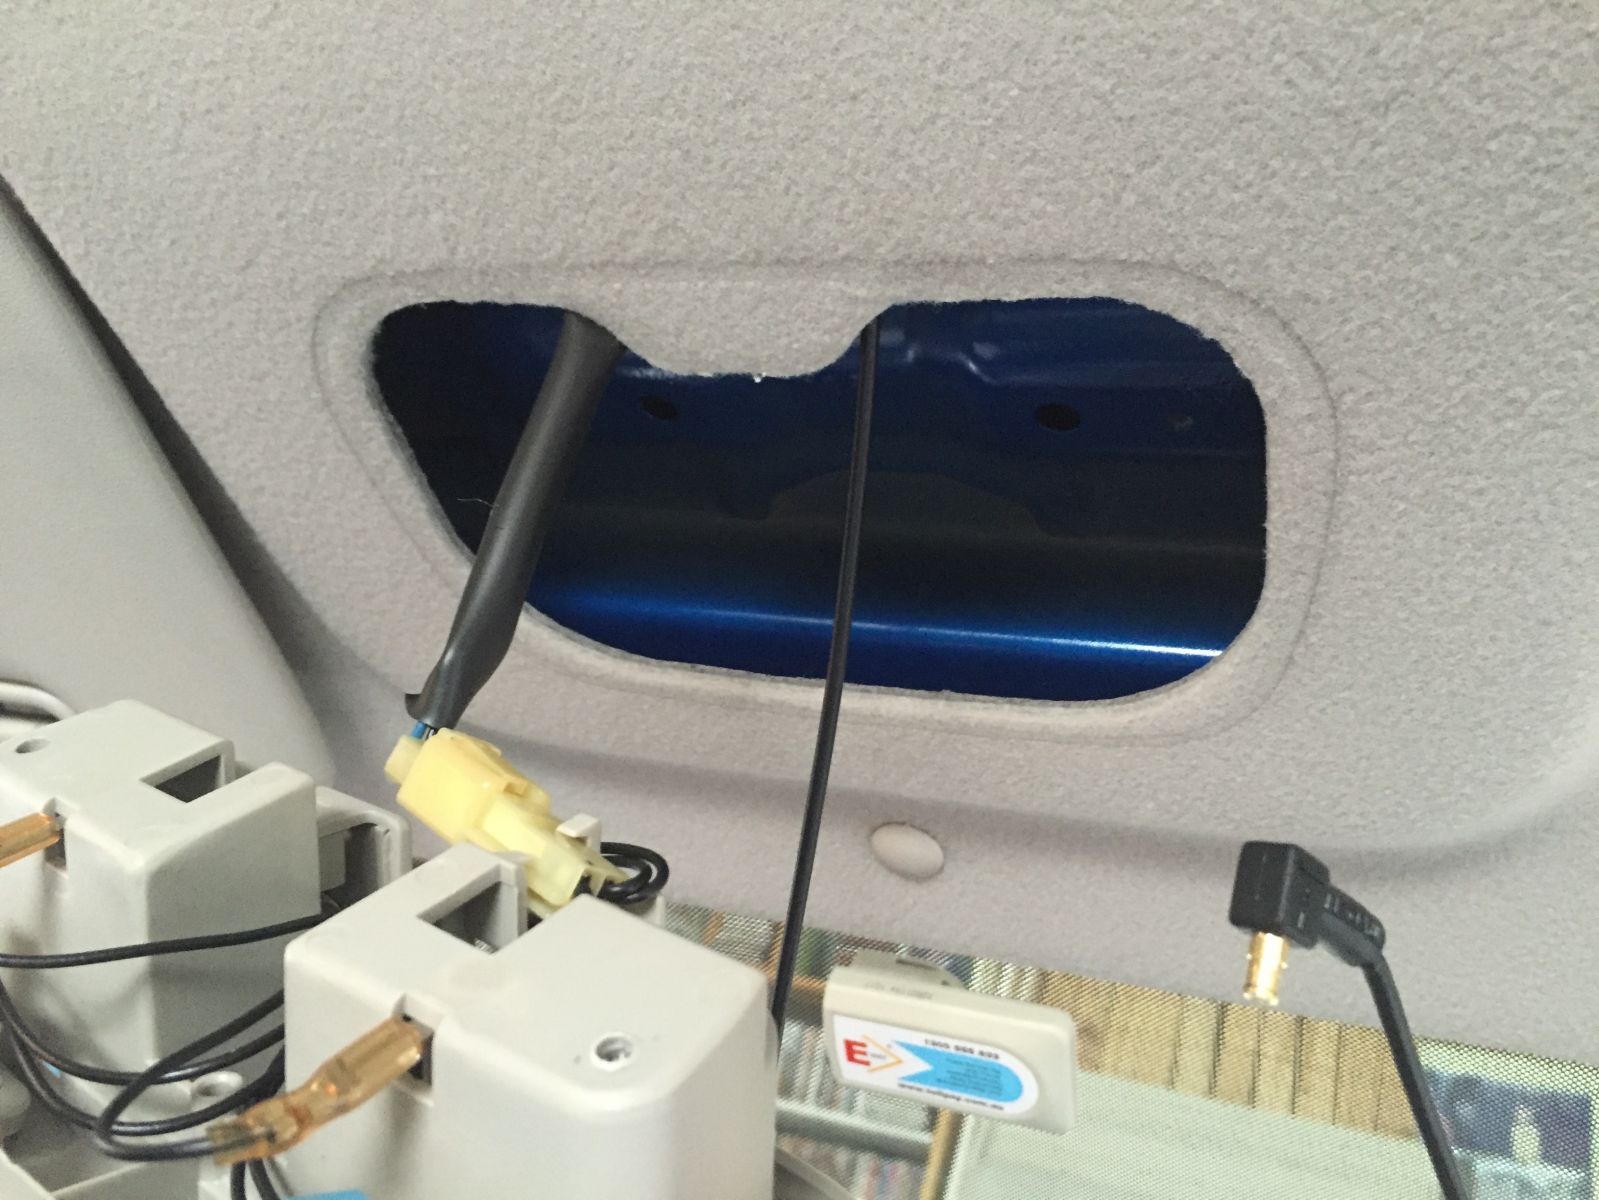
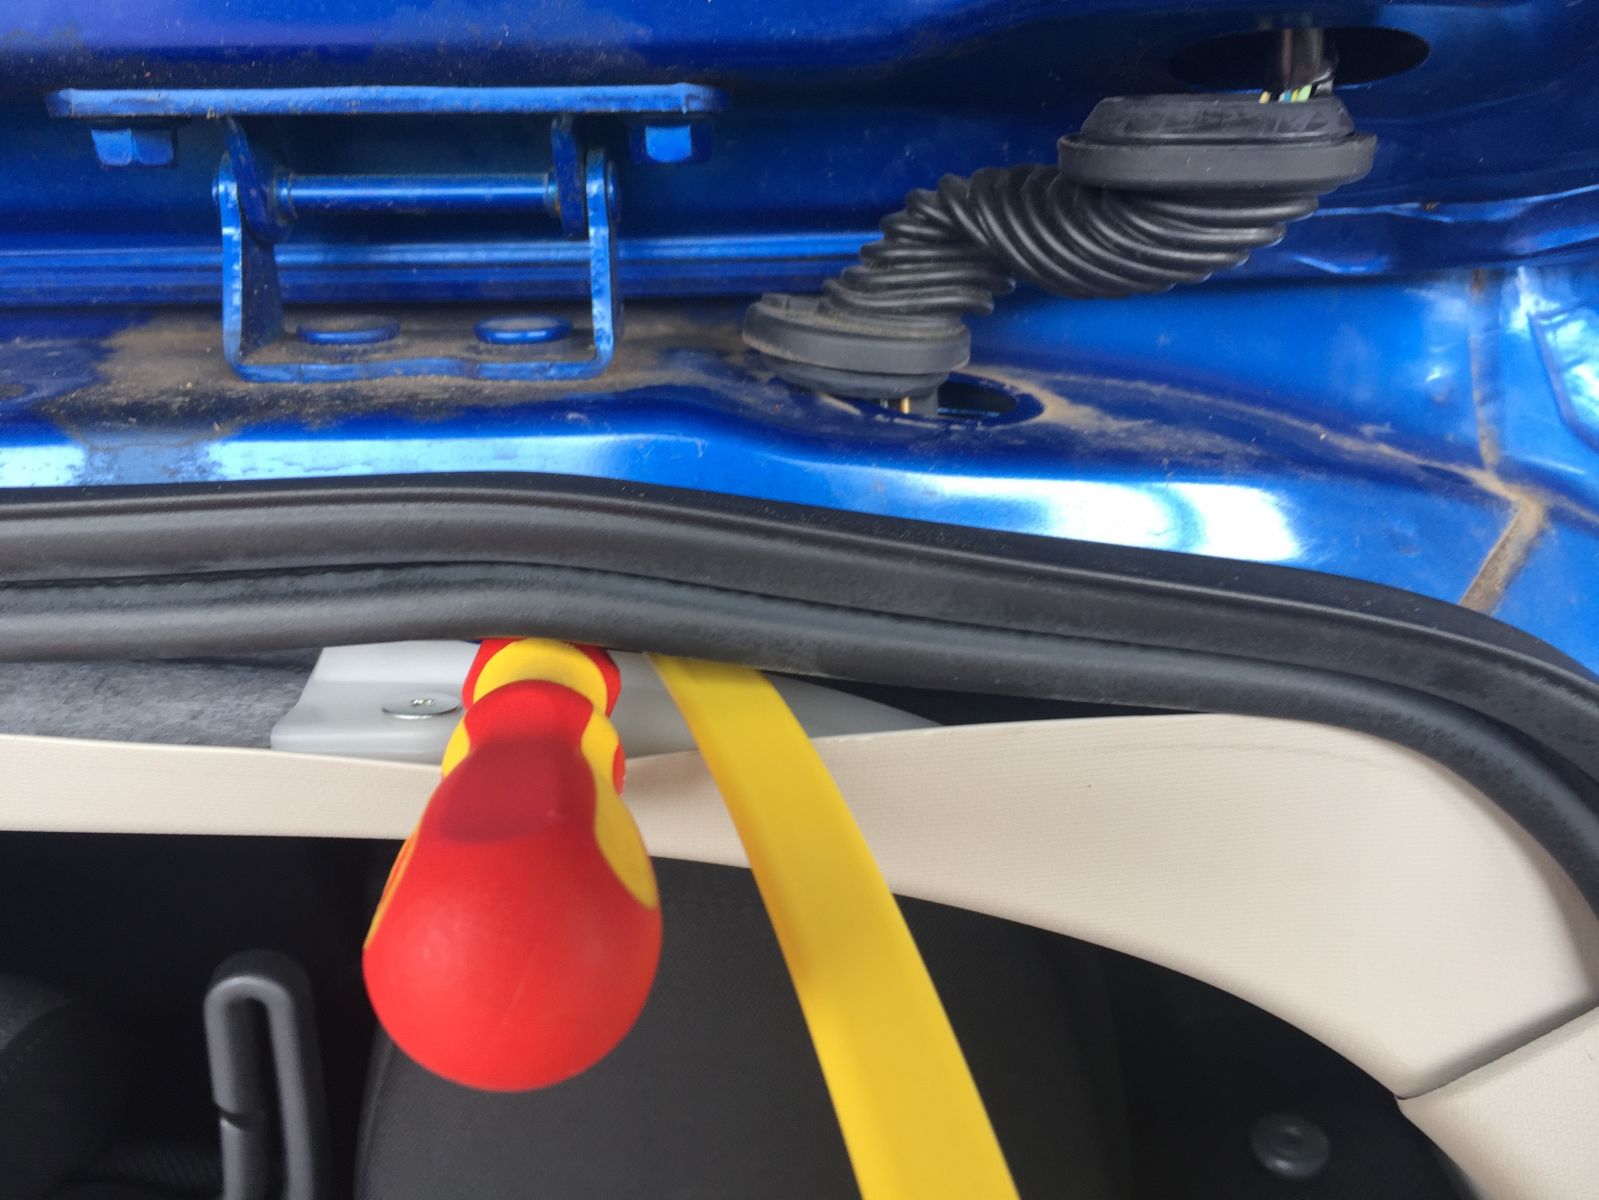
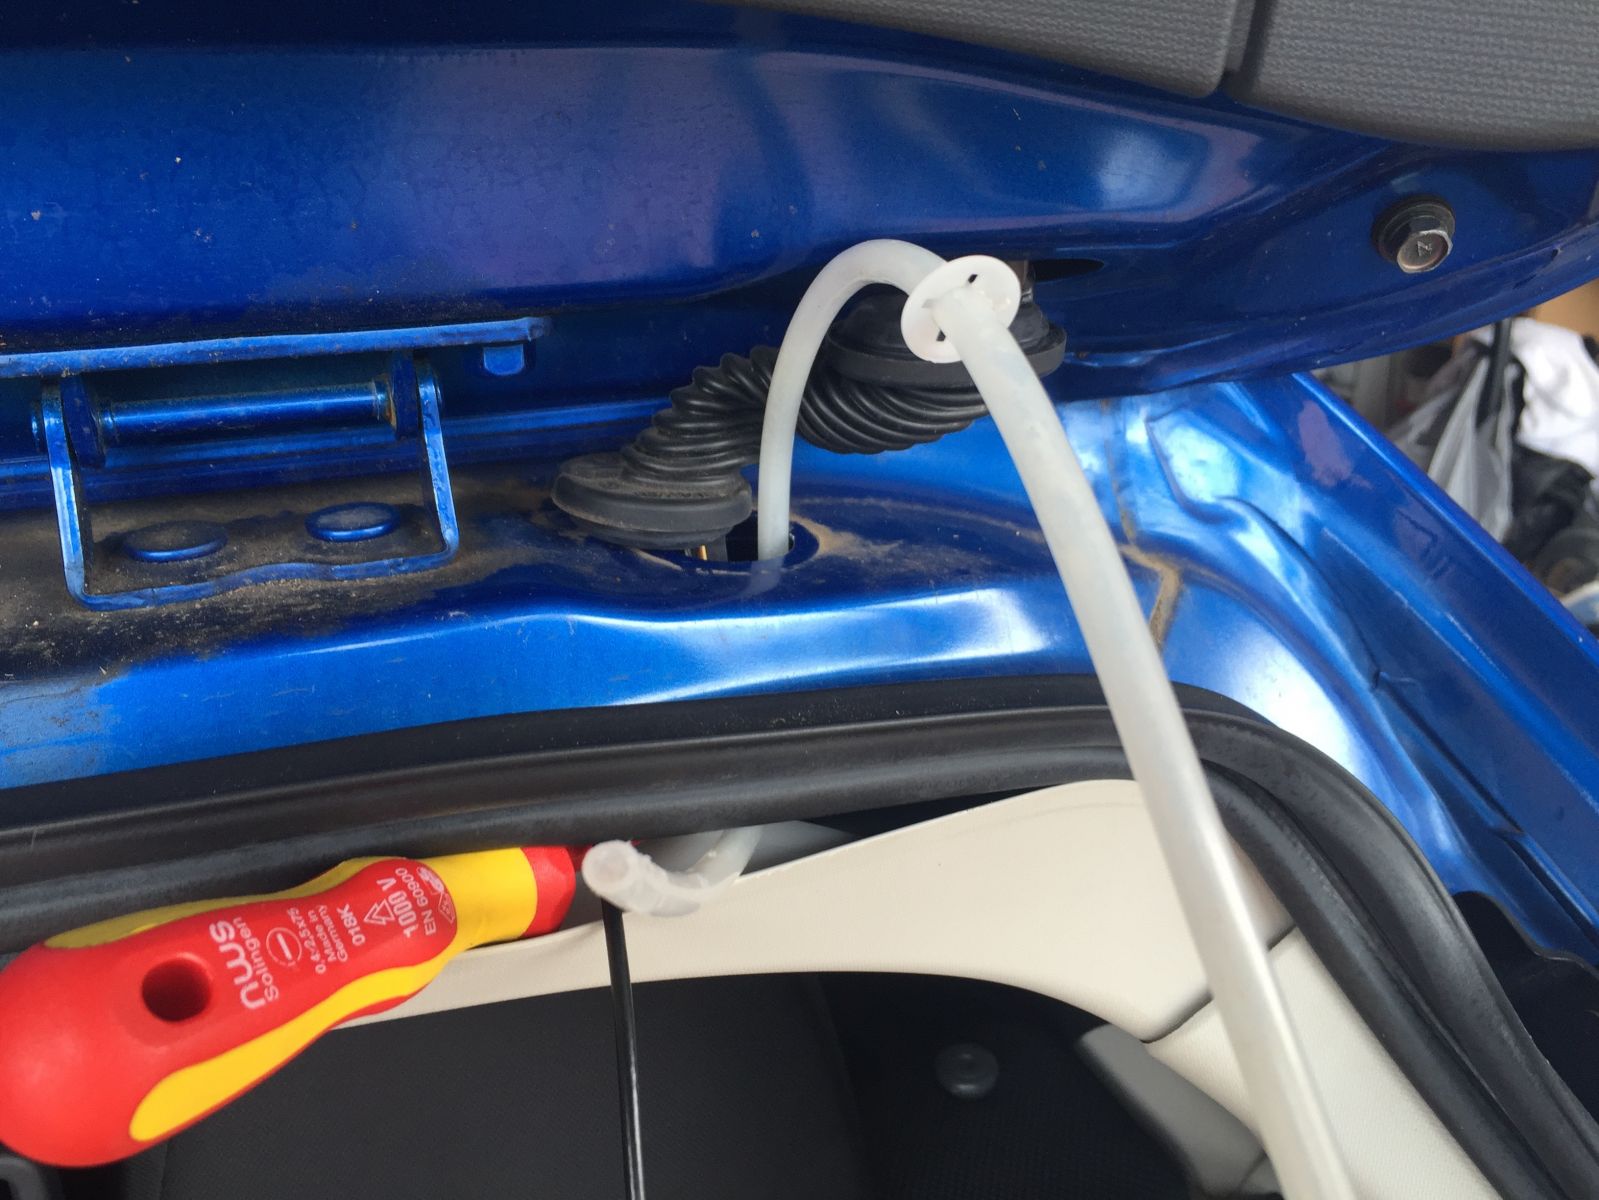
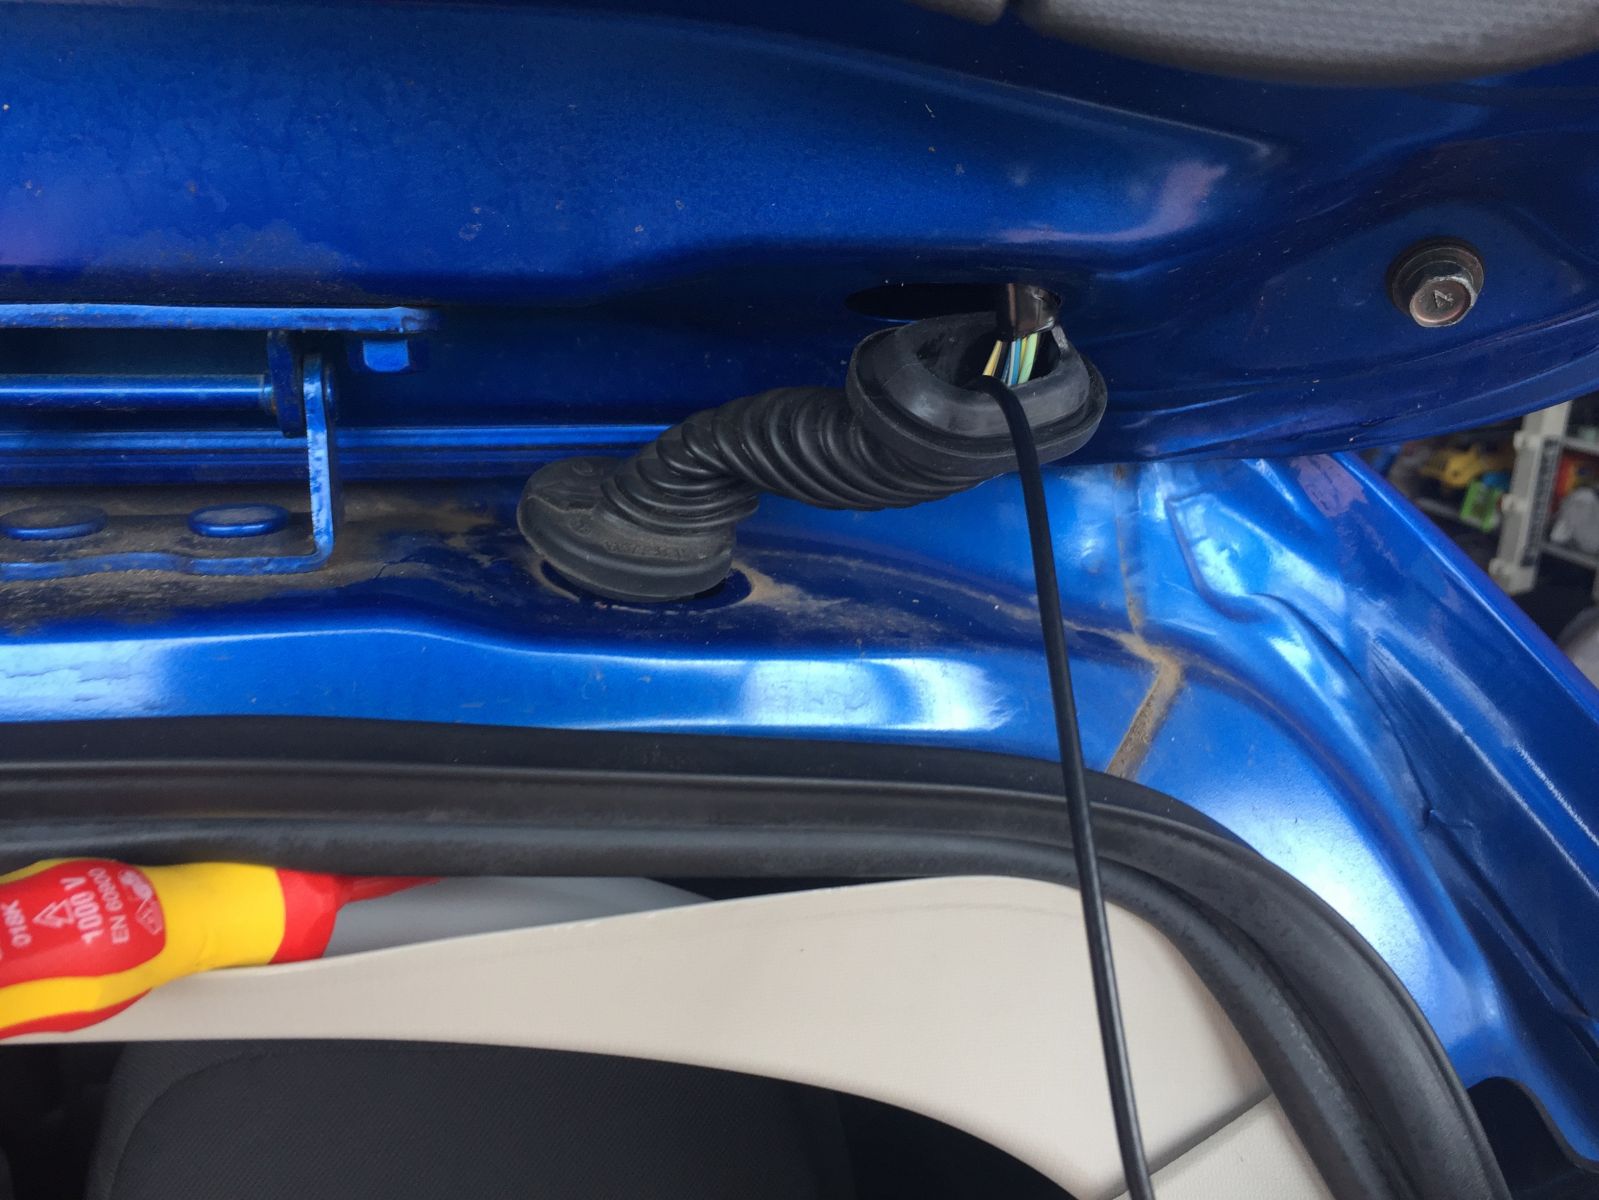
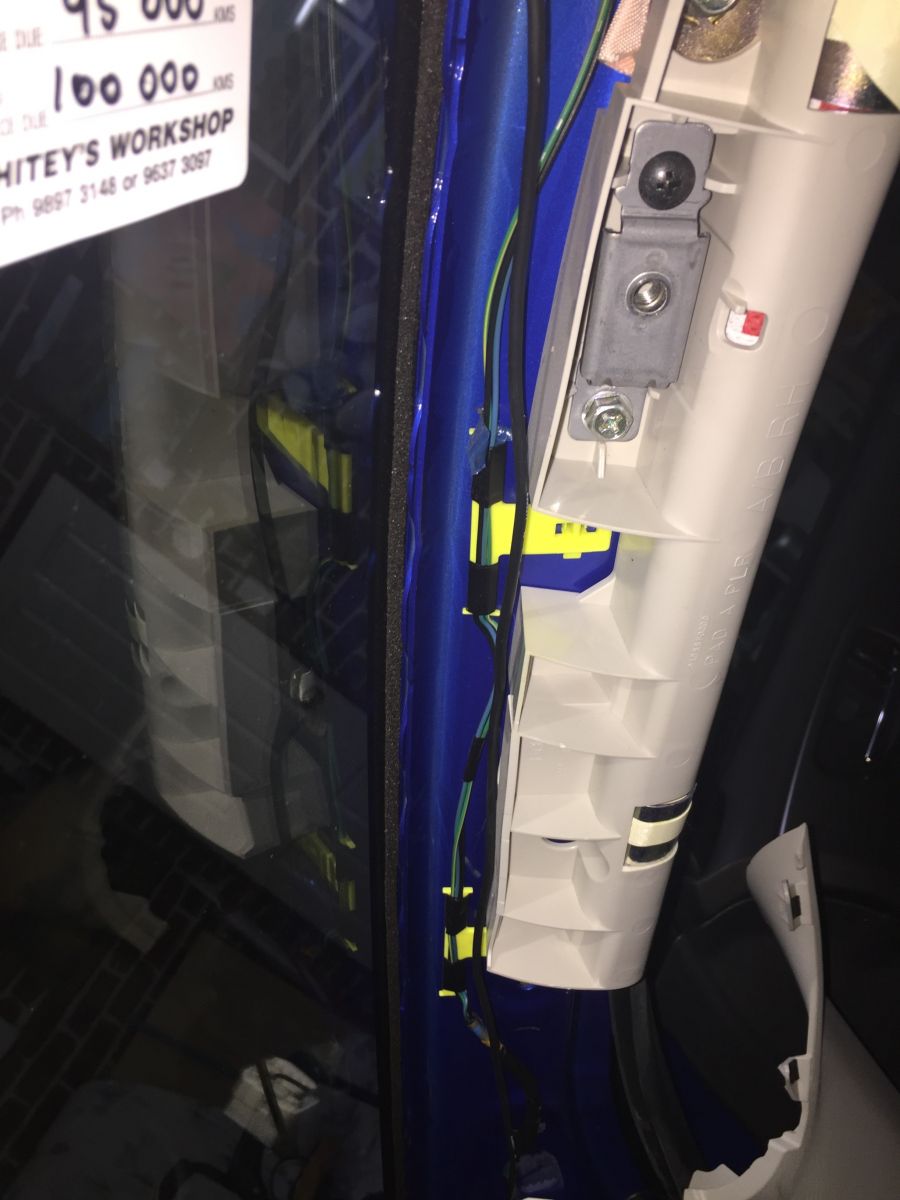
8: Gently pull the edge of the weather strip down and using your finger guide the cable to the B pillar

9: Insert the cable between the headliner and the B pillar trim

10: I decided to go down the B pillars weather stripping to use up as much of the extra cable as possible, If you have a shorter cable, just go straight across the rear door


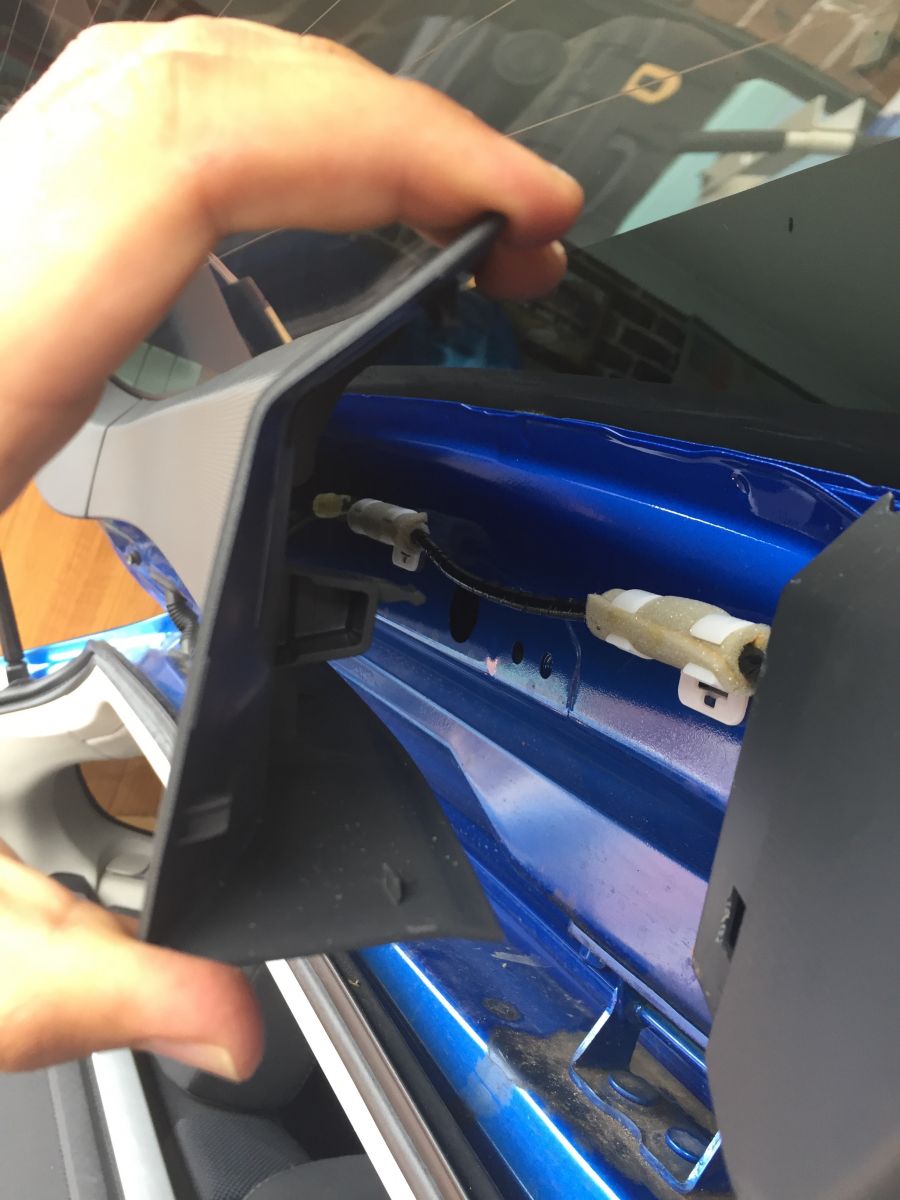
11: I used a flat head screwdriver just to open up a small gap

12: Once you move to the rear you may end up with some excess, tucking this excess into the headliner is a good way to make it look neat


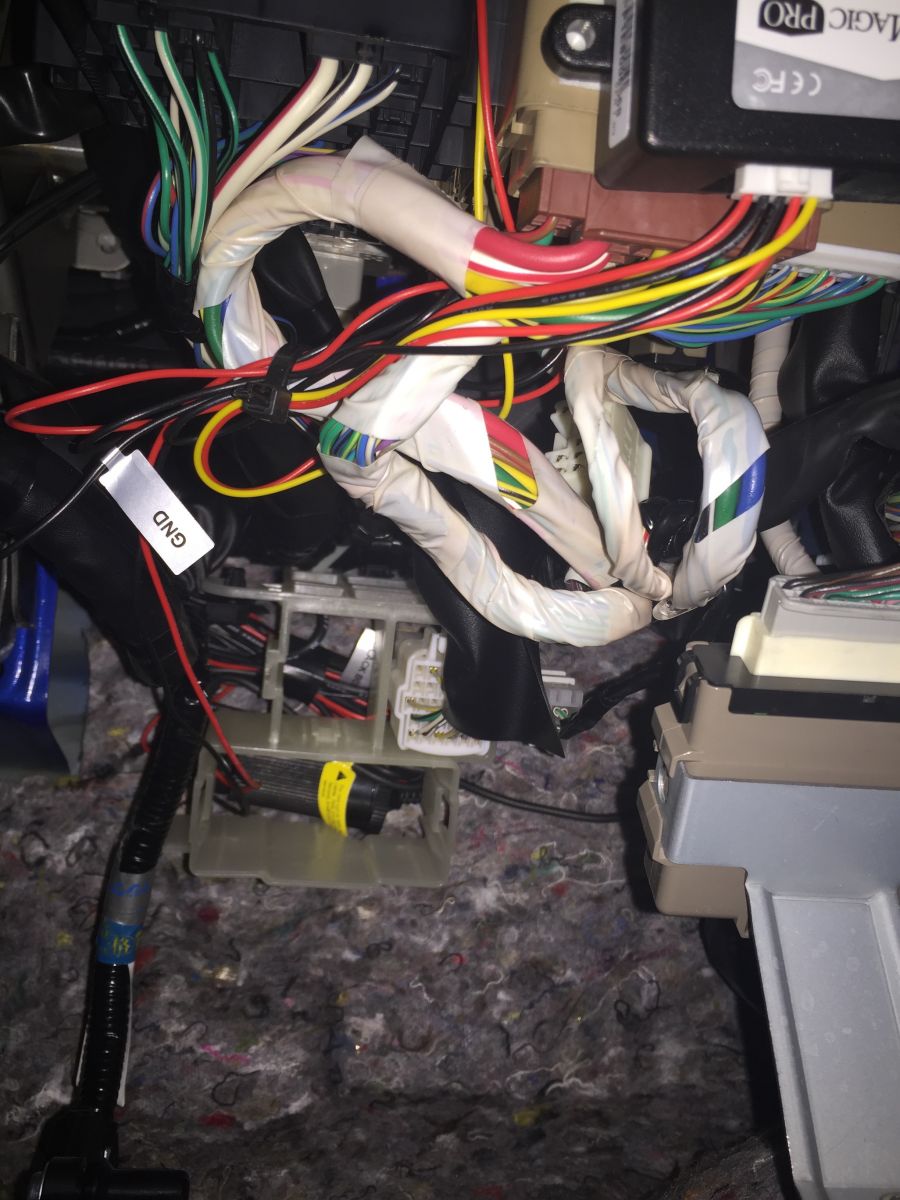
13: Pop off the dash side cover to you can have easy access to a ground point and the fusebox

14: Get out your multimeter and set it to continuity mode
Plug the dashcam power adapter into the cig socket and touch the outside of the barrel jack(note some may be center negative/ground) and a bolt or screw on the car

15: Remove the under dash fusebox door and look at what circuits you have access too( do not use circuits like SRS airbag, ignition or ECU/ECM).
Depending on how you want to wire your dahcam up.
You can to it one of three ways.
A: Accessory power/POS I: this will power the dashcam with accessories, first click on keys or POS I
B: POS II/Ignition: this will provide power when the keys are in POS II, things like wipers, AC blower, demister, ect will be powered
C: Constant Power: This will keep the dashcam running all the time, this mode can cause a flat battery if you do not have something to kill the power when it gets low


16: I got this cigarette socket from jaycar and I cut the the eye terminals off and striped some of the insulation


17: I crimped on a fork terminal to the end of the ground wire and
[img=https://www.dropbox....56.11.jpg?raw=1
18: I also got an "Add a circuit" from jaycar as well, these can come in 2 or 3 kinds, depending on the style of fuse used(normal, mini, micro)

19: I folded back the wire and crimped it to the add a circuit


20: I placed another cable clip next to the first one and secured the power cable

21: Guide the power cable along the and tuck it inside the headliner

22: Insert the cable into the A pillar cover

23: Using the finger method, guide the cable down to the dashboard

24: Install the plug into the socket and bundle all the excess cable and tuck it into the dashboard and insert the fork terminal on one of the grounding screws


25: Install the Add a Circuit and make sure you put the cars fuse on the bottom and your dashcams fuse on the top

26: Depending on which circuit you decided to tap power the car to either POS I or POS II to see if the dashcam powers up

PDF Download of this guide
PDF Download


 right off.
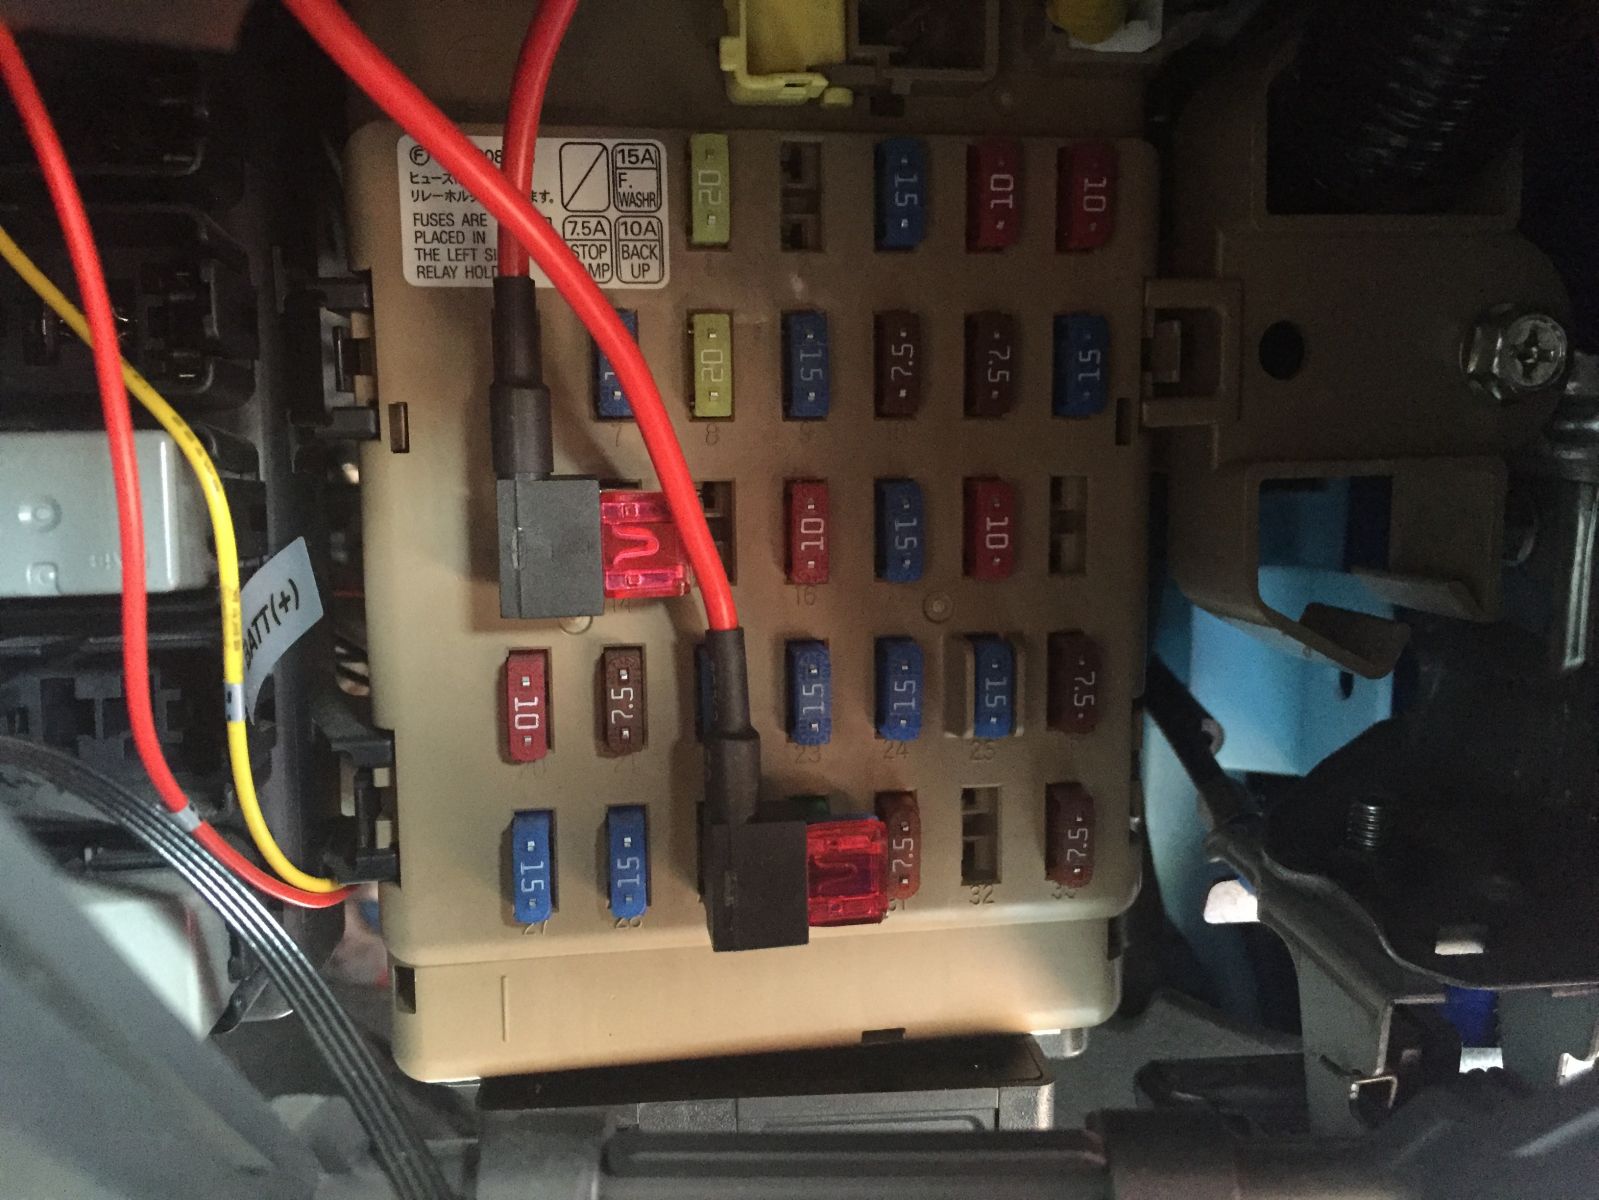


