
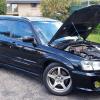

so basically after a bit of uming and ahing i finally decided to bite the bullet and get myself some JDM HID's for the Outback. Below is a relatively simple and fool proof DIY on how to rewire the headlights to work in ALL AUS delivered Liberty/Outback BE and BH models!!!
Tools Required:
Flat blade screw driver
Wire cutters
Soldering Iron
Solder
Electrical Tape or Heat shrink (i found electrical tape is easier as the heat shrink tends to close up due to the wires being short)
The average household car mechanic will have all these bits lying around, so cost is very minimul. Depending where you get the headlights from as on price i picked up my set for $100, price wise they range from $100-$250
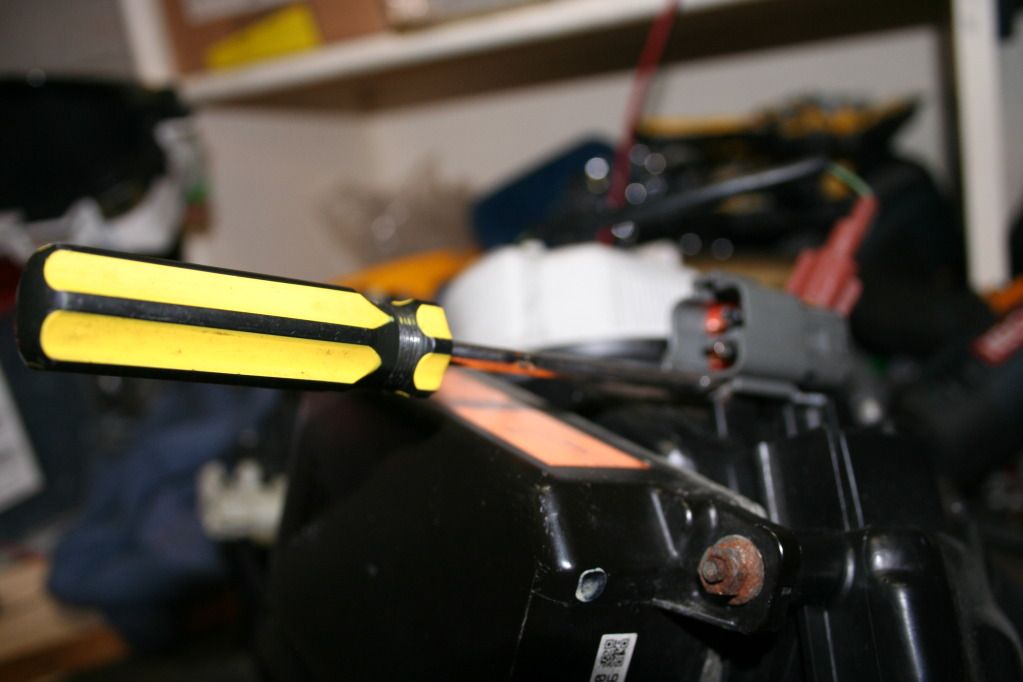
Step 1:
With the headlight removed from the car you will then need to remove the plug from the back of the JDM headlight, if you place a screw driver underneath the plug and give it a little wiggle it will then slide down and be released. Below is a picture to explain
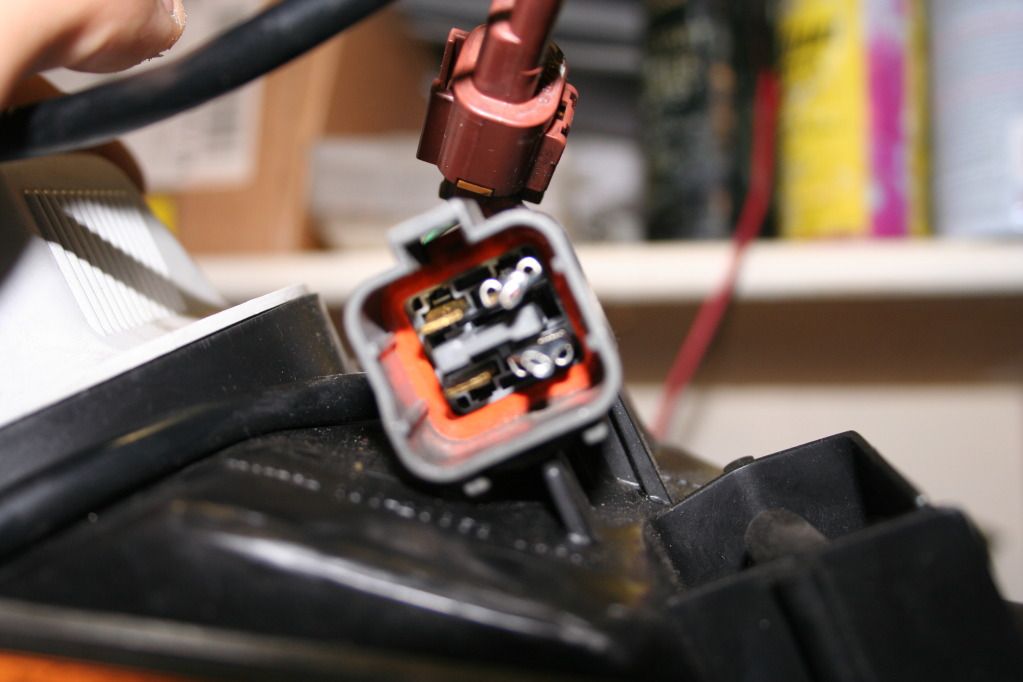
As you will see the plugs are very different, the JDM one is a 4 pin plug and the AUS delivered one is a 3 pin plug
JDM
AUS Delivered
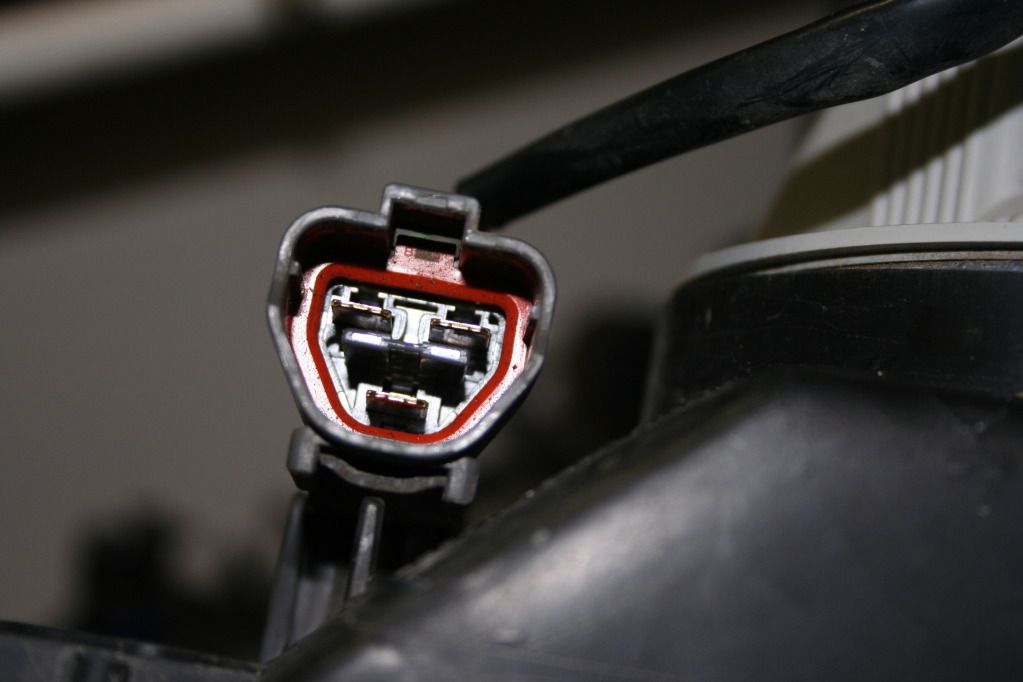
From my findings the only difference is that the JDM lights have seperate earth's for the HID section and High Beam where the AUS delivered ones are joined inside the headlight.
Step 2:
Cut off the JDM plug (cut as close to the plug as possible as this will give you the max amount of wire if you do so happen to stuff up), then cut off the plug for the AUS delivered headlight (tring to keep as much wire as you feel necessary i left about 4cm's as i didnt want too much excessive wiring hanging around).
Step 3:
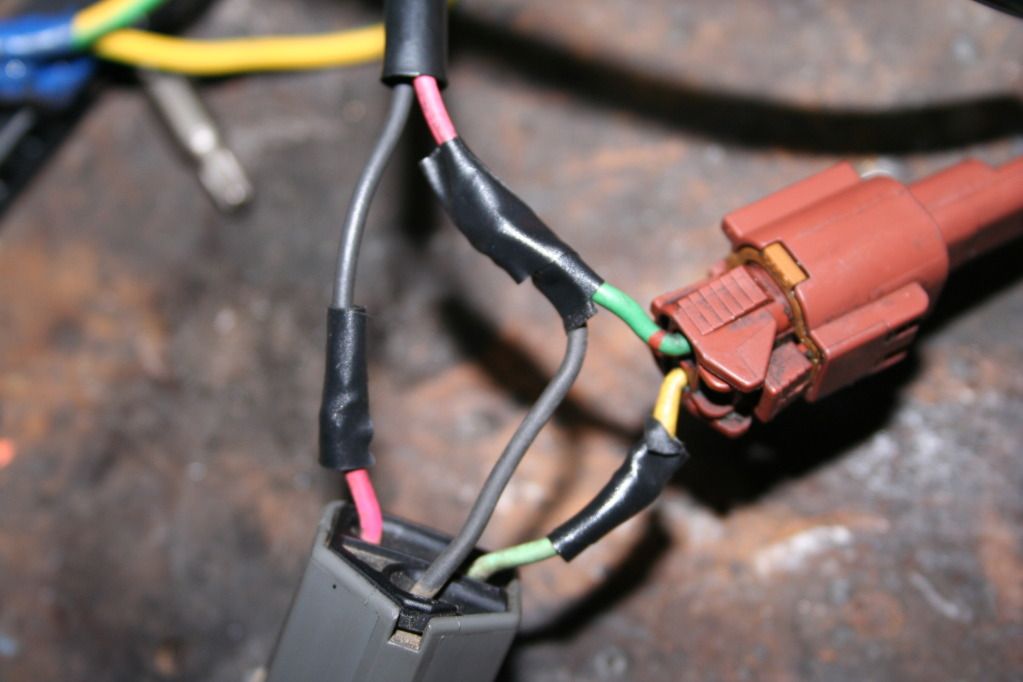
This is where we get to solder the wires together, the fun bit. I will assume that most people who are attempting to do this DIY have enough basic fine motor skills to solder 2 wires together correctly. Below is a diagram of what wires from the headlight are attached to the plug. Please note: the GREEN and RED wires are both EARTHS!!! I know this goes againest everything both you and I have ever been taught about colours and wiring but Subaru headlight run a NEGATIVELY charged signal.

After install this is what you should be left with
Step 4:
Repeat Steps 1-3 on second headlight.
Step 5:
Reinstall the headlights in the car, all wires will direct plug and play now.
I hope this is helpful to everyone who was in the same boat i was and was unsure as to how difficult the wiring side of things is. I will also be putting up a DIY on how to modify the parking lights in the JDM headlights (as the AUS delivered Rev a/b/c parkers are too small to fit in the JDM headlights, can not speak for the Rev d/e model) the plugs are NOT plug and play, they are a 2 stage parking bulb, i can only assume this is a high and low beam parker.
ENJOY


 The plastic housing is a different size and has 3 pins instead of two. I can put the AUDM parkers in the JDM housing with something sticky to keep it there. I'm just wondering why no body else has encountered this.
 hoping someone else can shed some light on this.. ha!


