DIY: De-oranging turn indicators
#1
Posted 06 April 2011 - 11:26 PM
Is it a tough job to do? How is it done?
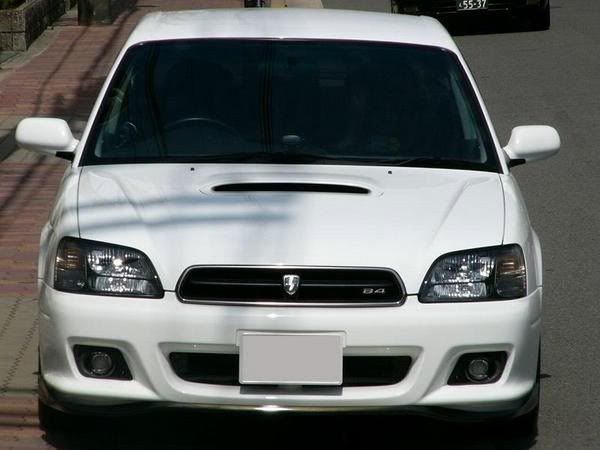
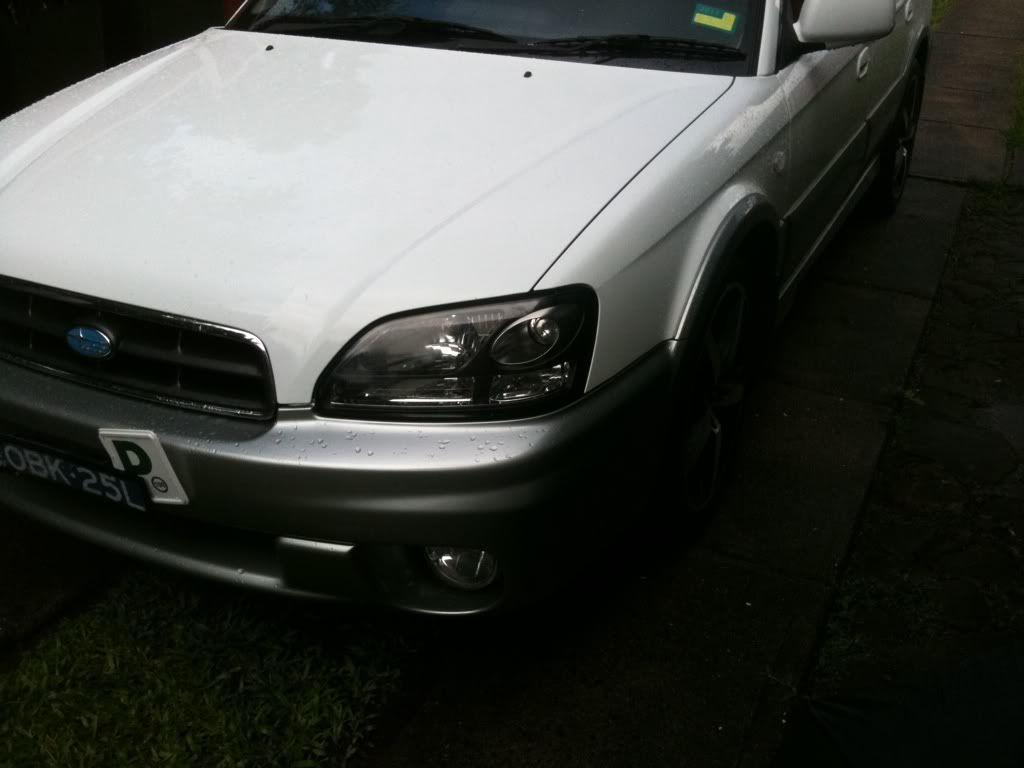
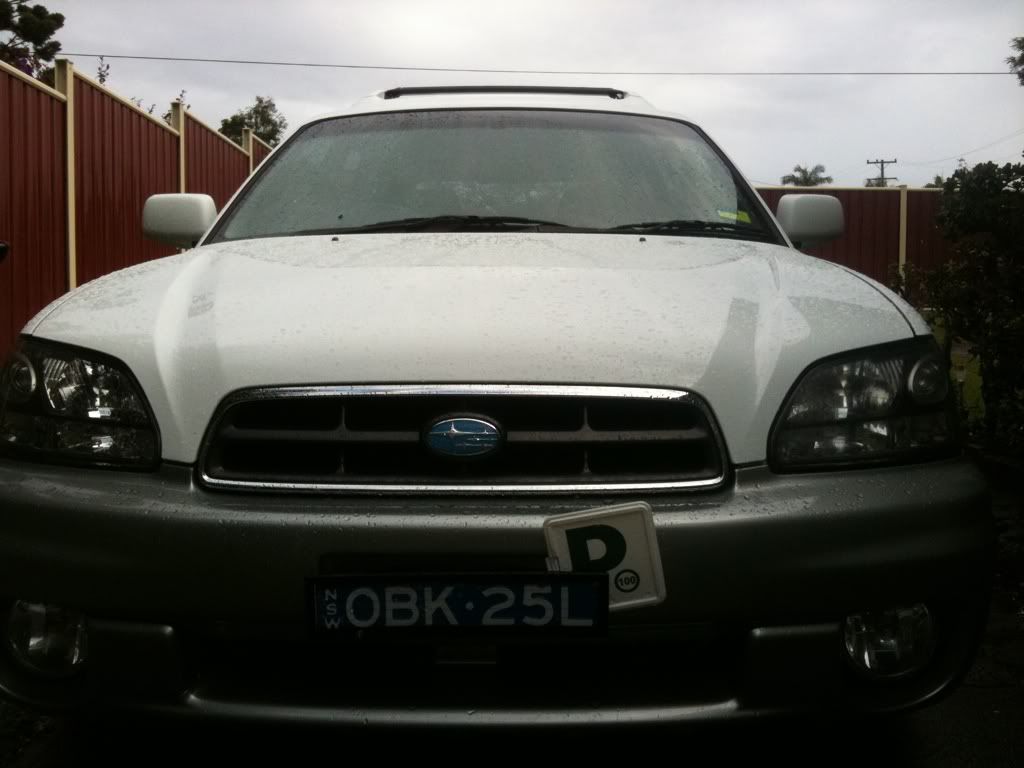
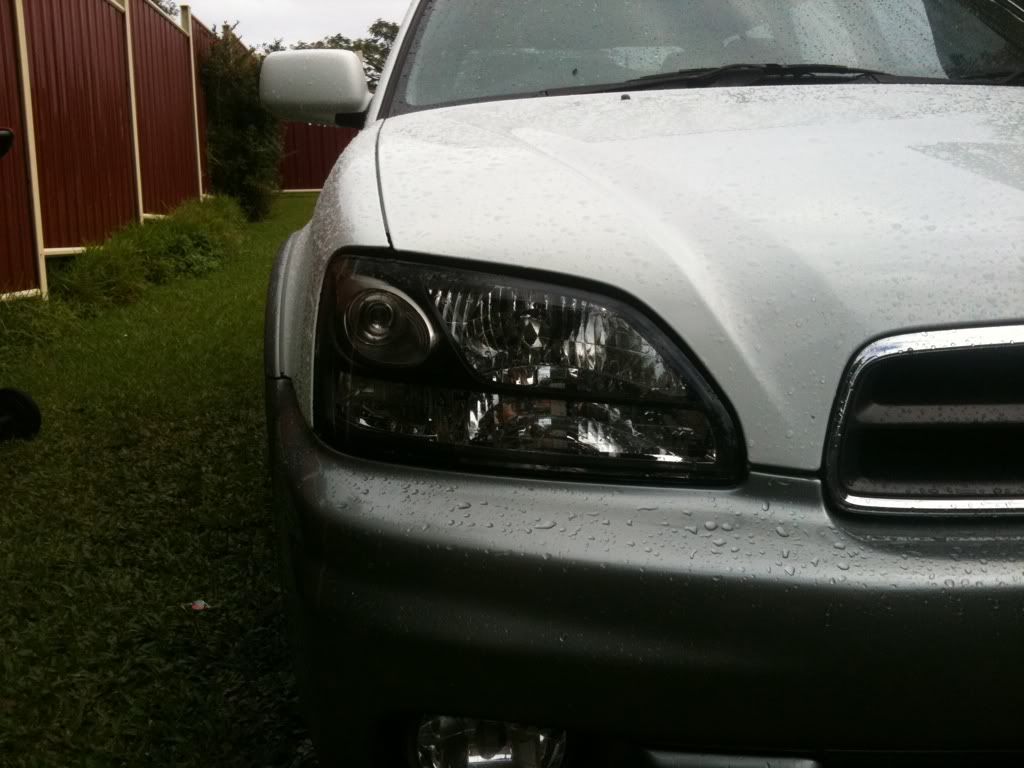
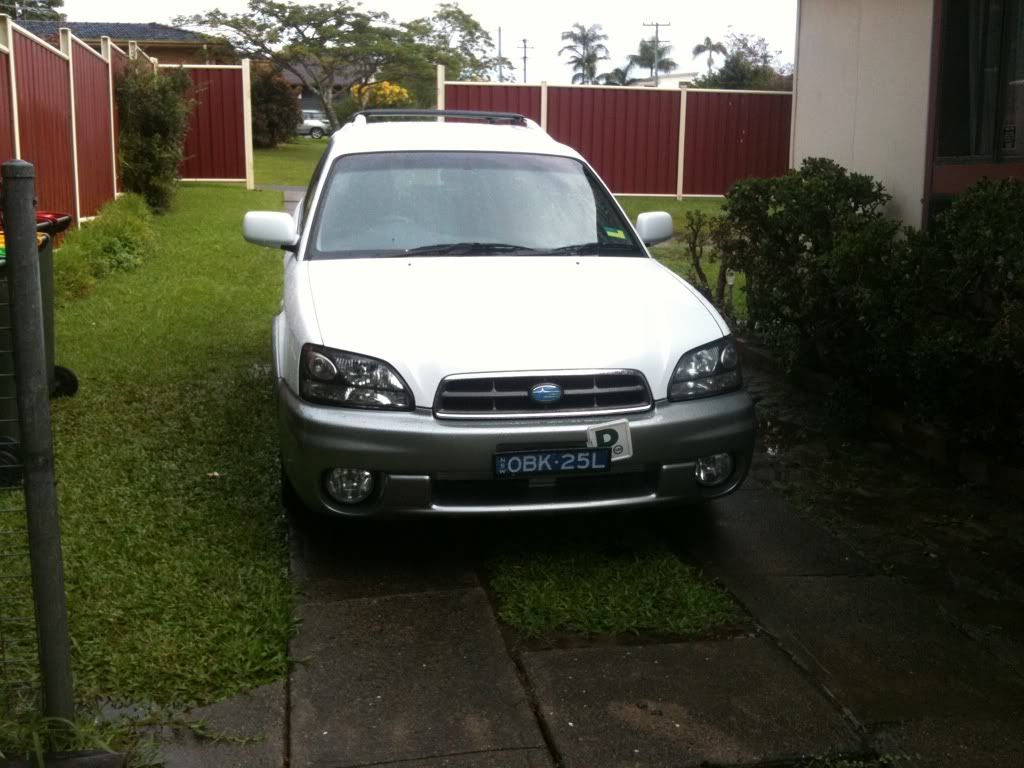
I think it looks good on the pic below.
Cheer or any help and info!
Sam
#2
Posted 06 April 2011 - 11:57 PM
that was the recommended way on the gen2 lights.. but i found mine just twisted and was not brittle enough to snap, so i baked em.. worked fine, except i think my adjustment screws are buggered now.. but that might have been the case before hand anyway.
#3
Posted 07 April 2011 - 12:05 AM
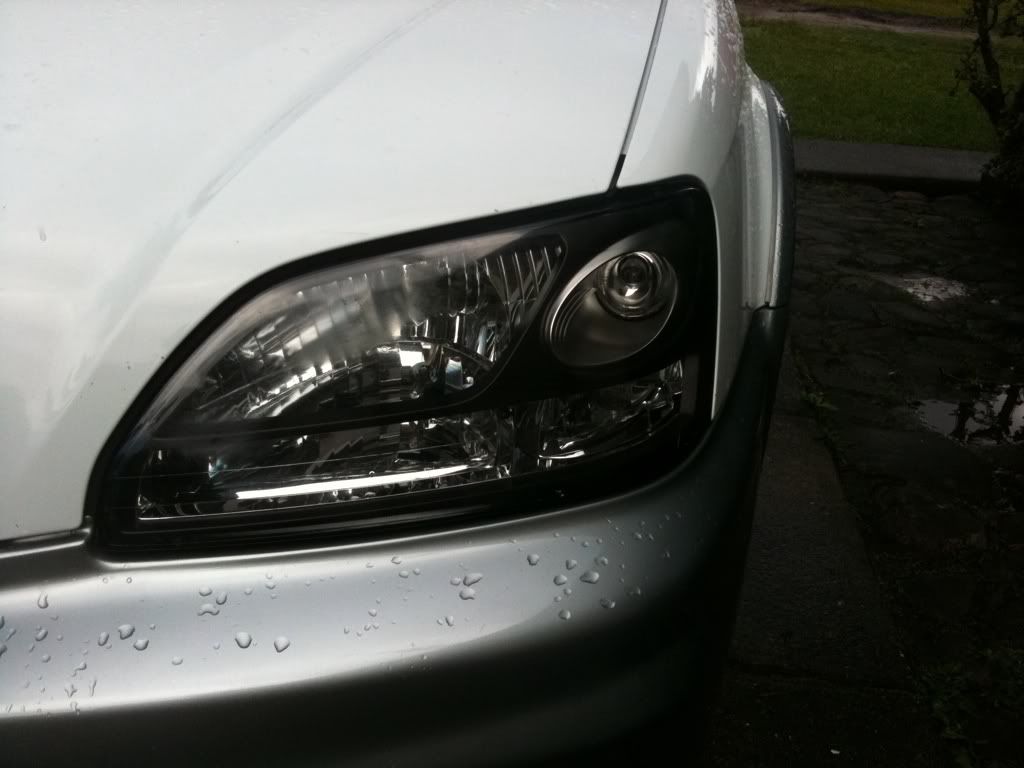
pull a headlight out and have a look, can you get to the orange part from the rear? usually its held in place by a small screw but you can get pliers in and break the plastic then pull it out piece by piece.
that was the recommended way on the gen2 lights.. but i found mine just twisted and was not brittle enough to snap, so i baked em.. worked fine, except i think my adjustment screws are buggered now.. but that might have been the case before hand anyway.
I think I get ya. Take the whole light out, pull the indicator bulb out, and then maybe reach in there with some long pointy pliers or a screwdriver and see if it clips in or how it's held in there??
I'll have a bit more of a look tomorrow but hopefully it just clips out and I don't have to bake them.
Cheers mate.
#4
Posted 07 April 2011 - 06:49 AM
They put the whole headlight in the oven - you had to melt the glue off and open the whole headlight case off. ill have a look and see if i can find it, it might be helpful to you.
#5
Posted 07 April 2011 - 06:57 AM
http://www.rexnet.co...light-clearing/
Not sure if it will be of any help, but it might be better than nothing.
#6
Posted 07 April 2011 - 10:29 AM
The amber is held in by a clip and 1 screw.
Edit - that's for a Rev D & E, no idea about A,B & C's.
Edit 2 - old (actually really old!!) picture of the front end of mine
2002 Outback - it's gone...
#7
Posted 07 April 2011 - 12:00 PM
heres the link:
http://www.rexnet.co...light-clearing/
Not sure if it will be of any help, but it might be better than nothing.
Thanks for that link mate, very good read through,
It's pis5ing down rain ATM so I'll have to wait till it stops before I bake them,
Cheers
Sam
#8
Posted 07 April 2011 - 01:43 PM
Looking sweet!!
#9
Posted 07 April 2011 - 01:56 PM
#10
Posted 07 April 2011 - 03:14 PM
What kind of globes are you using for the indicators?
I will be buying some orange ones and maybe spraying them chrome if I can't find some silver/orange ones locally. But at the moment I have left my normal yellow bulbs in as I don't have the others.
#11
Posted 07 April 2011 - 03:16 PM
I have a feeling they are the wedge style as well, is that right? It's been a while since I've been down there!
#12
Posted 07 April 2011 - 03:23 PM
It wasn't as hard as I imagined, but hopefully I don't ever get a water leek. I'm pretty sure it's all good though.
Haven't had a chance to take some good photos of it as it's pouring rain but when I stops, I'll take some.
Also, I got a little bit of the black silicone stuff on the face of the headlight. I tried scratching it off with my finger buy it dried on so I tried gently using a scouring pad to try and get it off. But it marked the plastic pretty bad.
I have used an old box of headlight restoration and hopefully that works to get it back to crystal clear..
I have run out of the lacquer that you put on last though and don't particularly want to buy a new box of the stuff.
Here is a few pics I took with my iPhone before it started raining.
Cheers,
Sam
#13
Posted 07 April 2011 - 03:25 PM
#14
Posted 07 April 2011 - 03:28 PM
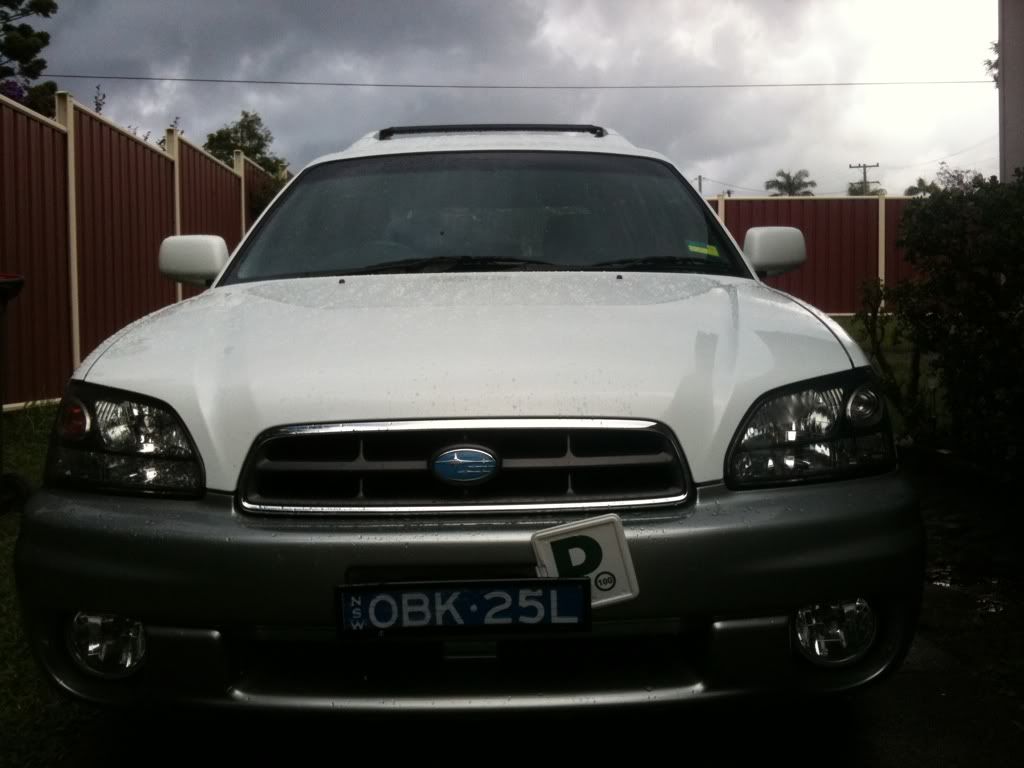
That looks brilliant Sam, well done!
Cheers mate I'll take some more pics now
#15
Posted 07 April 2011 - 03:38 PM
#16
Posted 07 April 2011 - 03:49 PM
#17
Posted 07 April 2011 - 03:57 PM
Ok. I think I have to do that now!!
Just take your time and make sure you get no silicone or anything on any of the lenses and plastics. I think that was the only mistake I made..
#18
Posted 07 April 2011 - 05:57 PM
Good Job.
#19
Posted 07 April 2011 - 08:07 PM
Looks awesome!
Good Job.
Yeah thanks mate I pretty much followed the instructions in the link you posted. Worked out pretty good!
1 user(s) are reading this topic
0 members, 1 guests, 0 anonymous users