


 Find content
 Male
Male


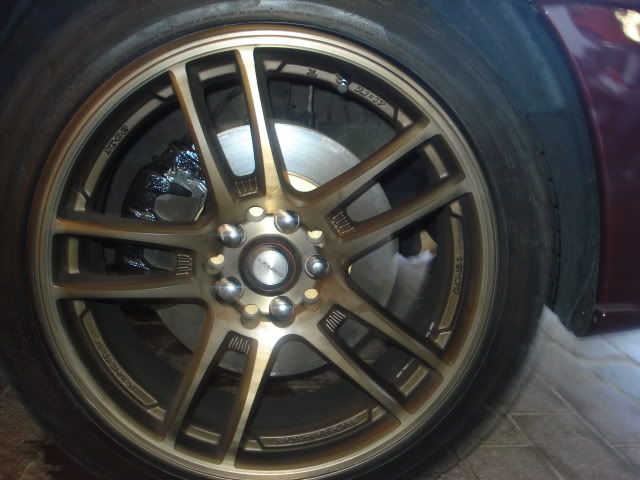
pic of factory brakes:
the stock brakes on a gen2 GX/LX/series series one are all 266mm rotors with a single pot caliper aka piss weak. then series 2 brakes are not much better at about 277mm single pot!
SOLUTION: bought some twin pot floating calipers and 294mm rotors which can be found on B4's, Forester XT (XT model only made from 03' onwards) and from GTB's, they are a huge upgrade over the factory gear on there and more than fixed my problems (after all, they manage to stop a 200kW 1450kg B4!)
DIY
-First things first, jack your car up, and rest the front of the car on jack stands. DO NOT do this job with the car sitting on the standard jack its not safe.
-Remove the front wheels or wheel, if you do them one at a time and can't reach through your mags to the bleed bolt, start with the left side and bleed that caliper before you put the wheel back on.
-Crack the two bolts loose which hold the caliper on, they are located on the back of the caliper, one at the top and one at the bottom.
-Clamp the brake line with a line clamp, if you dont have one a pair of vice grips will do the job perfectly too. this stip isn't necessary, but it avoids a lot of mess!
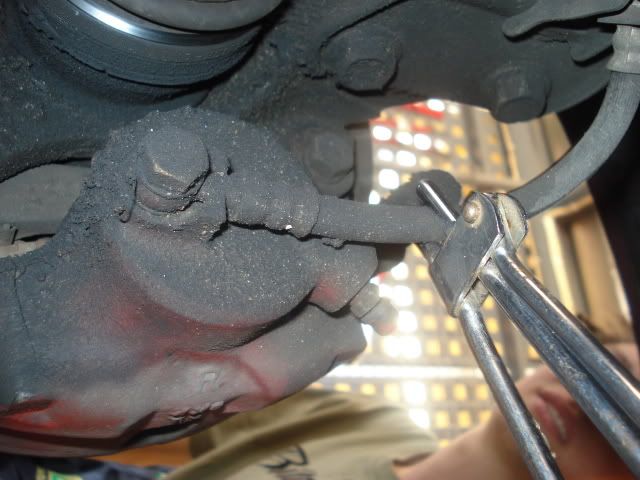
-Remove the bold holding the brake line onto the caliper, this is a special bolt with holes in it for fluid to run through so DON'T LOOSE IT!
-Remove the two bolts you previously loosened making sure you don't drop the caliper
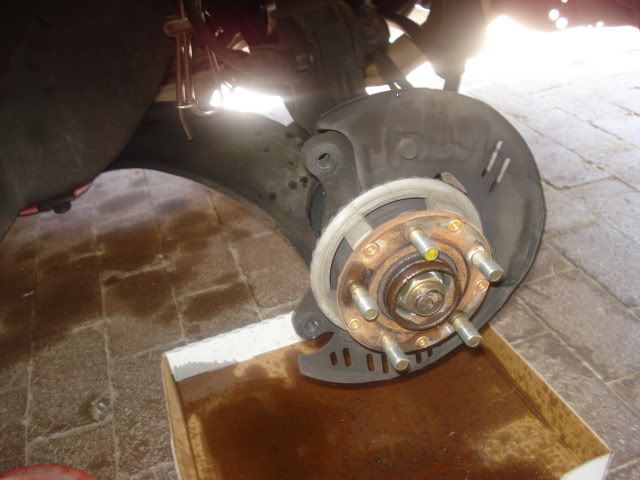
-Remove the disc, there is no bolt holding this on, but it may be jammed so if it wont come off easily, there are two bolt holes in the hub face of the disc, screw in a bolt/s and tighten them up until the disc comes loose.
pic of what is left once the caliper and disc are gone
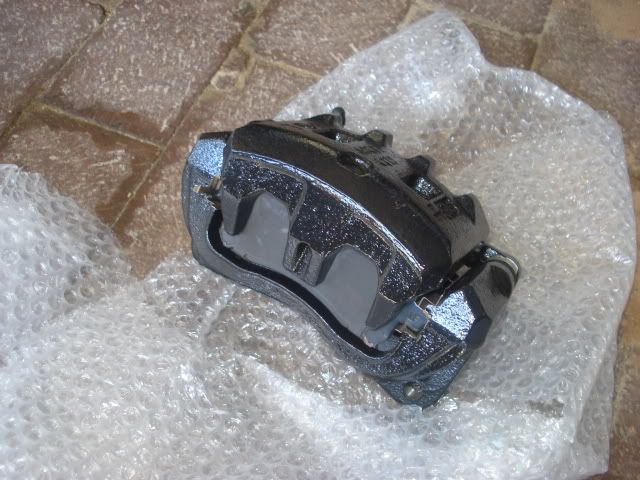
HALF WAY! old brakes should now be taken out of your way and bring in the new caliper and disc.
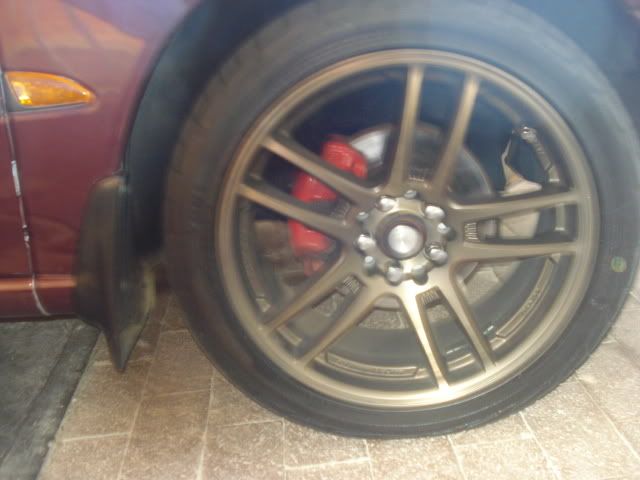
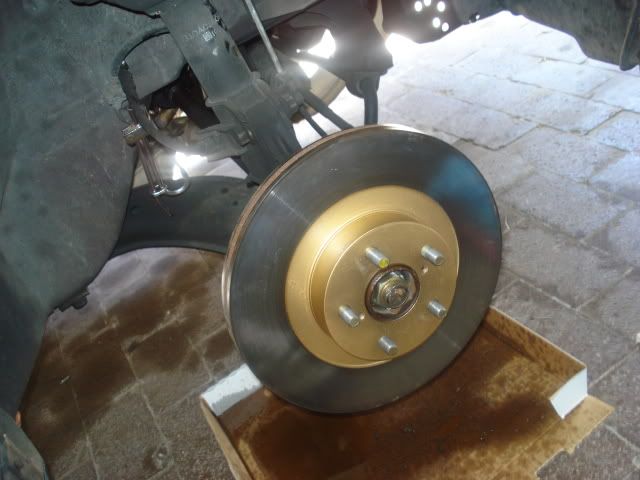
as pictured below, I (aka cruisn lol) painted my calipers before hand and I painted the disc hubs, just to make it look as sexy as its going to work! if you do this it is best to use special brake caliper paint, i tried to use heat proof paint on the disc hub, but it came off with the later use of brake cleaner

clean the caliper and disc with brake cleaner if your going to paint, this stuff is the best thing to remove brake dust/dirt/grime

-Slide the new disc onto the hub, if you are installing slotted rotors, take not of directional markings as they are important! give it a tap with a rubber mallet if you feel the need too.
-Fit brake pads to the calipers if they are not already equipped, this is a simple pull-out push-in job, but be sure to put all the metal clips etc back in with the new pads!
-You may find that when you try to slide the new caliper onto the disc it won't fit, if this occurs, get a G-clamp (free version of a brake pad separator) and use it to squash the piston back inside the caliper. this gives you enough room to fit the caliper over the disc.
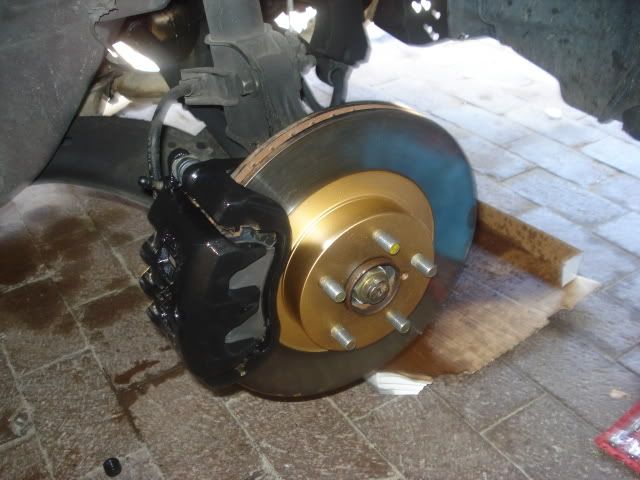
-Screw in the two bolts at the top and bottom of the caliper, then do them up tight immediately, theres not much worse than leaving these loose when you drive away! they are high tensile bolts, so you can do them up pretty tight, if you wish a good idea is to get some thread locker, expensive stuff but a few drops of this and the bolts will not come undone!
-Connect the brake line to the new caliper (same spot on the new caliper as the old one) and do the bolt up firmly, no need to try and brake it off
-Remove the brake hose clamp if you have used one
-If you have done both sides at the same time, begin bleeding the brakes from the wheel furthest away from the brake fluid master cylinder, this way you flush out all dirty/airrated fluid. If you started one wheel at a time, bleed the brakes as you go. I did all four corners while i was at it, to ensure the whole system had fresh fluid. NOTE use dot4 or higher quality fluid only.
-Check all the bolts are tight (you only undid three in total per side remember!) and then put wheels back on!
-When tightening your wheel nuts the best way is to do spin them all up finger tight (i still use a socket for this) and then do every second one around the wheel untill they are all very firm, and another lap to tighten them up properly, this ensure your wheel is properly balanced and centered.
YOUR DONE!!!!
WARNING: if you are not the least bit mechanically minded, do not try to do a task such as this, get help or leave it to a qualified mechanic, i take no responsibility for what you do to your vehicle and the consequences of it.

