
Tools Required:
3x Philips Head (1 Stubby, 1 Small, 1 Standard)
Tissues (or some microfiber clots you will part with)
Sharpie in your choice of color
Nail polish remover
Grit 120 Sandpaper
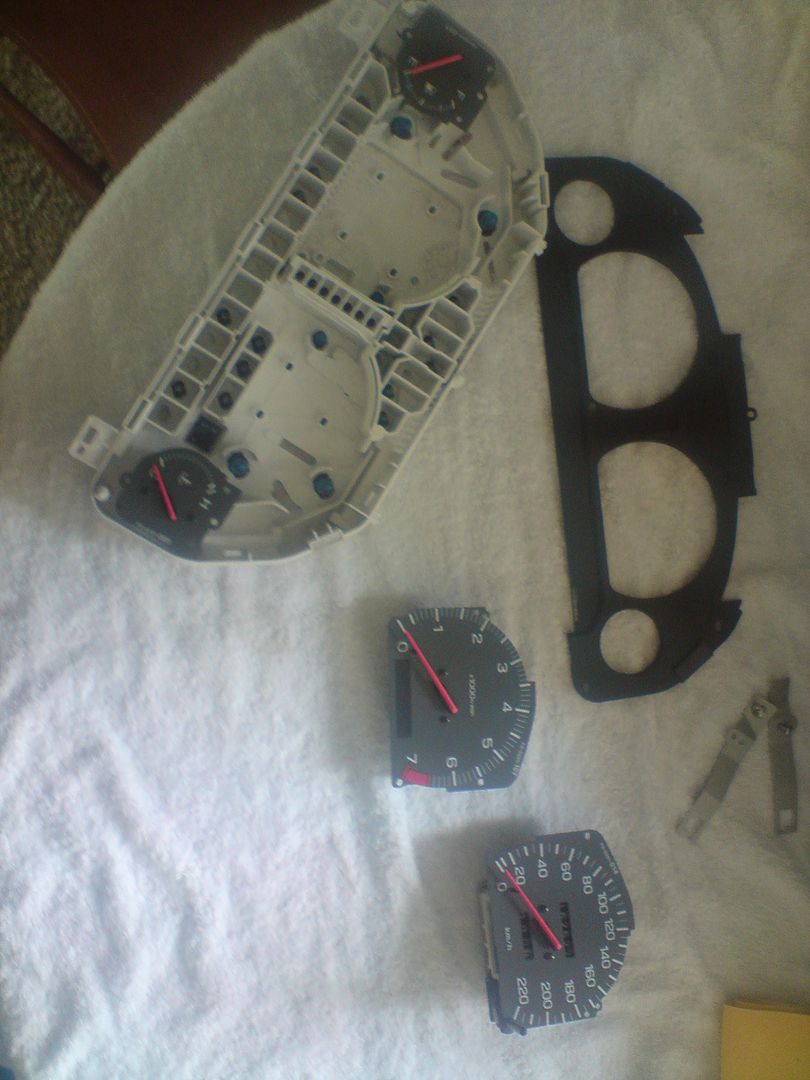
Firstly you need to take the cluster out of the dash.
No photo's or instructions here, there are DIY's here about it already but still its only 4 screws for the cluster surround and 4 holding the cluster itself.
Once the cluster is out start stripping it down, fairly strait forward.
1) unscrew the 2 metal brackets from the top.
2) unclip the front clear plastic cover from the cluster.
3) remove the black cover that has all the covers for warning lights.
4) unscrew all gauges (Be VERY CAREFUL not to move or knock the needles) the gauges them self unscrew from the rear of the cluster (3 Silver screws for the fuel and temp, 4 and 5 screws for the tacho and speedo respectively)
DO NOT remove the black screws from front of the gauges!
Also when the gauges are removed be careful not to drop the metal cup on the back (it is no longer held on by screws so you need to hold it in place whenever you handle the gauge
in the end you will have the following parts laid out on the table.
Once you have all the gauges removed its time to start remove the coating on the back of the dials.
there is no need to remove the backing from the whole dial, just where the numbers and lines are.
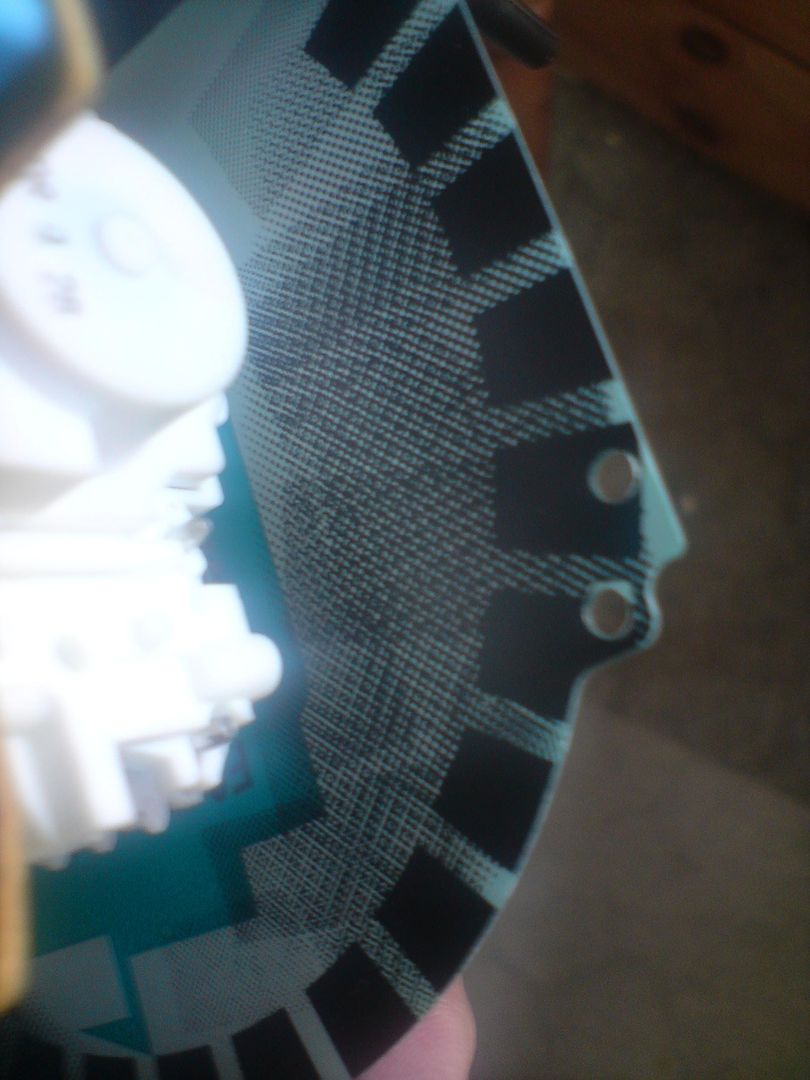
The 3 layers are:
The black dampening layer (keeps light distribution even)
White layer
Green layer that gives the gauge a green tint
Start by sanding lightly over the back as below.
you don't need to sand past the first layer just enough to put some light scratches in it so the nail polish removed can penetrate the first layer.(like the right hand side of the above image)
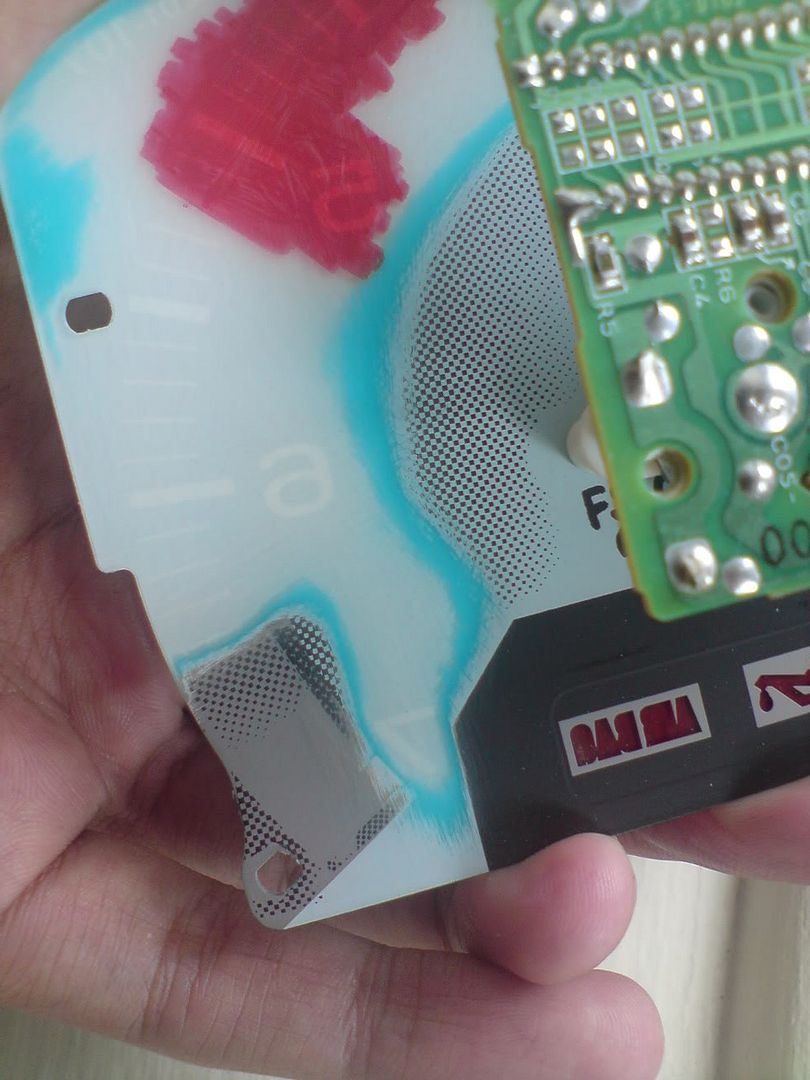
When i first started i sanded the dial back all the way and it took way too long, that's when i tried nail polish removed and found it just lifts it like paint stripper
Now take one folded tissue, soak it liberally with nail polish remover and hold it against one of the sanded parts, you will find after about 30 seconds it starts to bubble off and you can simply just wipe it off.
you need to have a few tissues as using the same one will end up smearing the green coating over the gauge.
I did it in a 3 stage process.
1) soak a section with one tissue
2) wipe it away with another
3) go over with a clean tissue socked in nail polish removed to remove any remnants of the green film.
Be careful not to get nail polish remover on the front of the dial, i'm not sure if it will peel it or not but better safe than sorry
when you finish the gauge hold it up to the light and make sure all numbers and symbols have been accounted for ( i ended up leaving half the temp symbol by accident)
Now comes the fun bit, start colouring the back of the dial in the color you like.
I recommend testing all colours on the tacho first as it is the easiest to work with and clean.
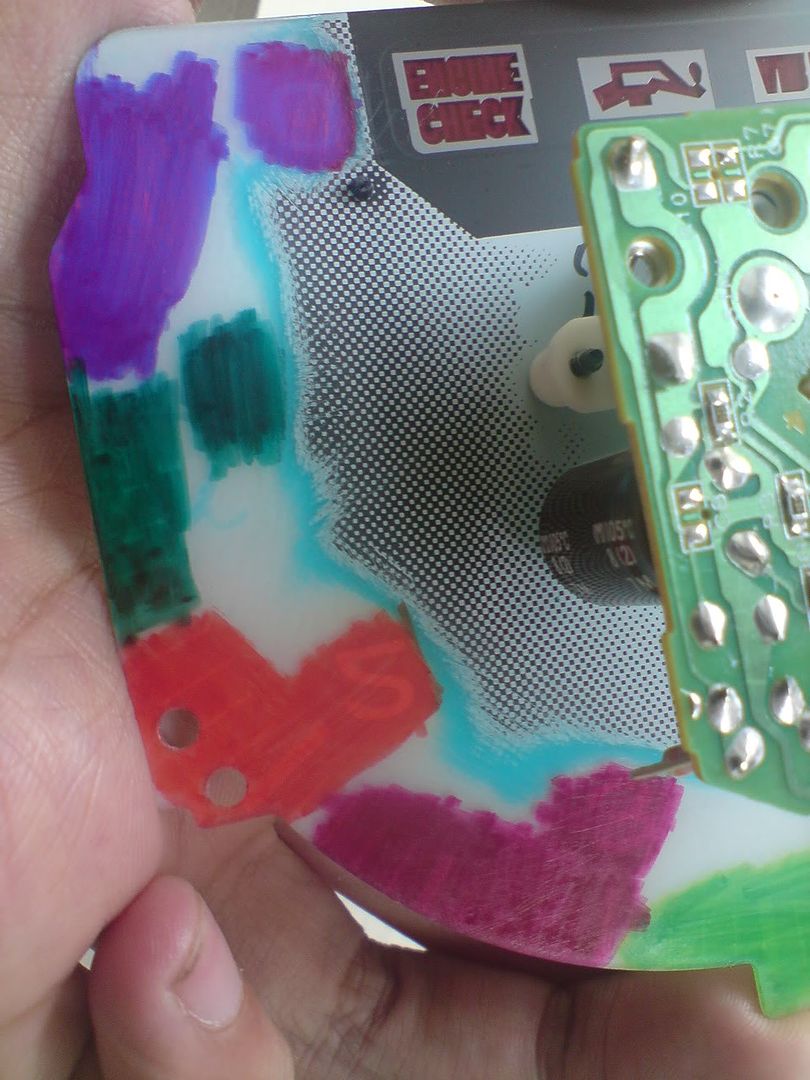
Take note of the green and purple you do NOT want it to be so uneven.
try get the thickest marker you can ( i was using only a medium tip and it took some time to get it even)
the trick is to work in one uniform direction and do not go over the same point twice.
once you have done the whole gauge start again and go over what you just did in the same fashion.
This gives a more intense but still even colour.
The other thing you need to do and this is probably more important than coloring the back of the dials, is to remove the rubber caps (condoms) from each of the globes in the cluster and also color them your desired color.
I tried finding colored caps to go over the globes but i just couldn't find the right size.
I ended up just coloring in each glove with the sharpie, the only issue is it doesn't like to stick to glass very well so i found myself going around the globe stripe by stripe blowing on the globe as soon as i had colored it else the color would bead and leave gaps.
To keep the light as even as possible color the top of each globe with black marker, only about 1/2cm on the larger globes and 1/4 on the smaller ones
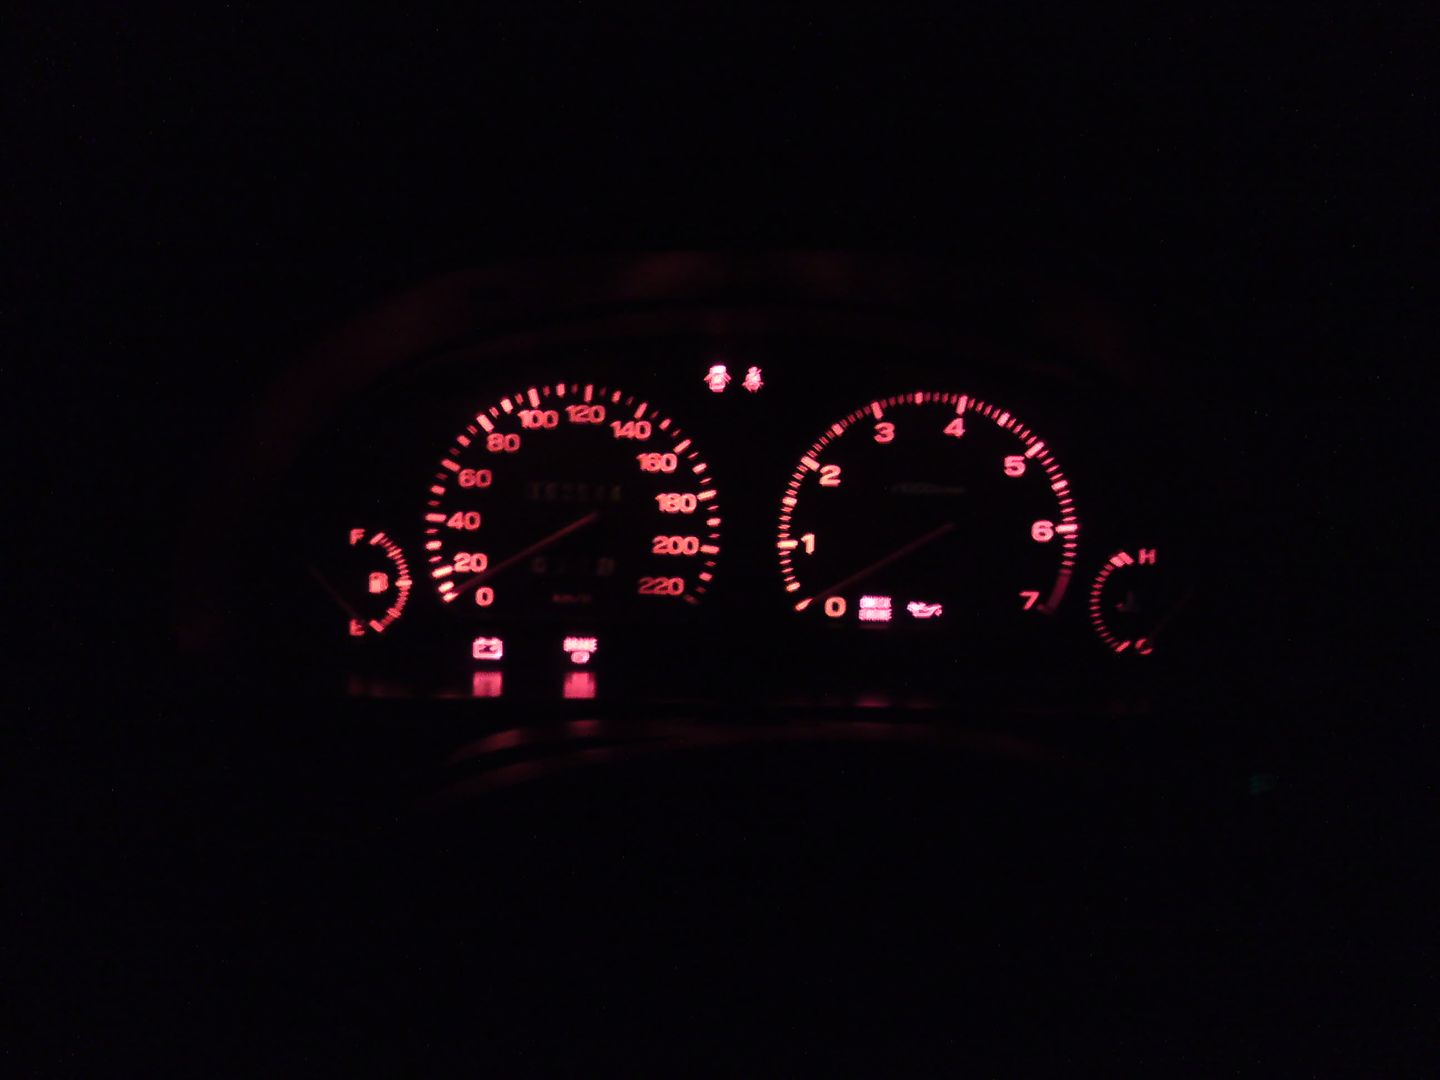
here is my first test, the colors turned out quite different to what i expected from them.
once you have got the color you like finish all the gauges and put it all back together.
Make sure the silvers screws are tight on all gauges as that is what conducts to signal for each to work, i thought i buggered my temp sensor but i just had one screw a bit lose.
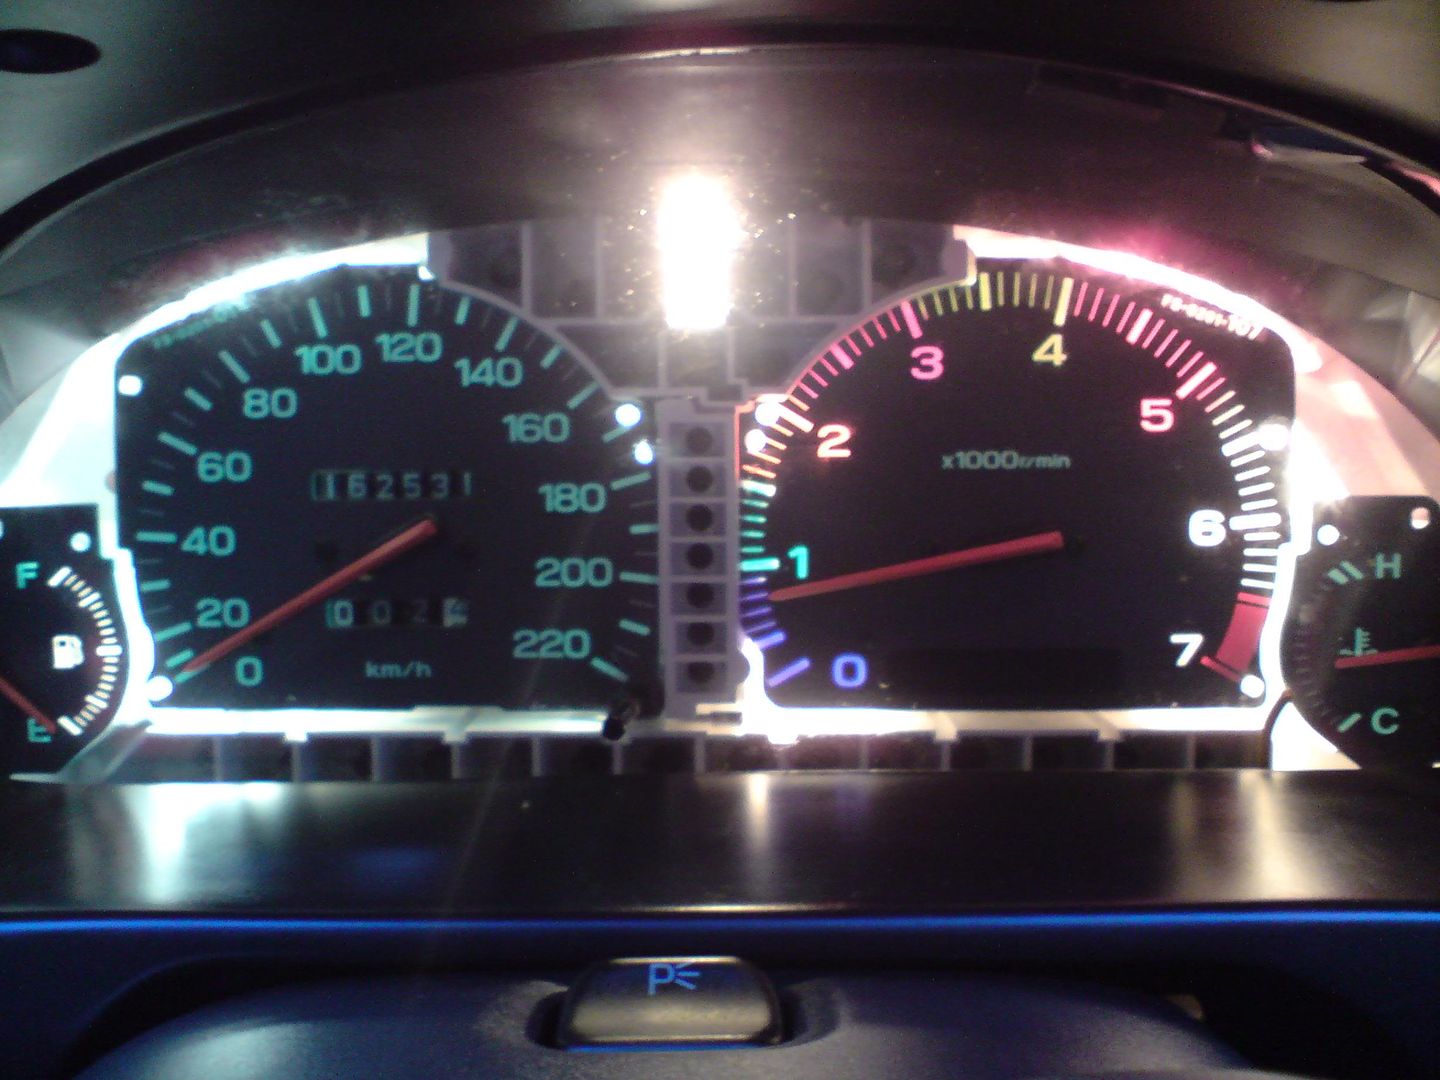
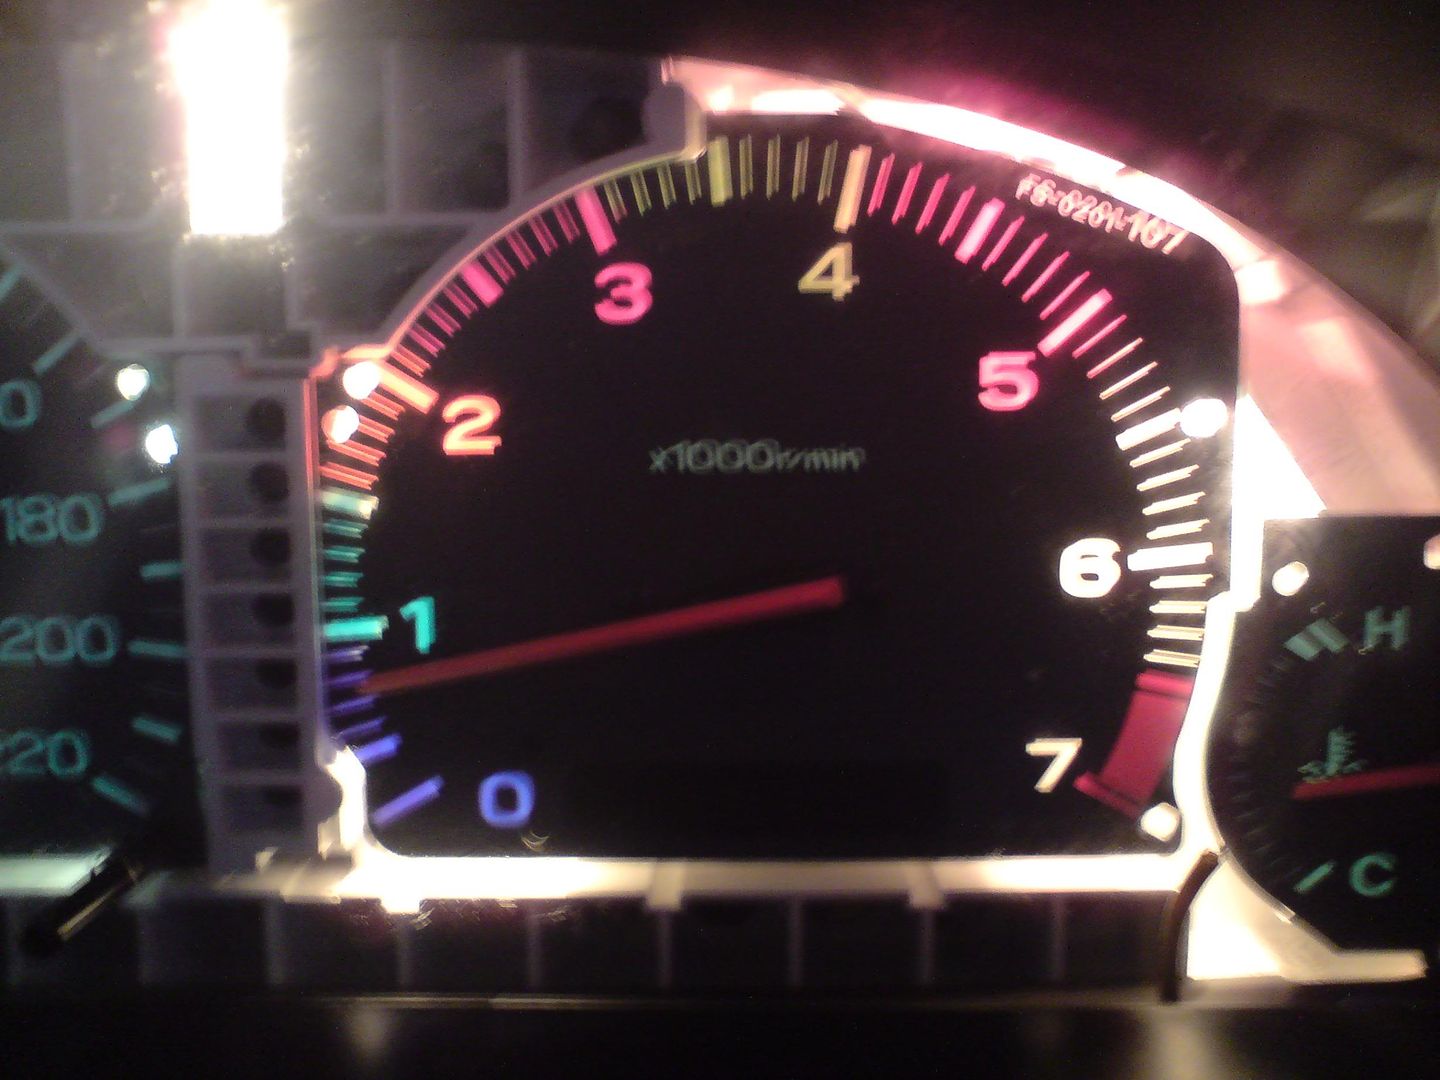
Test the gauges by resting it in place without the surround before screwing it all back in as it is a pain to remove the cluster later if something is not working (in my case the temp gauge) so let the car warm up to test everything.
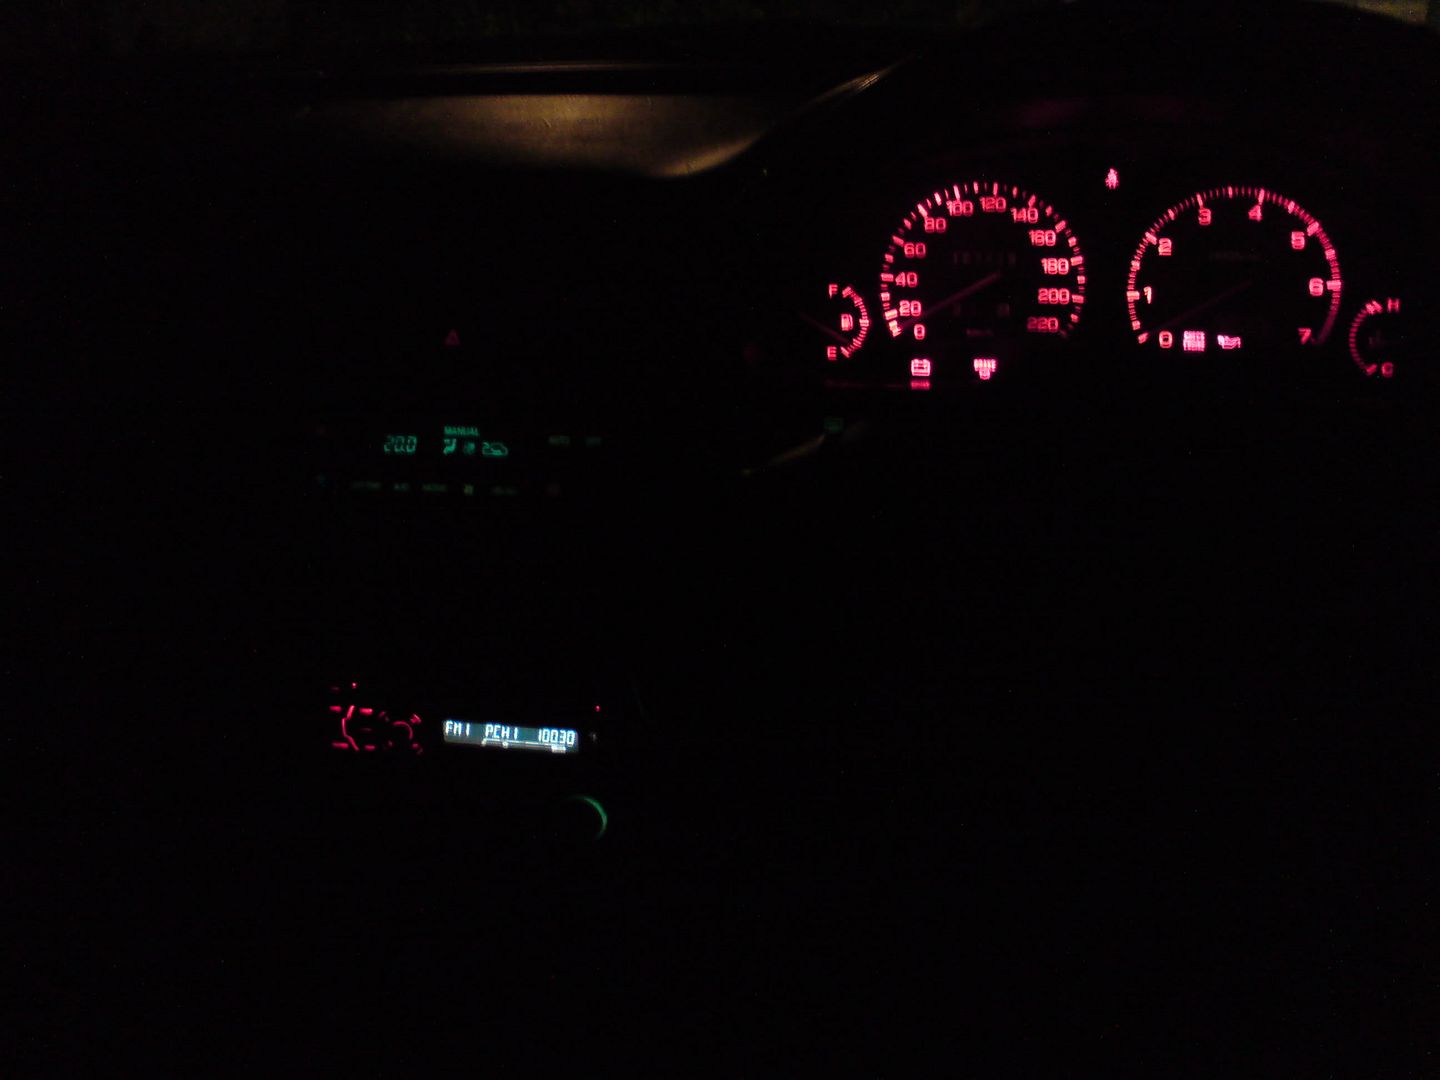
Final Result