
Nice work mate. Do I still have to use the sticky dash excuse to get them to replace the entire dash or are they doing it by default?
Good to see it all work out for you despite the bullshit you went through... I don't mind the Levorg. 
Regular Member


Posted 31 October 2017 - 09:40 PM
Nice work mate. Do I still have to use the sticky dash excuse to get them to replace the entire dash or are they doing it by default?
Good to see it all work out for you despite the bullshit you went through... I don't mind the Levorg.
Wanting to buy/looking for: single genuine STi rim, genuine STi front lip, Corazon or Zero/Sports grille and another OEM grille
Can you hook a brother up? Please contact me now. I have cash ready.
~
~
Rock'n the old Skool

Posted 31 October 2017 - 09:58 PM

Trusted Member
Posted 31 October 2017 - 10:54 PM
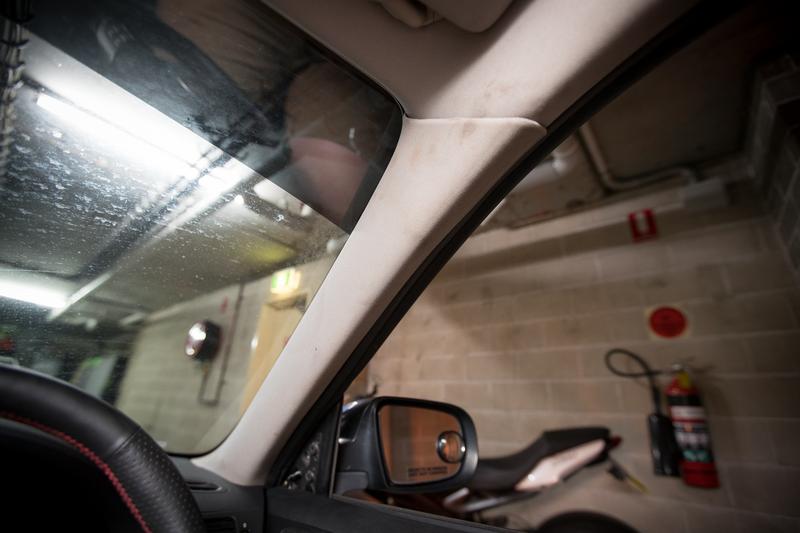
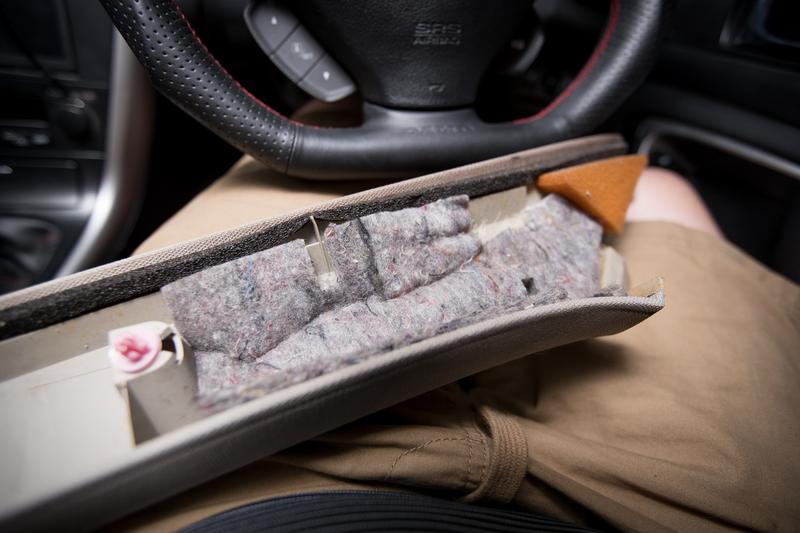
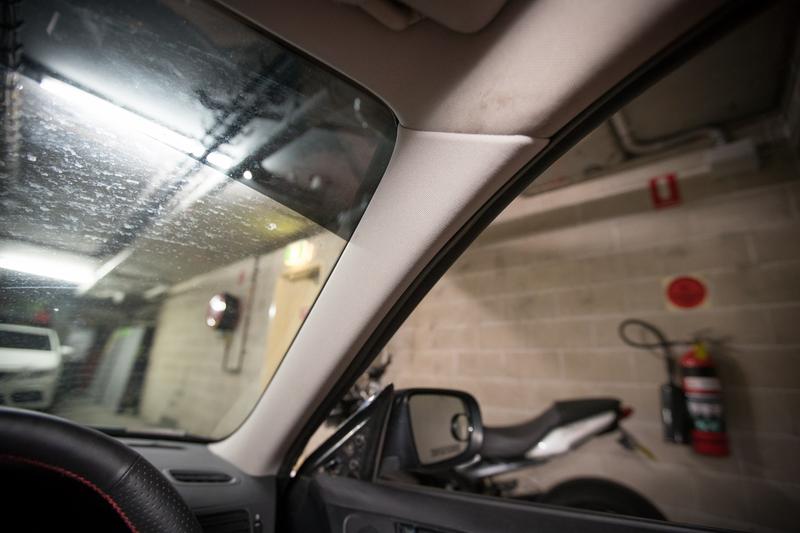
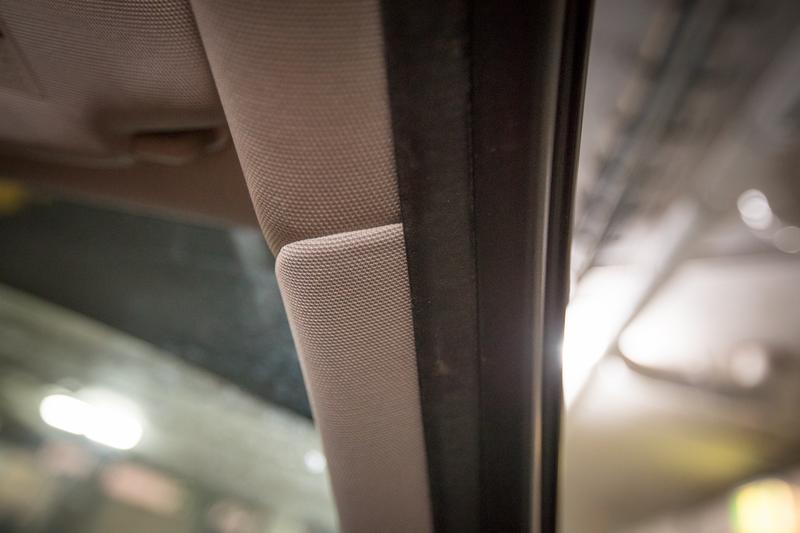
Similar thing for my "olds" Toymotor Yaris. The local dealer replaced the airbags and the passenger side A pillar trim was hanging loose as in close to falling off. I believe the dealer's already had it back once & still hasn't fixed it. Next time I'm at my parents house if it's not fixed then the dealer will be getting an earful from me.
Trusted Member
Posted 03 November 2017 - 12:26 AM
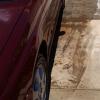
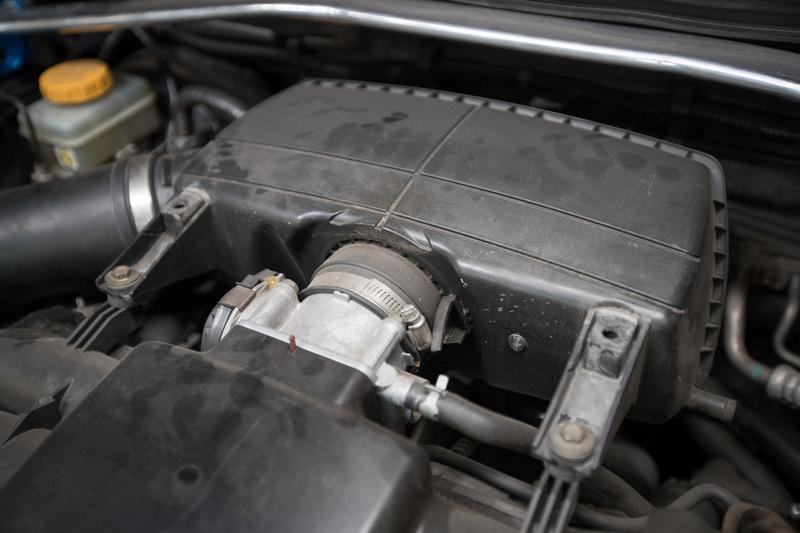
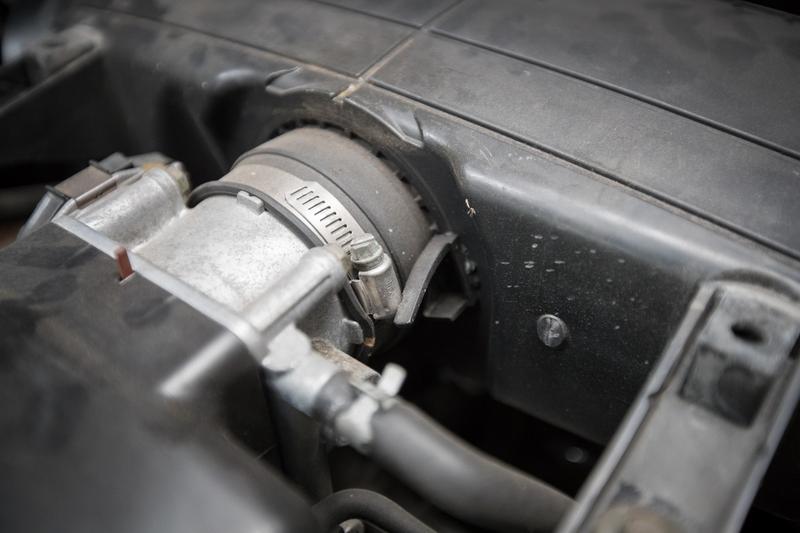
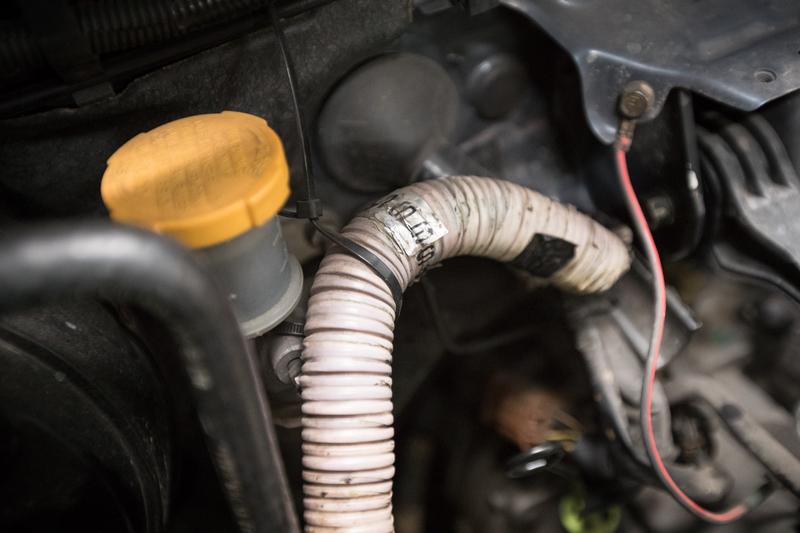
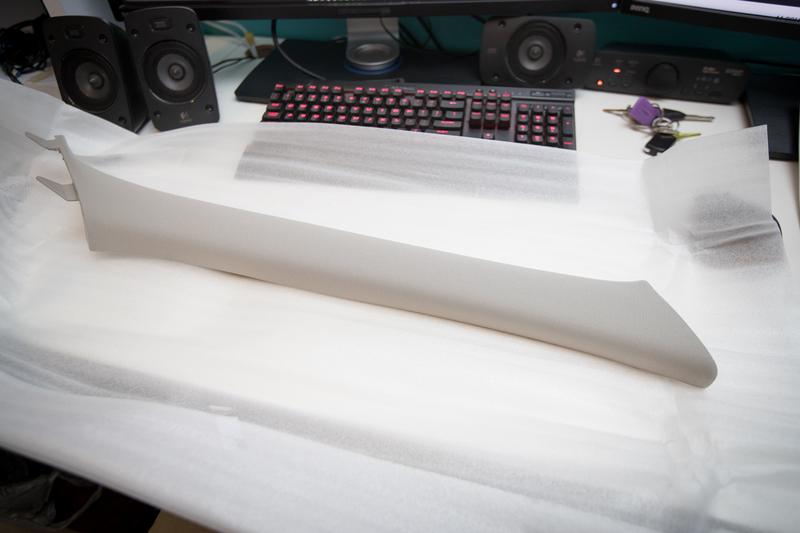
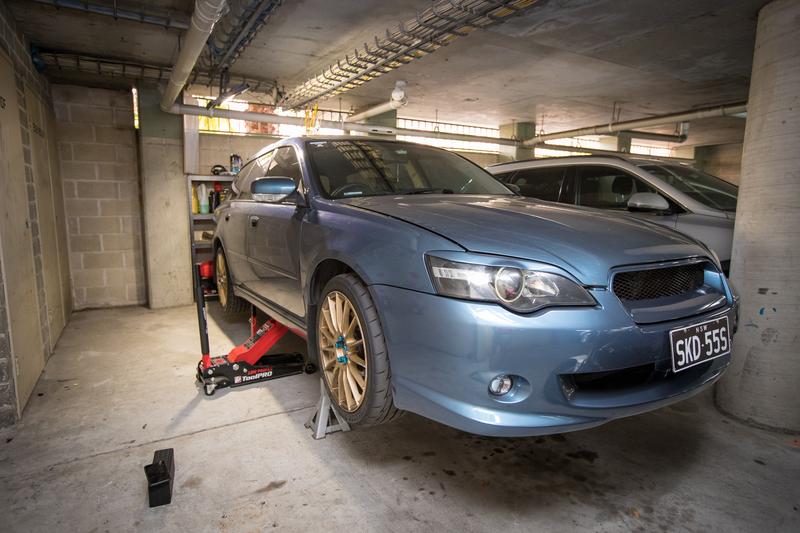
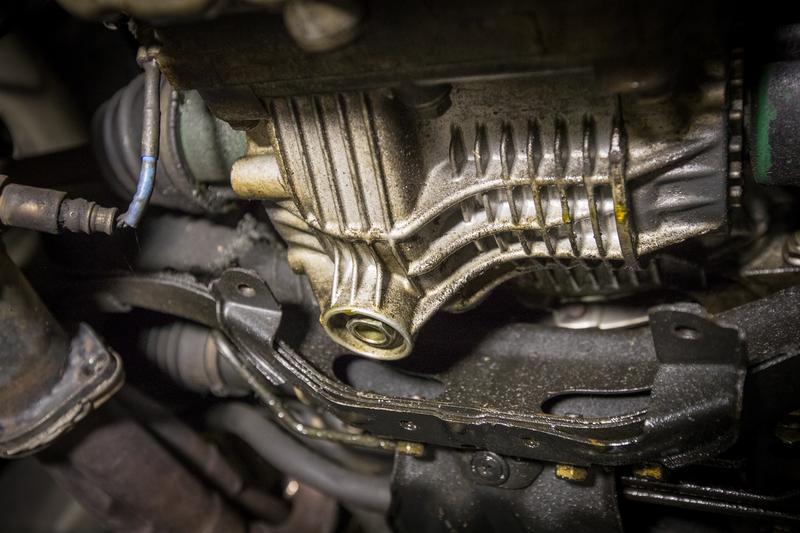
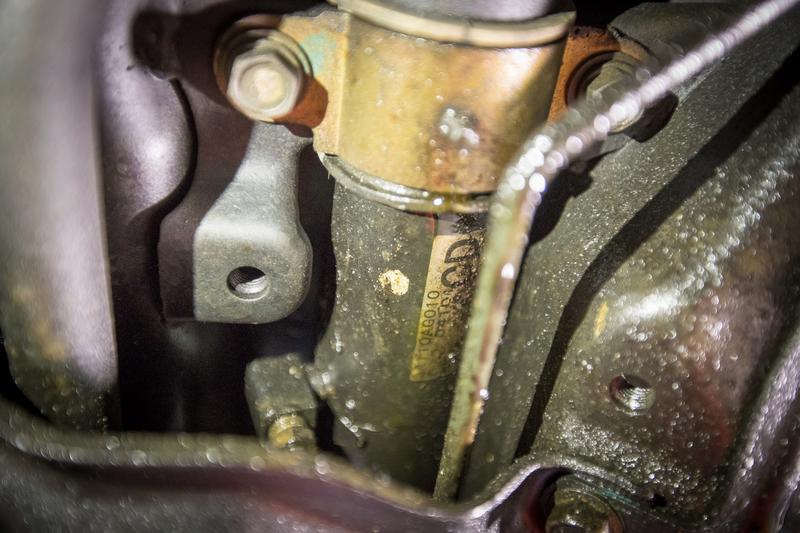
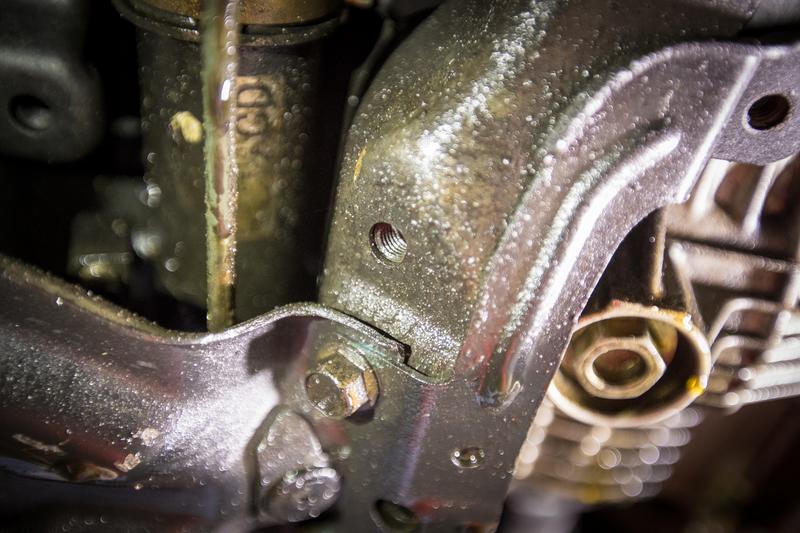
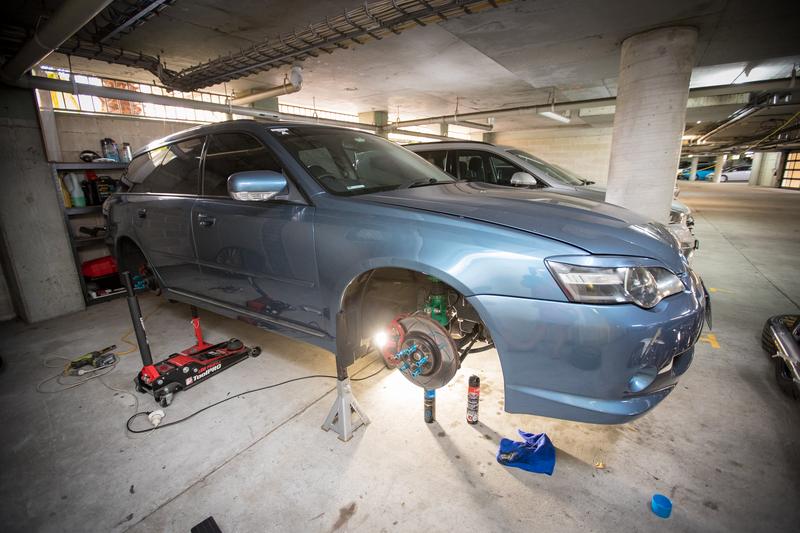
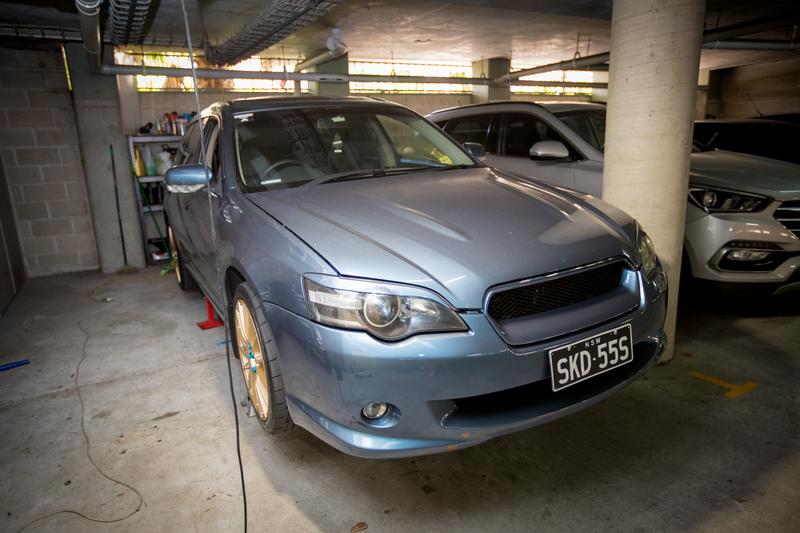
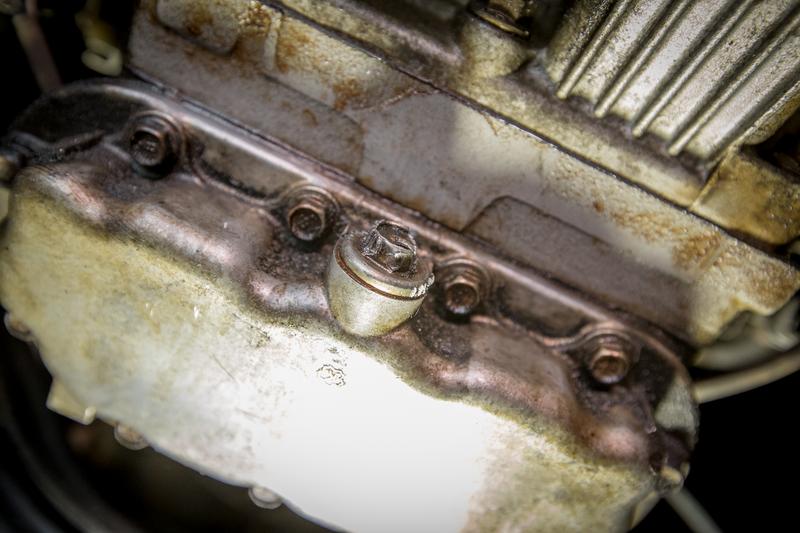
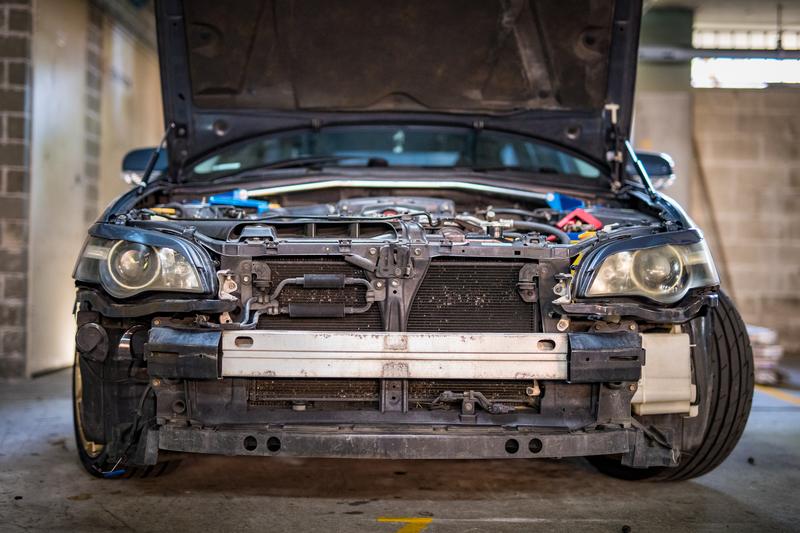
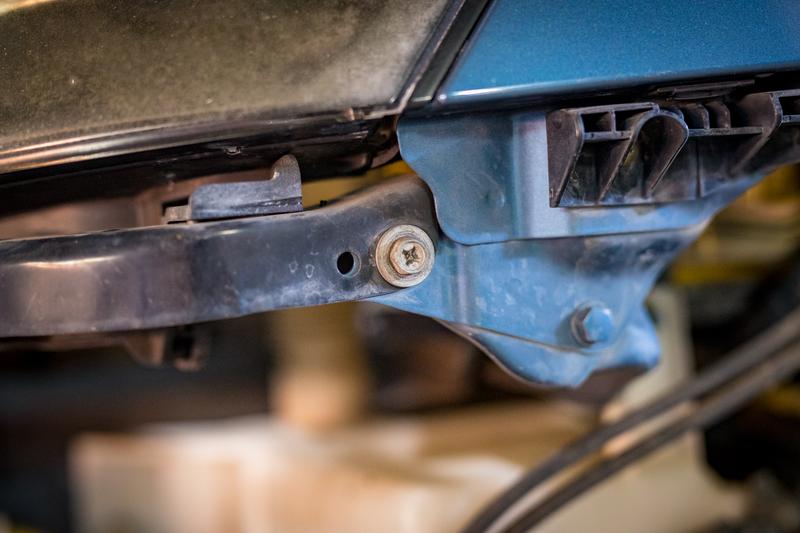
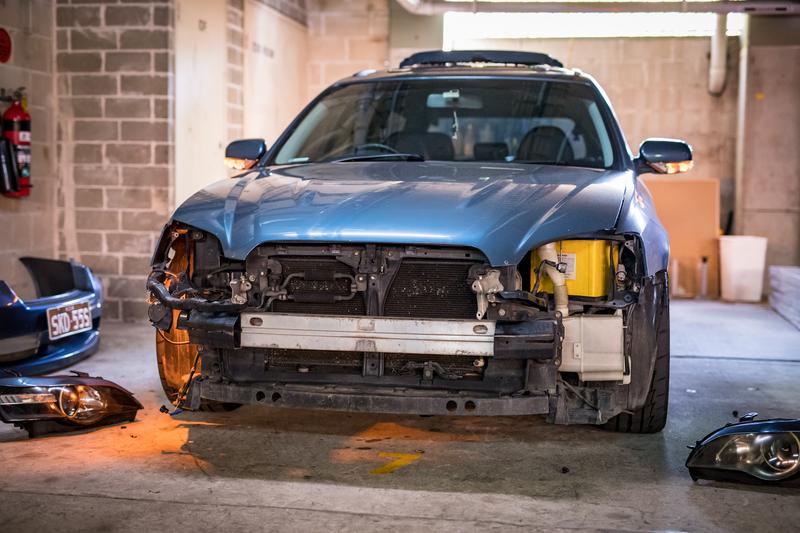
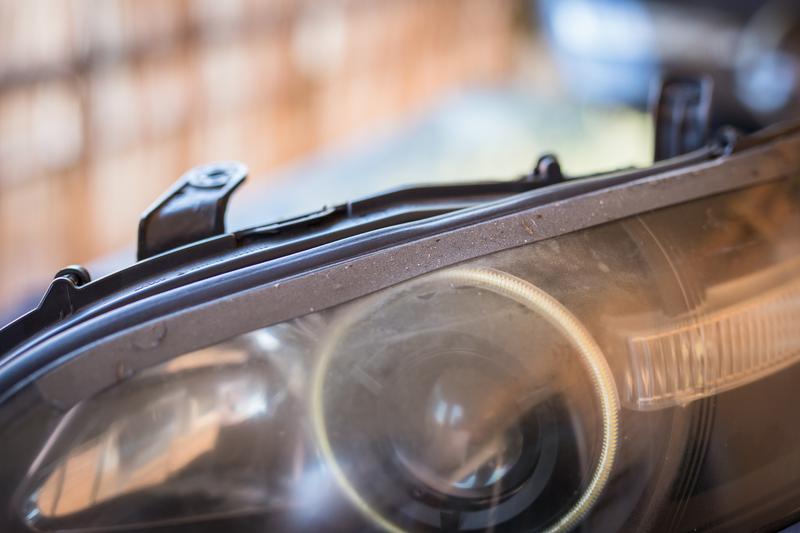
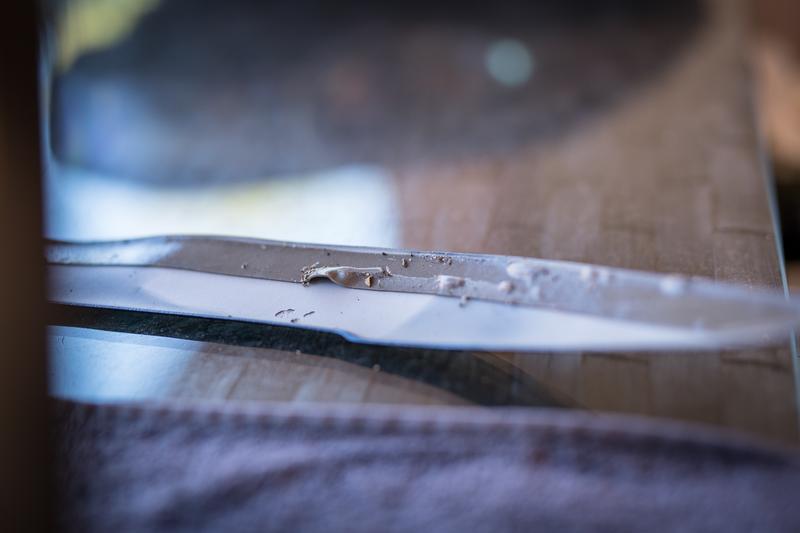
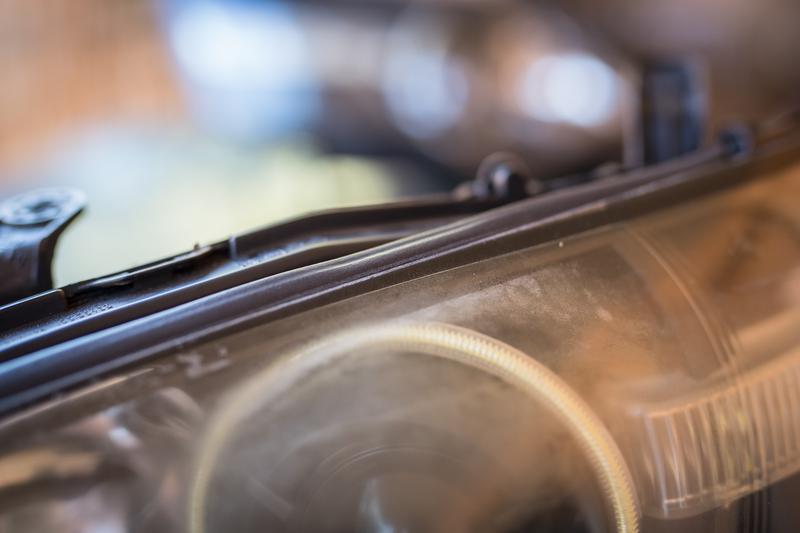
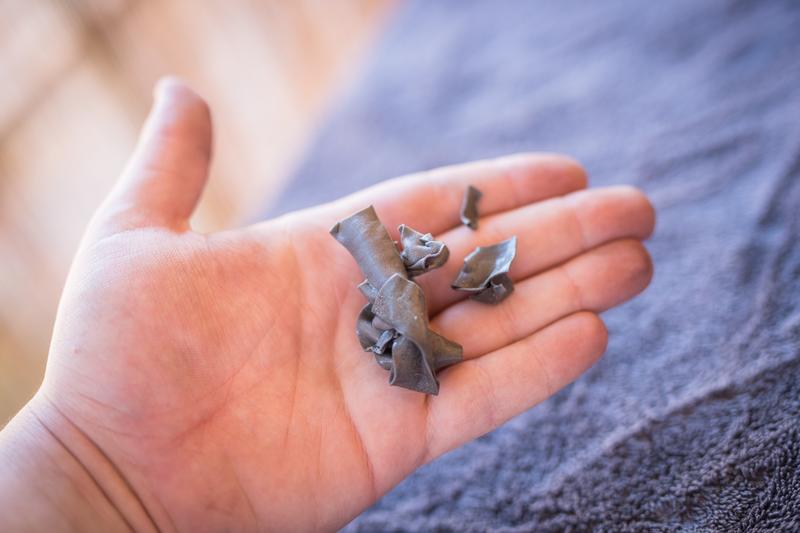
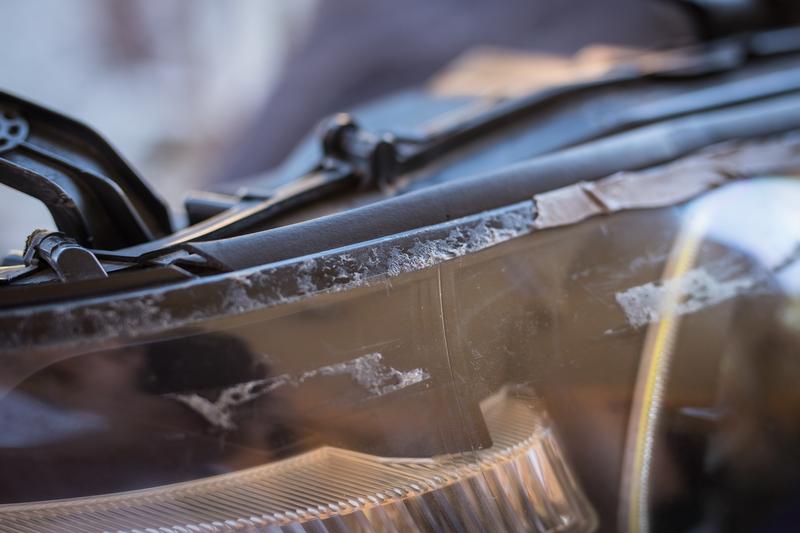
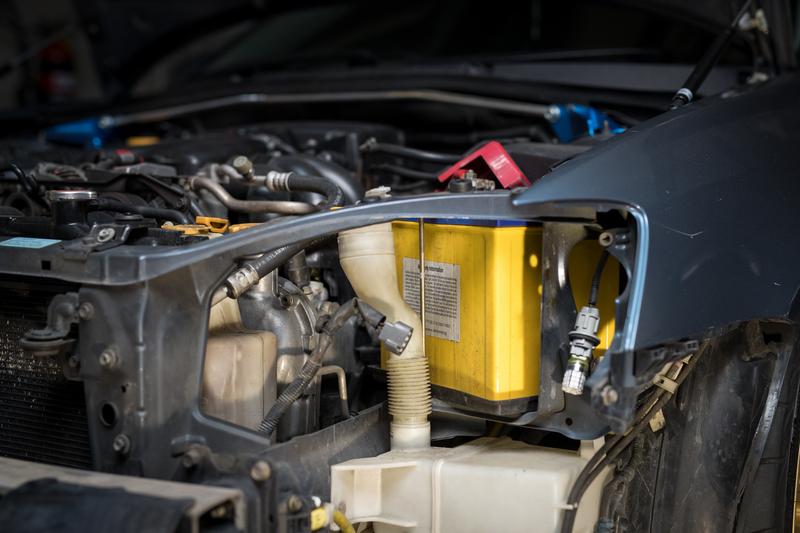
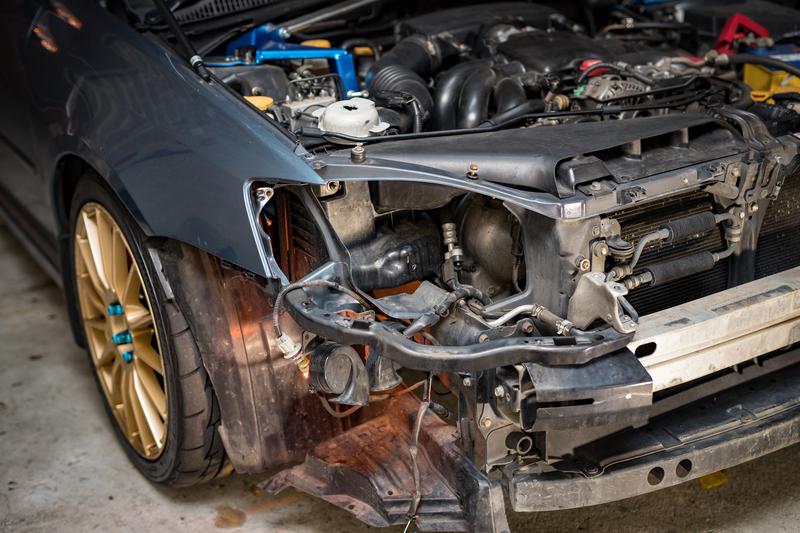
November 2017: Before getting the interior back together I wanted to see if I could track down the strange noise coming from the front end. I started with the front coilovers as that has been a trouble issue since buying them. Drivers side first as that has been the one not holding base adjustment. It seems to have held well over the Melbourne trip which is good.


Regular Member
Posted 03 November 2017 - 12:32 AM
It's just getting better and better man.
I seriously cannot believe Subaru forked that up again... VERY poor form.
Wanting to buy/looking for: single genuine STi rim, genuine STi front lip, Corazon or Zero/Sports grille and another OEM grille
Can you hook a brother up? Please contact me now. I have cash ready.
~
~
Touring Bruce

Posted 03 November 2017 - 09:15 AM
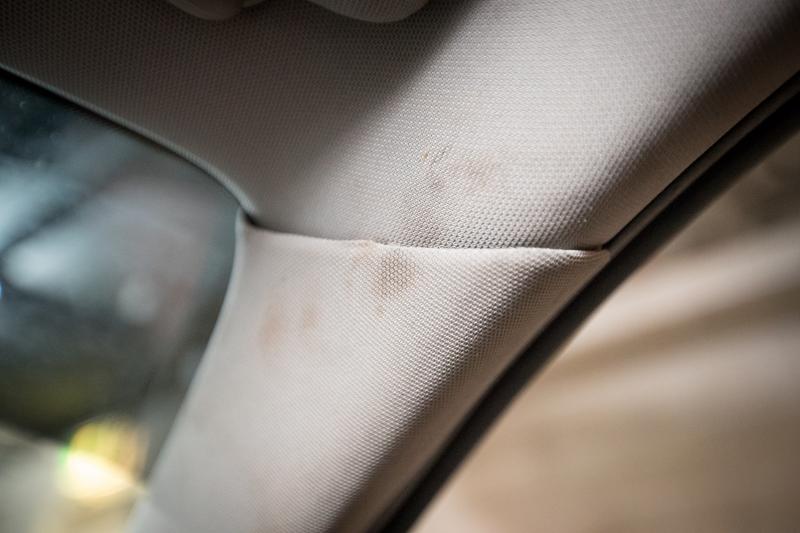
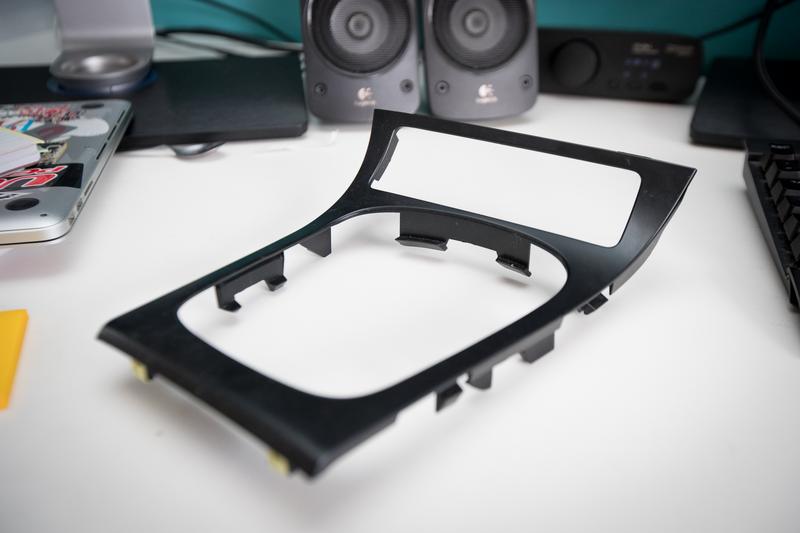
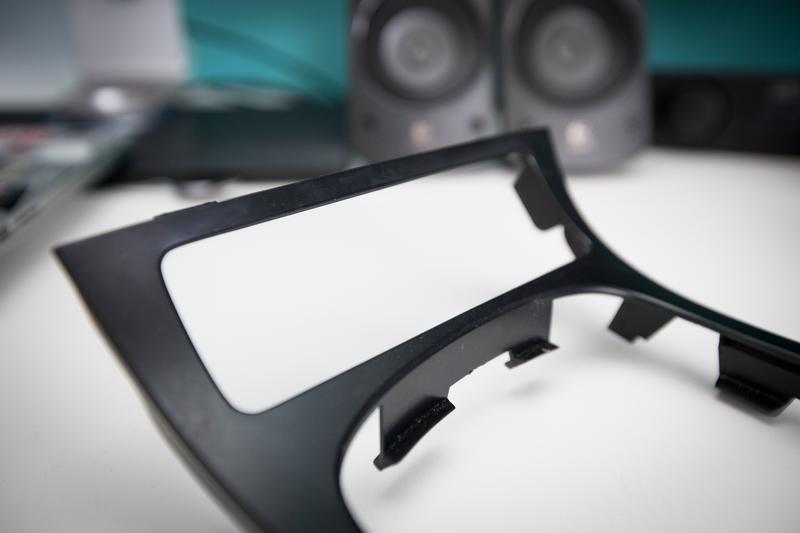
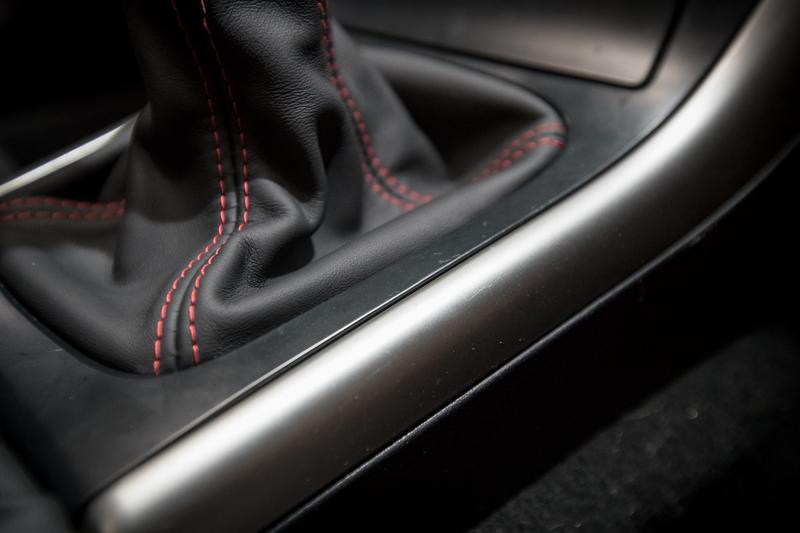
That shift surround is a joke. Idk how they could even remotely try and claim that as new when its covered in DUST let alone scratched. Take em to the cleaners i say

Trusted Member
Posted 16 November 2017 - 08:59 PM


Rock'n the old Skool
Posted 20 November 2017 - 07:45 PM
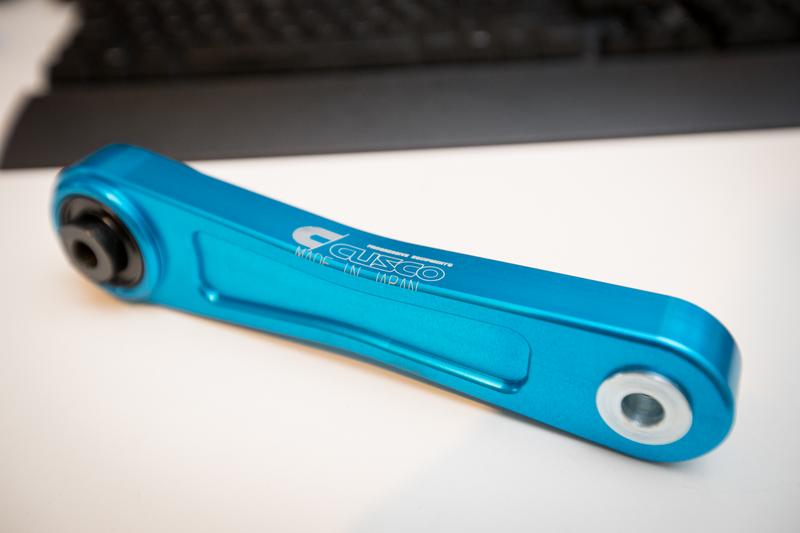
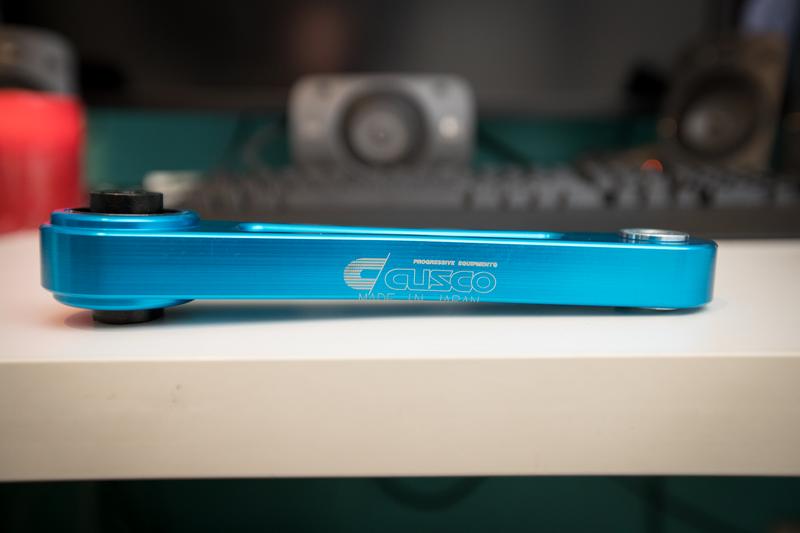
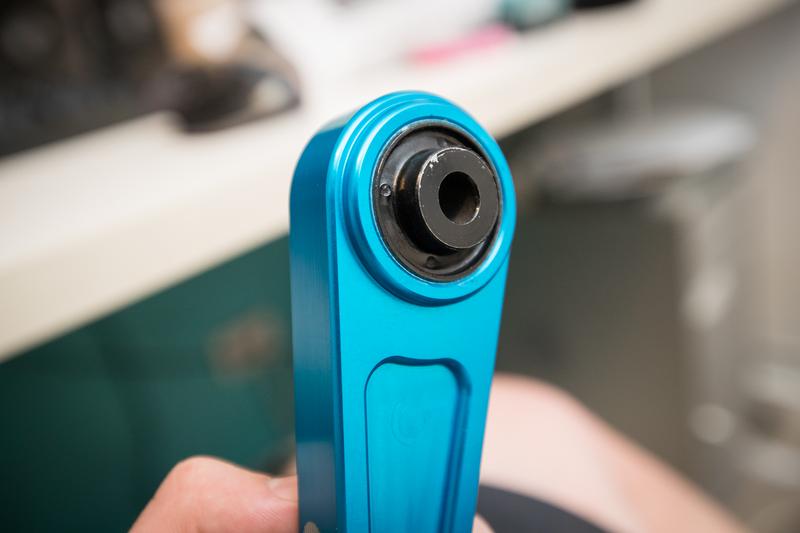
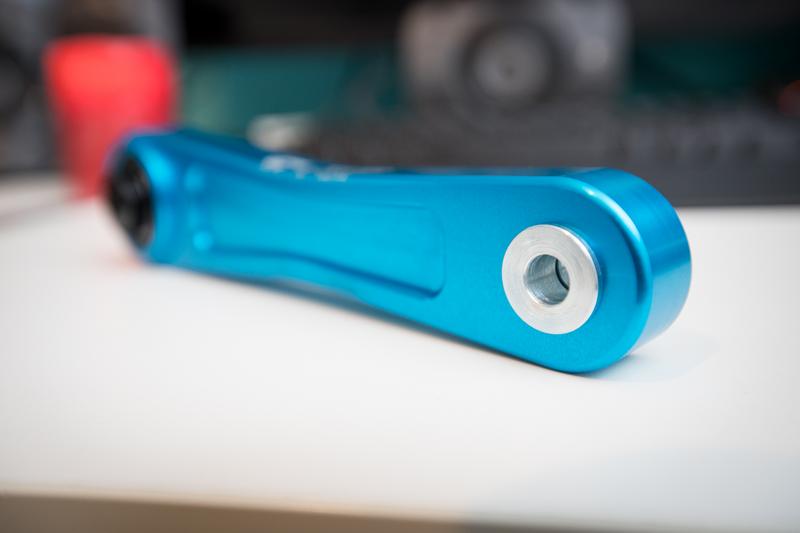
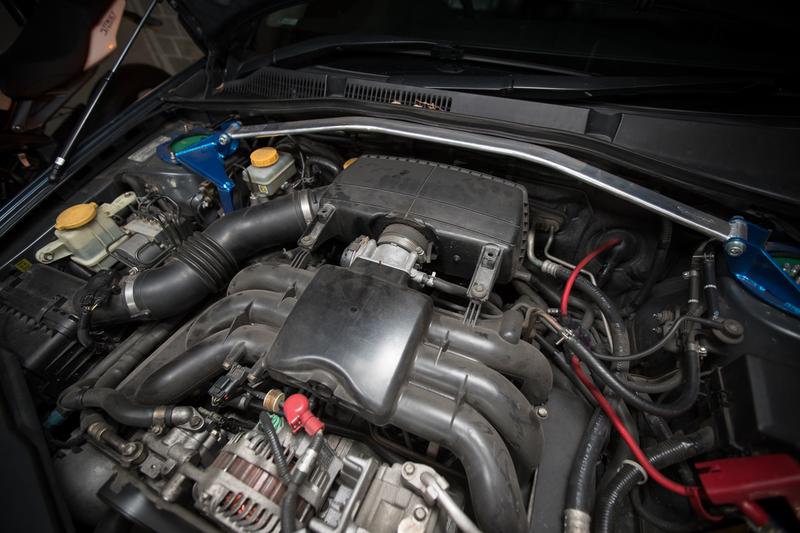
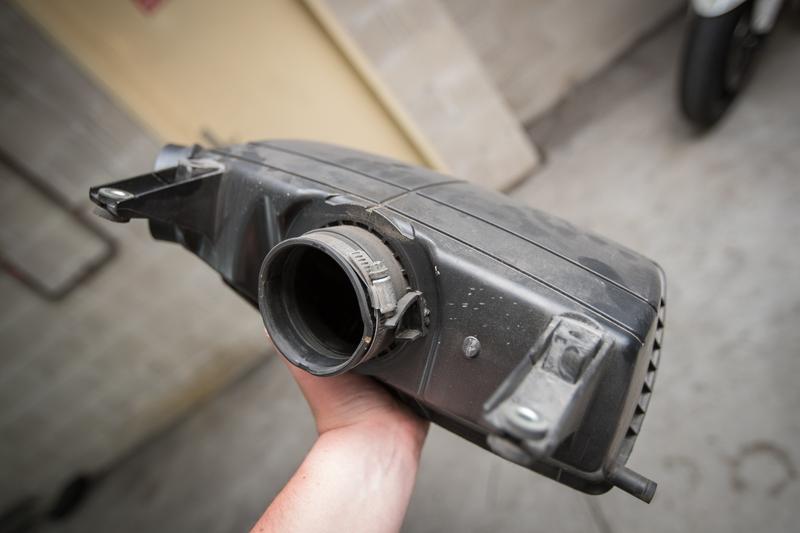
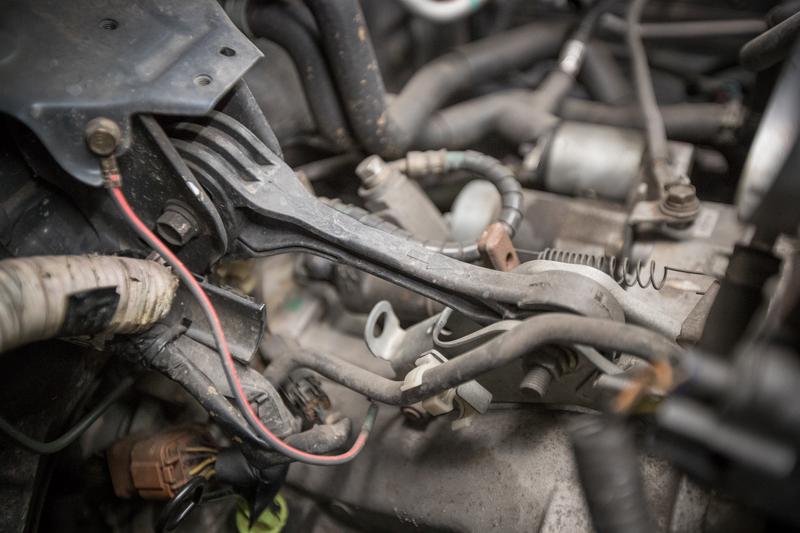
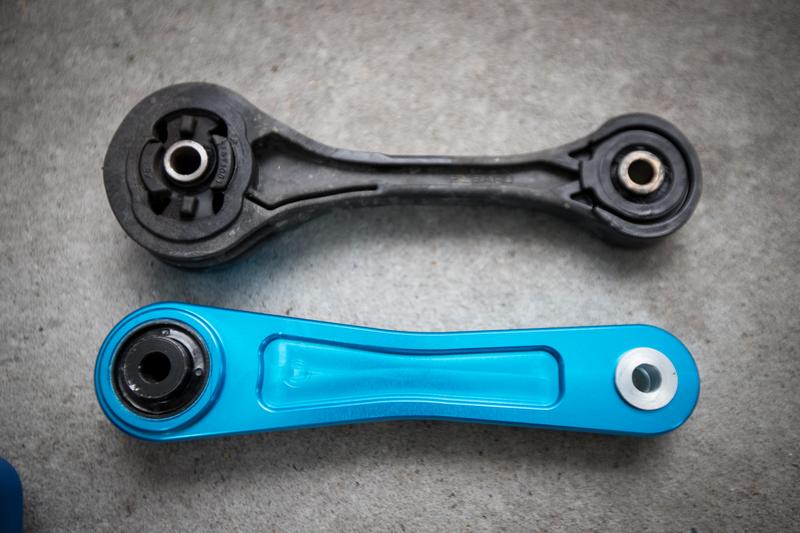
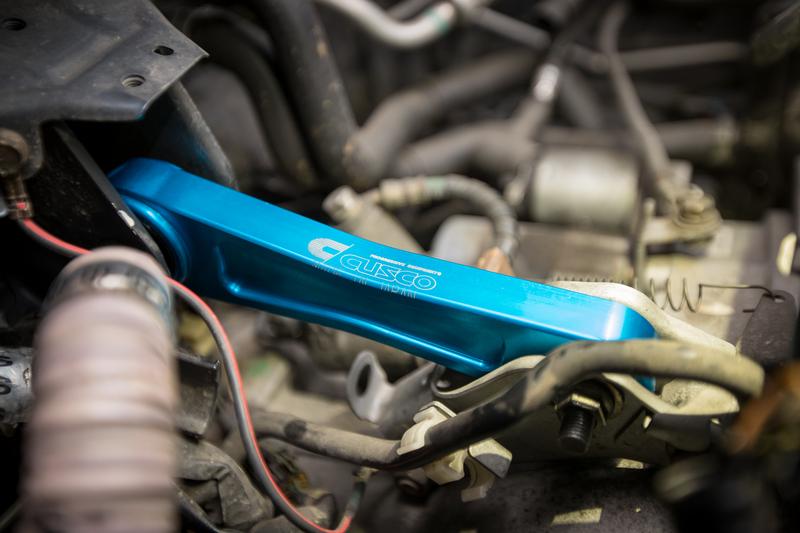
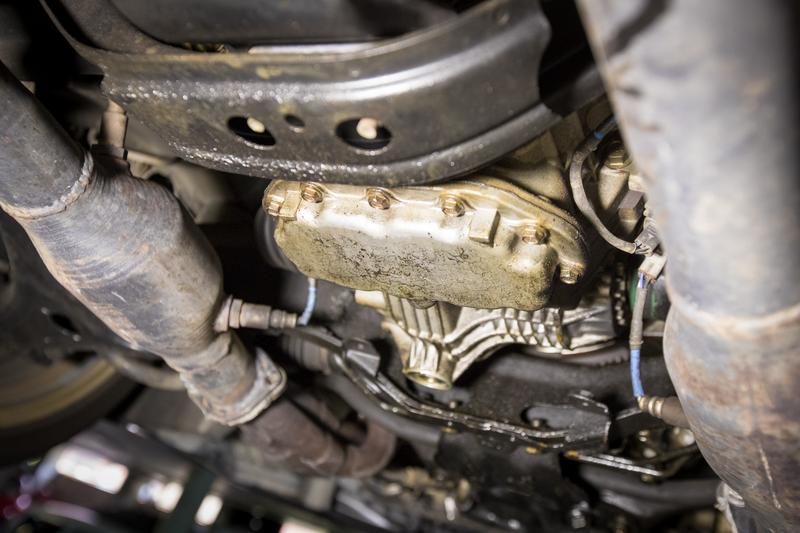
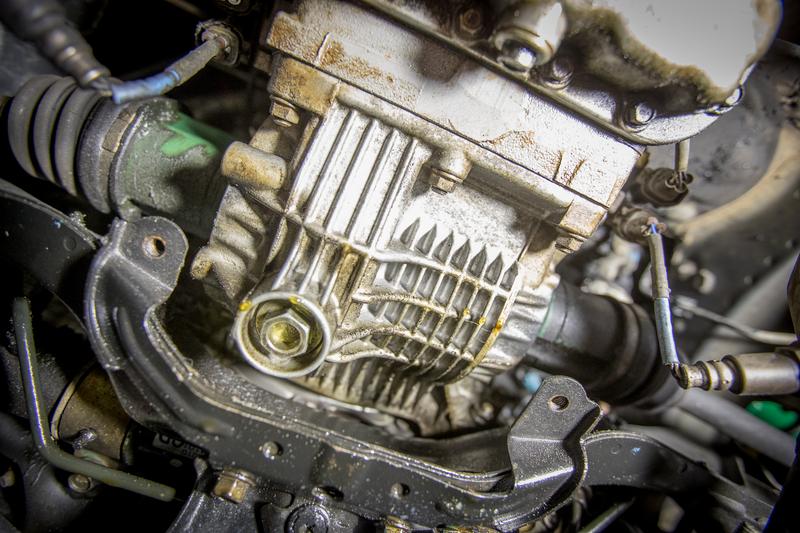
Nice pitch stopper rod - shame no one will see it under the air filter box.
But you'll know its there 
Cheers
Bennie
Trusted Member
Posted 29 November 2017 - 07:27 PM
Nice pitch stopper rod - shame no one will see it under the air filter box.
But you'll know its there
Cheers
Bennie
I know right, oh well, more excuses for other Cusco goodies to be added.


Regular Member
Posted 04 December 2017 - 09:09 PM
Wanting to buy/looking for: single genuine STi rim, genuine STi front lip, Corazon or Zero/Sports grille and another OEM grille
Can you hook a brother up? Please contact me now. I have cash ready.
~
~
Trusted Member
Posted 09 December 2017 - 08:44 PM
Nice additions man. Your wagon just gets cleaner and cleaner.
Thanks Gaz!


Regular Member
Posted 10 December 2017 - 02:30 AM
Wanting to buy/looking for: single genuine STi rim, genuine STi front lip, Corazon or Zero/Sports grille and another OEM grille
Can you hook a brother up? Please contact me now. I have cash ready.
~
~
Member's Member

Posted 10 December 2017 - 01:36 PM
Trusted Member
Posted 15 January 2018 - 08:51 PM
Trusted Member
Posted 17 January 2018 - 08:57 PM

Regular Member
Posted 18 January 2018 - 06:58 AM
Very nice. You got there in the end with the dealership.
Don't be stung though. Not all dealerships are the same and there are still some good stories coming out from dash and airbag replacements. I have yet to book mine in... 
Wanting to buy/looking for: single genuine STi rim, genuine STi front lip, Corazon or Zero/Sports grille and another OEM grille
Can you hook a brother up? Please contact me now. I have cash ready.
~
~
Livin' the Legacy

Posted 18 January 2018 - 09:14 AM
Very nice. You got there in the end with the dealership.
Don't be stung though. Not all dealerships are the same and there are still some good stories coming out from dash and airbag replacements. I have yet to book mine in...
Same here. Did you get the letter via registered post basically saying if your face explodes you can't sue them?
'04 Liberty GT Premium "The Sprog Chariot"
Regular Member
Posted 18 January 2018 - 09:30 AM
Haha, yeah I did. Very official-looking too.
Wanting to buy/looking for: single genuine STi rim, genuine STi front lip, Corazon or Zero/Sports grille and another OEM grille
Can you hook a brother up? Please contact me now. I have cash ready.
~
~
Member's Member
Posted 18 January 2018 - 09:33 AM
Same here. Did you get the letter via registered post basically saying if your face explodes you can't sue them?
Trusted Member
Posted 18 March 2018 - 08:54 PM


0 members, 0 guests, 0 anonymous users

