
Tools/ Materials:
- 2 x 20cm Warm White strips
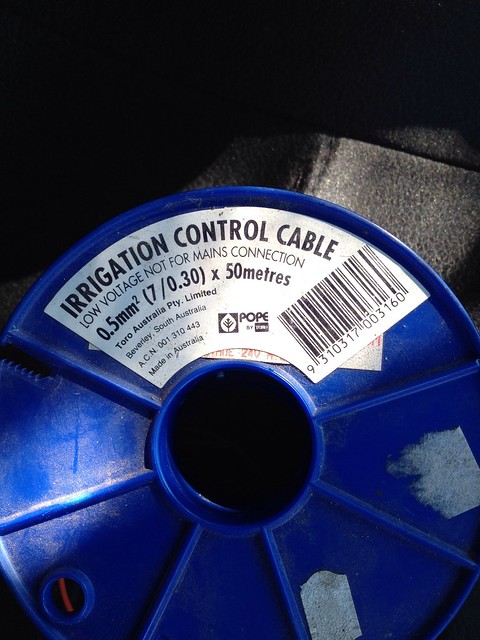
- Irrigation Control Cable. 0.5mm. Just what i had lying around home. Any cable could be used really as LED don't draw much amps.
- Phillips Screwdriver (make sure you have stumpy one)
- Flat Blade Screwdriver (for prying tabs etc)
- Pliers (Fat & Pointy Nose)
- Cable Stripper (If you don't have decent Pliers)
- Soldering Iron
- Solder
- Electrical Tape
- Electrical connectors
- Socket Set
- Yellow Tongue, (Timber Floor joiner) Coat Hanger or some form of Draw Wire
- Depending on car, strip of aluminum Tin etc.
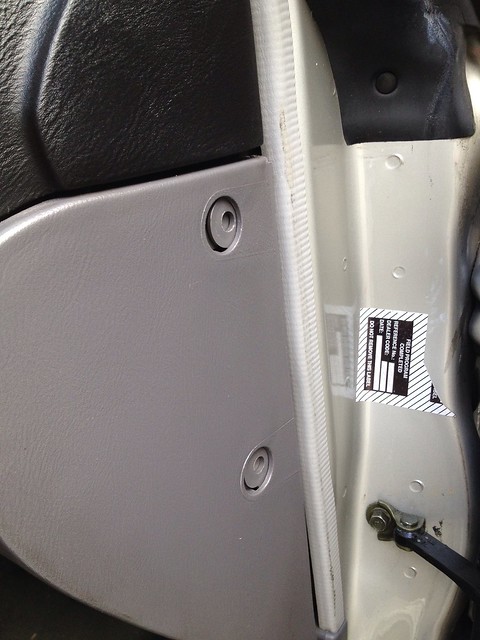
Remove the two plastic screw clips from inbetween drivers door and dash and remove trim.
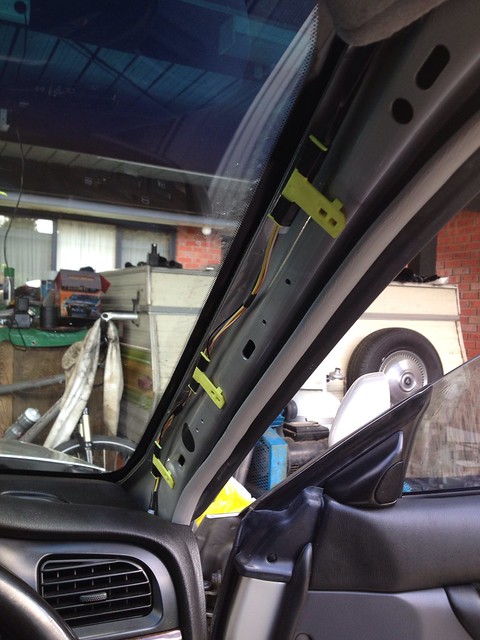
Pull off A pillar trim. Trim is held on by plastic tab like creatures and can just be pulled off. Be sure to support area around clip when remove to reduce the risk of breaking said trim.
Undo drivers side sun visor. Replace screws into threads so you don't loose them.
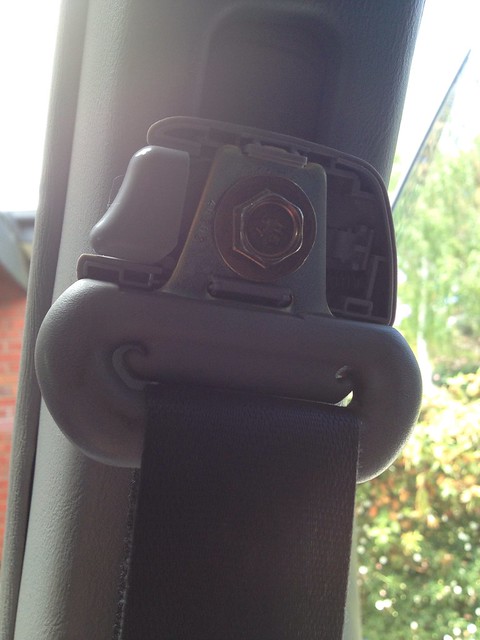
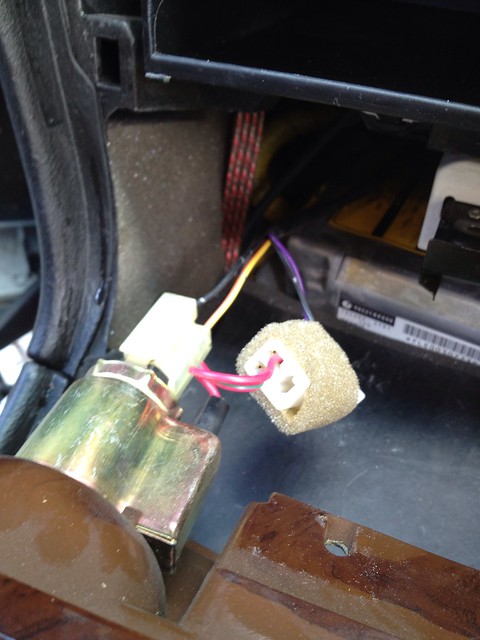
Pull off seatbelt position adjuster trim. Using your socket set undo the bolt and remove the unit. (Think it was a 15mm socket?)
Now i don't have pictures for the next bit. I'll try and explain. You need to remove the trim that extends up and holds the roof lining up on the B pillar. Where the upper trim meets half way down with the other B pillar trim, there is another piece of trim that should unclip from the sides and pull off. Have a play and try and get it off. If you can't, you might be able to slide the upper trim out?
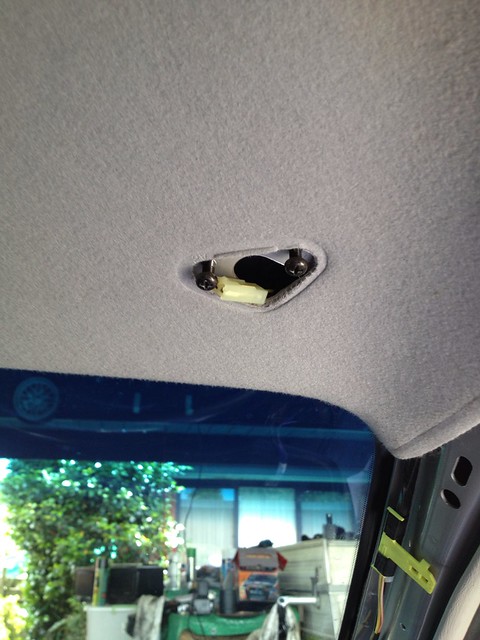
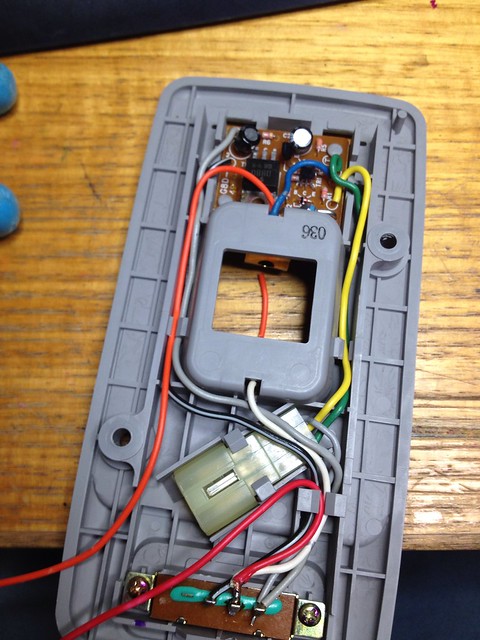
Next thing is to remove the Dome Light. This is where we will be soldering the wires to switch the LED on and off. Just pop the plastic cover off and there should be two Phillip head screws holding it in. (Ignore Orange and Red Wires, they are the wires running to my LED's) Carefully disconnect the plug so that you don't break of the tabs holding it onto the light. Completely remove light from car.

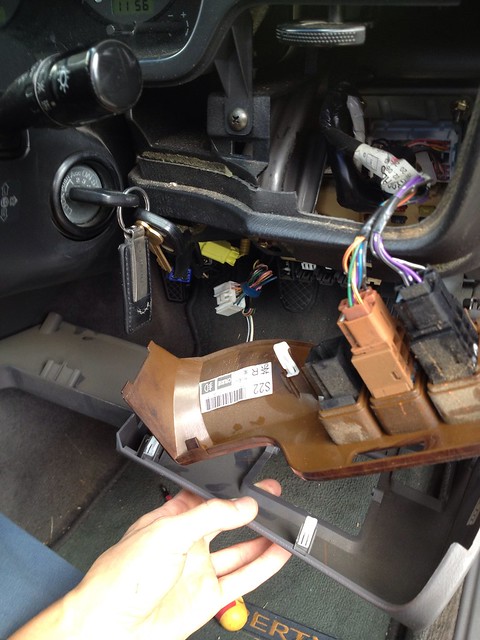
Now we need to start pulling apart the centre dash, and under steering wheel trims:
Carefully pull up on your gear surround and un screw the Gear lever knob.
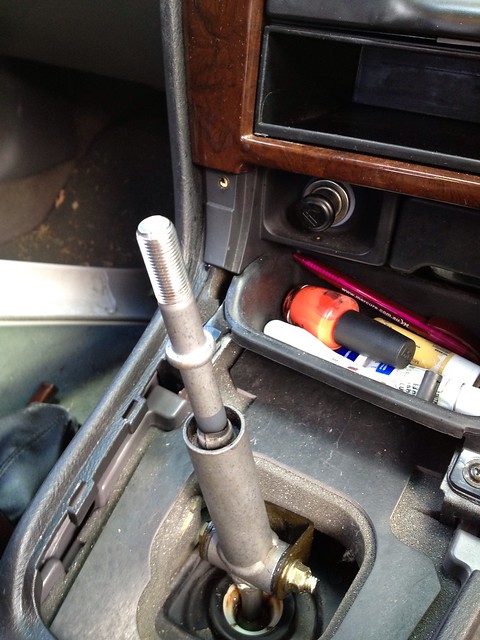
Pull out coin tray and use your stumpy screwdriver to remove the screws hidden up under the metal bracket.
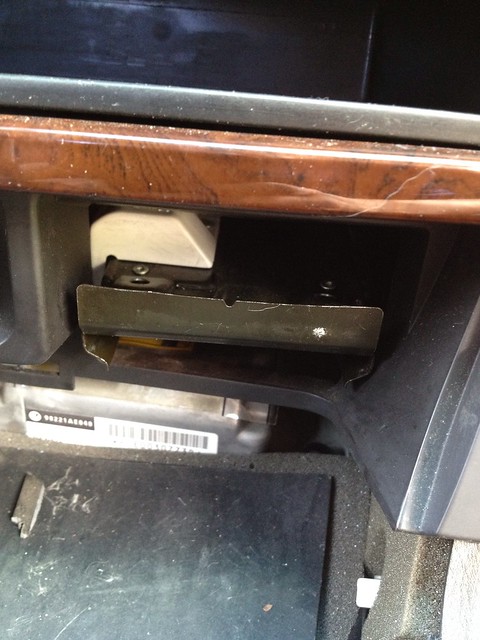
Get your hand between the steering column and wood grain piece and gently pull it out. It's just clipped in with little plastic tabs. Slowly work your way along the trim gently pulling it out. Careful around the cup holder as it can get stuck. Just gently wiggle it around a little and it should come loose. Then unplug the Cigarette lighter plugs.
Undo the one screw on the bottom left under steering column panel and again gently pull around edges to unclip it from its tabs.
Using the same method as the other wood grain piece. Gently pry this piece out for better access when running the wires down to the foot wells.
Now we need to start doing some soldering. I gave a rough generous measure of cable by holding it out where i was going to run it and cutting two lengths. I used Red and Orange for my colours because i didn't have anything else. Red and Black would probably be more appropriate.
Using your soldering iron, un solder the white cable from the switch. Then strip the black cable and carefully twist it tightly together as it needs to fit back between the hole in the switch tab. Once twisted, re solder back onto the switch tab.
The next one can be tricky but if you are careful and take your time, you shouldn't have too much trouble. Un clip the metal tab that holds in your globe and pull out as much length as you can, been careful not to pull it of the printed circuit board. Unsolder the wire and again, strip and twist the red wire and re solder onto the metal tab. Put back together and neatly run wires out the where to loom plugs in. Yes i know i soldered red to the switch, but since LED's are polarity sensitive, red ended up been the negative wire. So hence me telling you to solder black wire to switch tab.
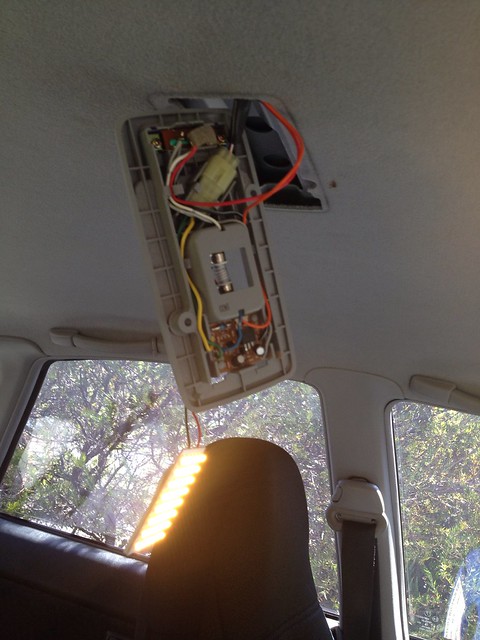
Back in the car. Feed the cables through your head lining over towards where you pulled off the A pillar trim.
Making sure the other two ends of you cable ARE NOT TOUCHING!!!!! Plug you globe back into you dome light, plug back into loom and check it still works. If it does, unplug from loom again and leave it just hanging there.
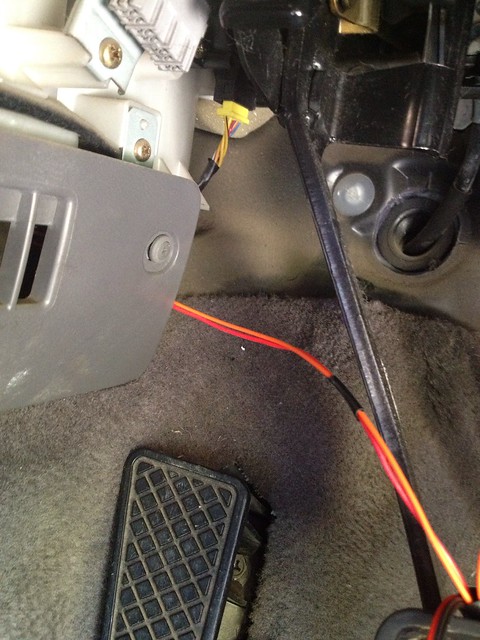
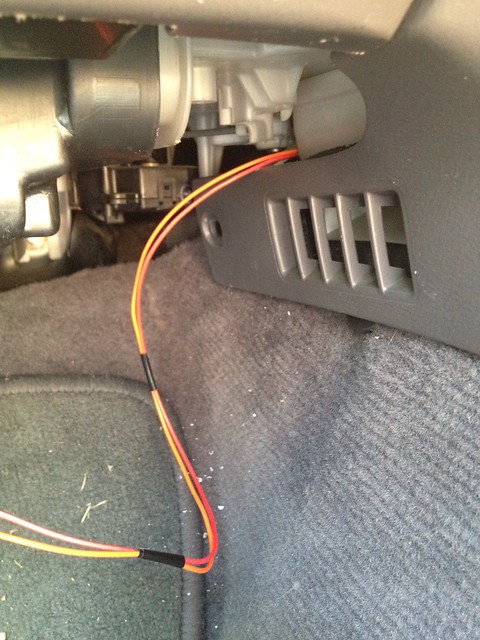
Now run the cables neatly down the A pillar down into the foot wells. We need to start soldering the LED's to the feed now.
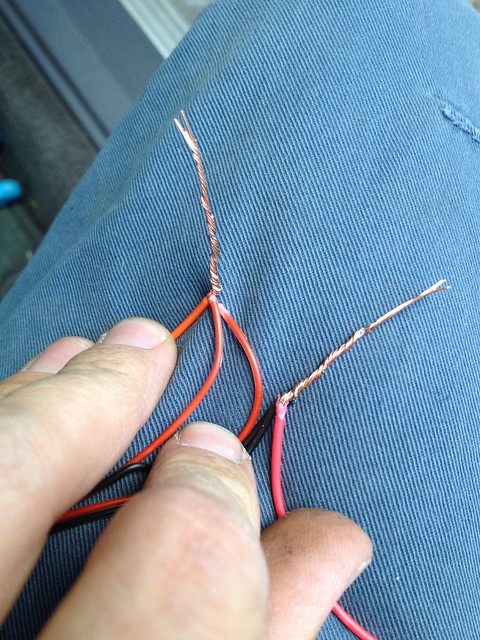
Strip all ends of cable on LED's and your feed from you dome light. When twisting thicker wire with thinner wire, i've always been taught to seprate the thicker wire in half, twist the thinner wire with one half, then twist the other thicker half over the lot. Hope that makes sense, but yeah. Here's a pic haha. Make sure you include 2 wires to run a feed over to the passengers side when twisting everything together.
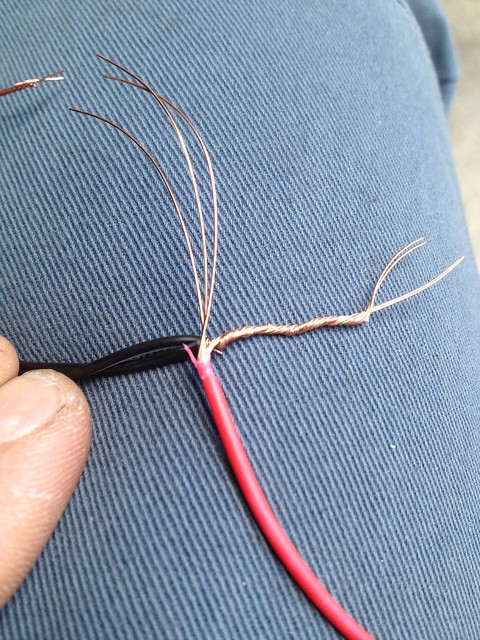
Do this for both the Pos and Neg.
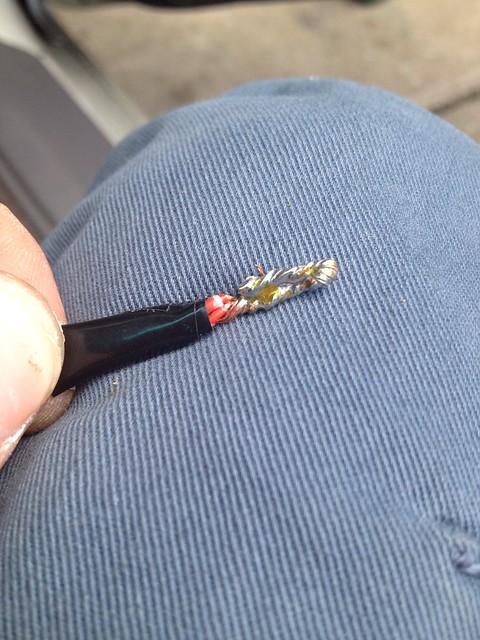
Now cut down the length a little, fold over and solder on both wires.
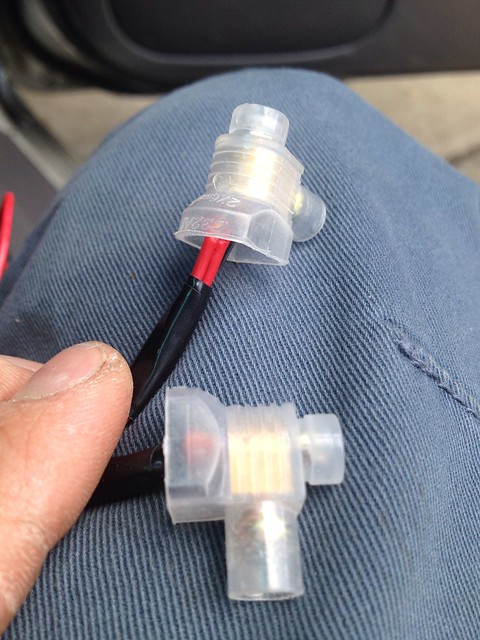
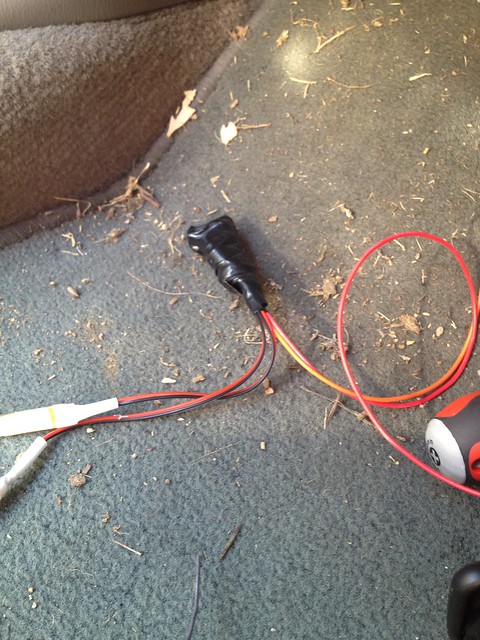
For the next step, different people have there different ways, but since been an apprentice sparky, i have a ridiculous amount of these connectors lying around, so i chose these to stop the to ends meeting. You could just tape them, but using connectors you know that they will never fall off and have the chance of meeting. So i connected, then tapped around each connector and then taped them both together.
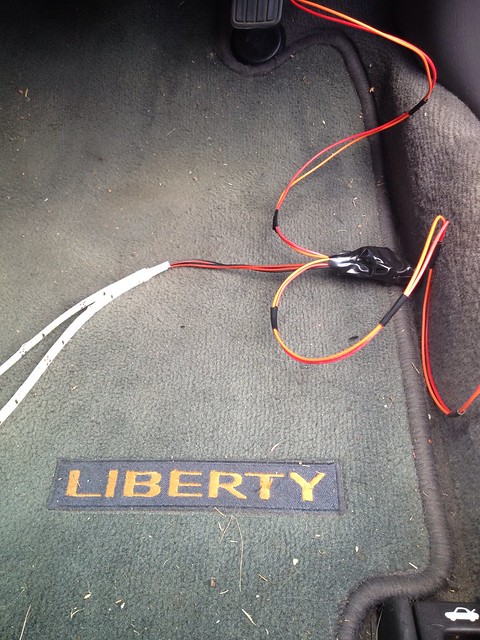
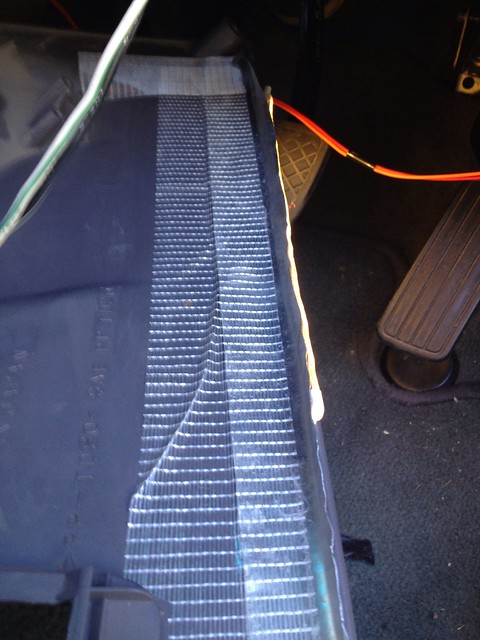
This next part it where you will need your yellow tongue/ coat hanger/ draw wire to get the feed from the drivers foot well across to your passenger foot well.
In the drivers side:
Out the passenger side:
Now i think i removed my glove box for some extra room but unfortunately i haven't taken pictures
 Basically just undo all the screws you can see around the glove box, and squeeze the sides in so the little plastic things that stop the glove box from swinging all the open pop out and it all should come out
Now strip, twist, solder, connector and tape just like you did on the drivers side. Excuse the dirt etc. Car copped a mammoth clean up after this haha
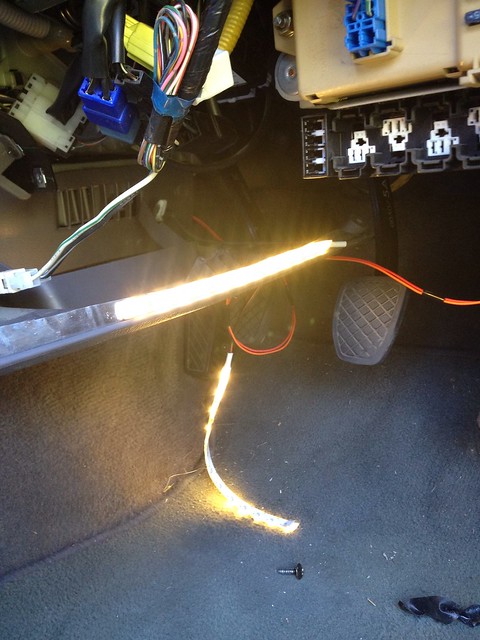
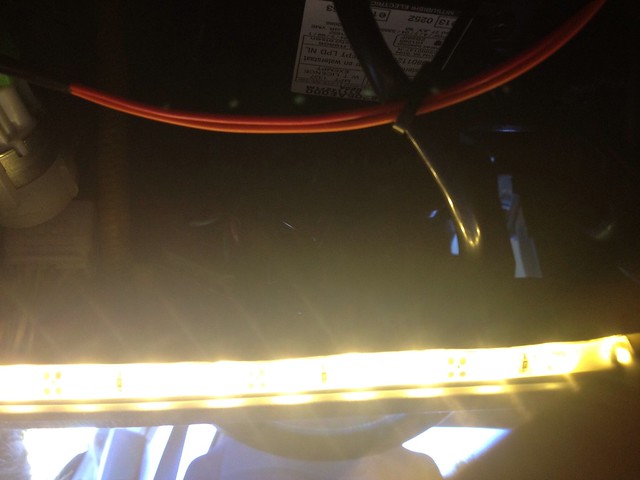
Now we need to test to see if they work before putting everything back together. So again... Making sure the other two ends of you cable ARE NOT TOUCHING!!!!! and that all the cable is protected from any form of shorting. plug the dome light back in and see if they light up.
In the photos i have two strips per side, as Morgan stated 'Two for each footwell??! It's going to be like a Christmas tree..!' He was right. So i disconnected one and left just one strip per side haha.
Now find a place to stick those bad boys!
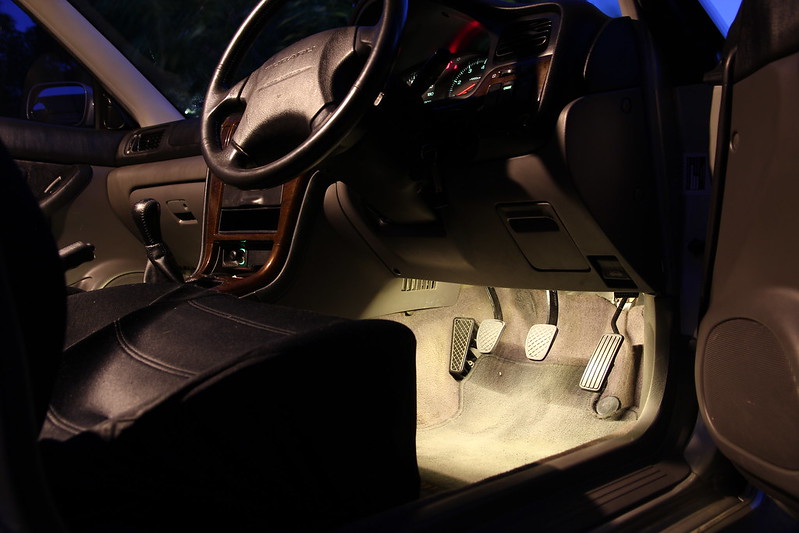
On the driver side i found there wasn't really anywhere to place the strip so i made up a little thing out of Tin sheet and stuck it on the back on the panal that goes under neath the steering column.
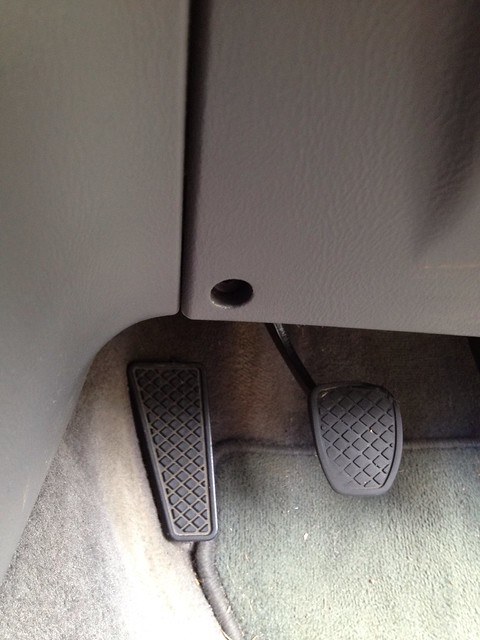
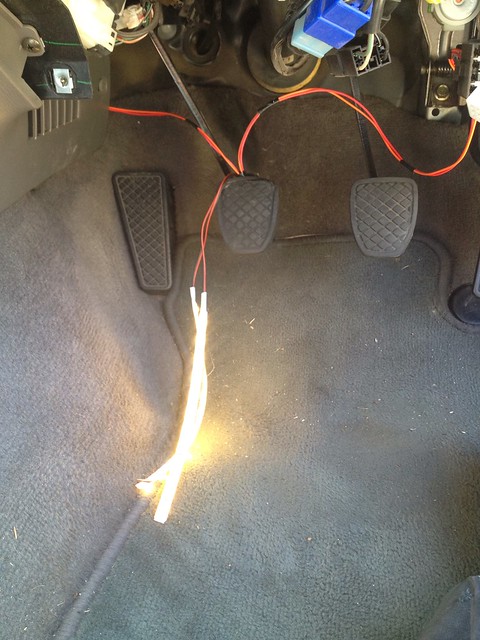
Now tidy up the wires so they don't get caught up in the brake, clutch, go pedals.
I cable tied mine out of the way.
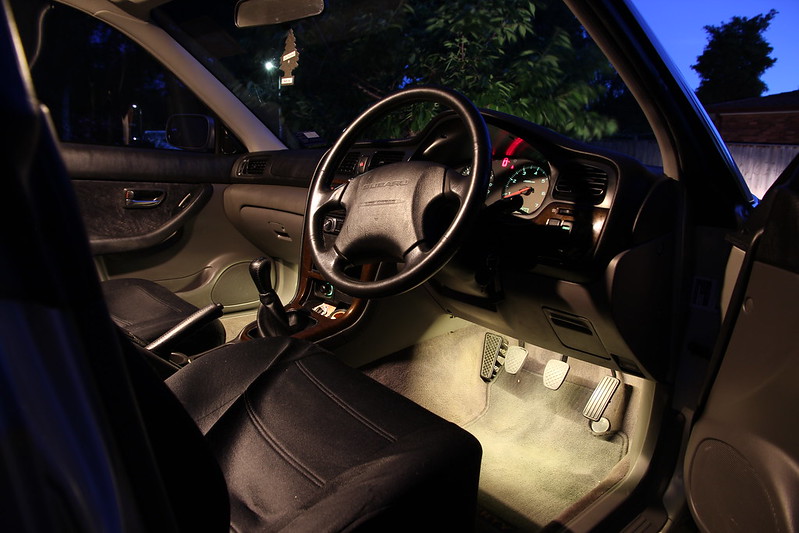
Now sit back and wait until it gets dark, or go to a dark place, and marvoul at your amazing mechanical apptitude and manual dextrous abilities!
Here are my results:
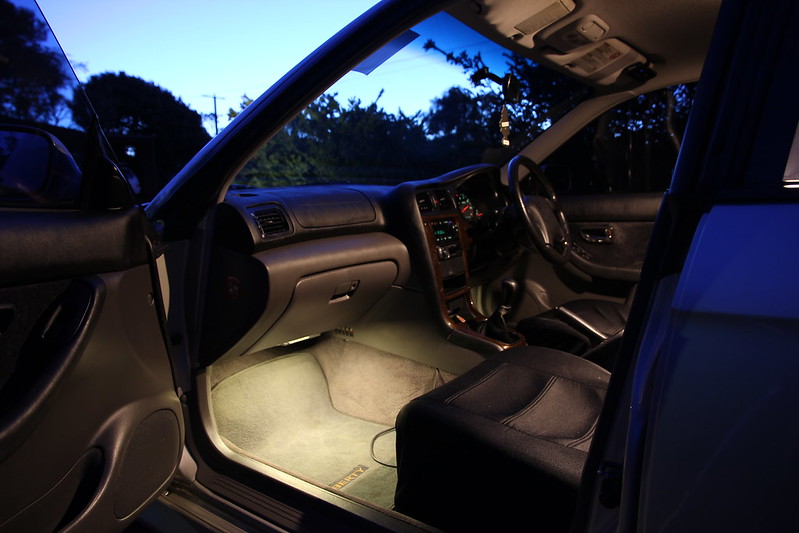
Thanks for reading and be sure to post up your results for everyone else to see!!!