
Niceeeeee, Looks like you're not the only one that think 86 platform has locked up potential.
Nice photos. Would have loved to come out and give it a look.
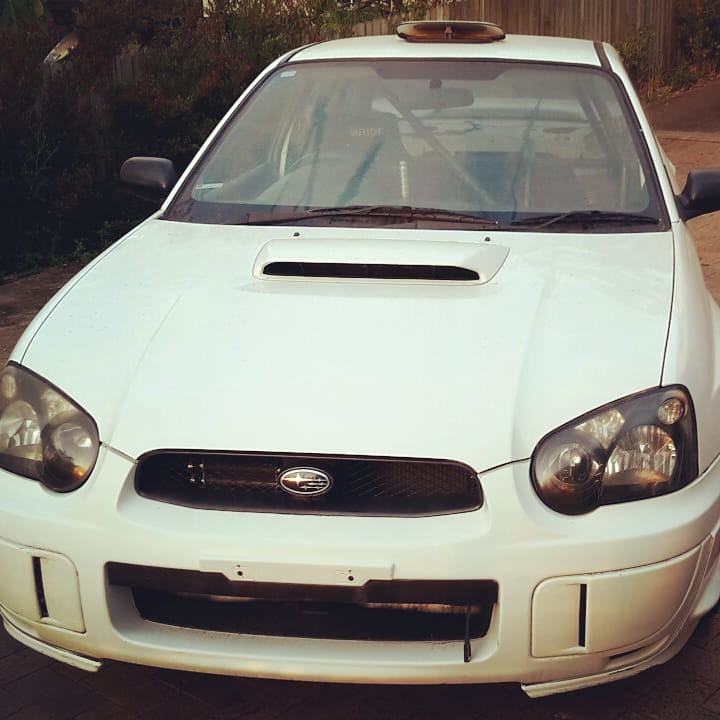
Weird how a lot of the big hitters choose the 86 platform.
Same

New Member

Posted 16 October 2018 - 06:37 AM
Niceeeeee, Looks like you're not the only one that think 86 platform has locked up potential.
Nice photos. Would have loved to come out and give it a look.
Weird how a lot of the big hitters choose the 86 platform.
Same
Regular Member
Posted 16 October 2018 - 07:08 AM
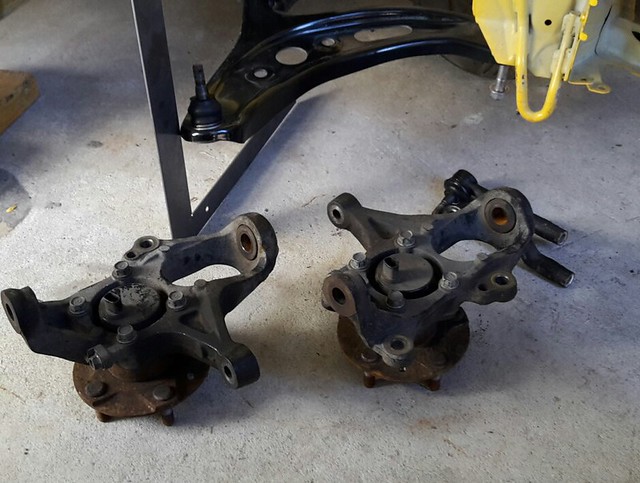
It's a light weight RWD without being a convertible and has exceptionally good low drag body design from factory. It also has a very large engine bay meaning you could put almost any motor in it.
Follow me on Insta: @brzdiy
New Member
Posted 16 October 2018 - 07:39 AM
Agreed its a great platform, except Subaru said they cant fit in a turbo but the community managed to with in V8s lol If they just made a turbo STI model they would of killed it.
Regular Member
Posted 16 October 2018 - 06:49 PM


Follow me on Insta: @brzdiy
New Member
Posted 17 October 2018 - 11:29 AM
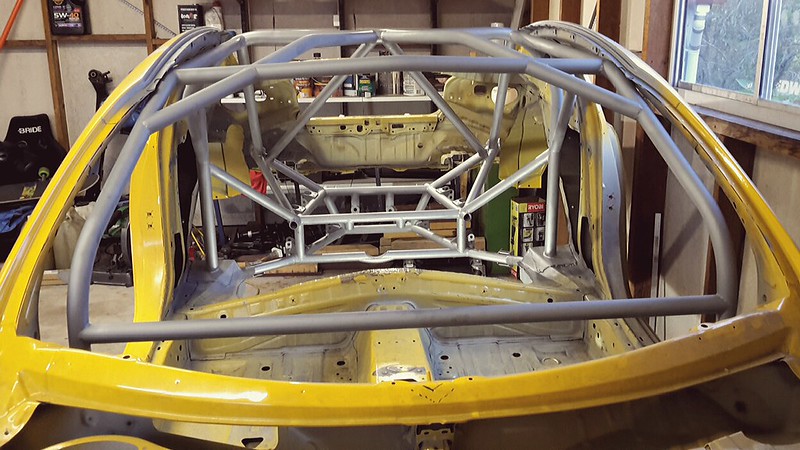
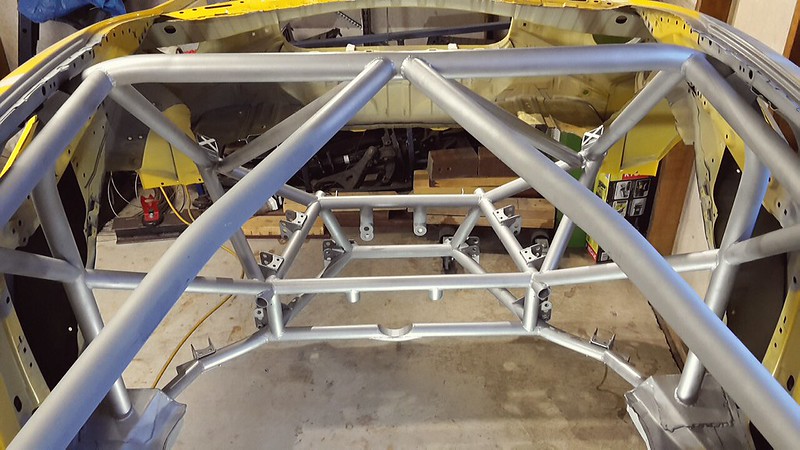
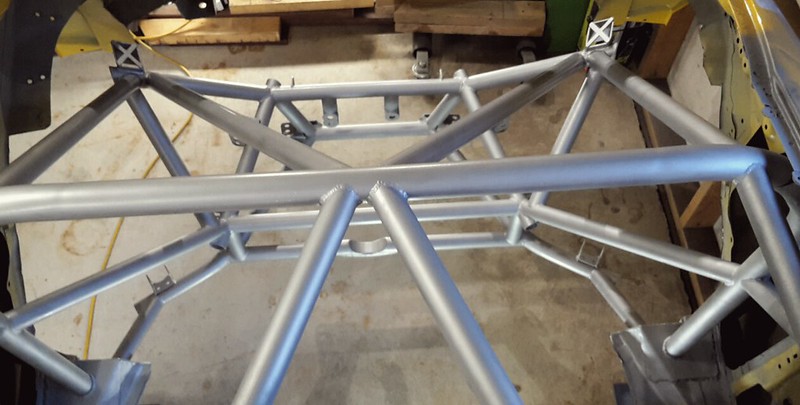
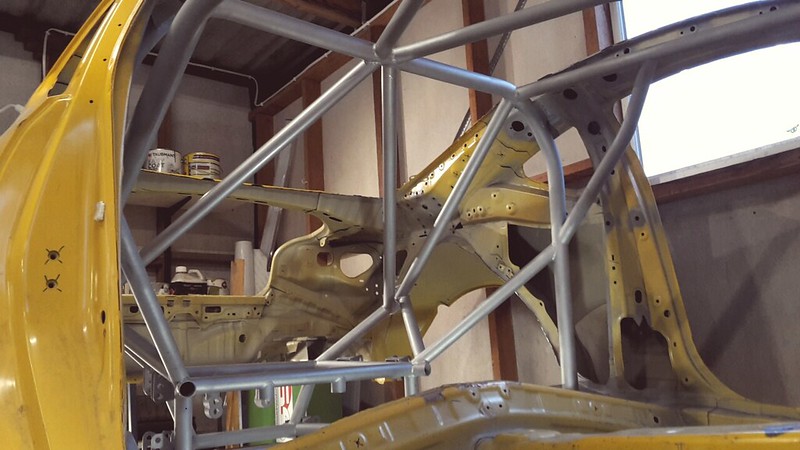
Nice work there, clean!
Touring Bruce

Posted 17 October 2018 - 01:58 PM
amazing as usual

Regular Member
Posted 18 October 2018 - 07:45 PM
Follow me on Insta: @brzdiy
Member's Member

Posted 19 October 2018 - 05:50 PM

Rock'n the old Skool

Posted 19 October 2018 - 09:05 PM

Regular Member
Posted 20 October 2018 - 08:46 AM
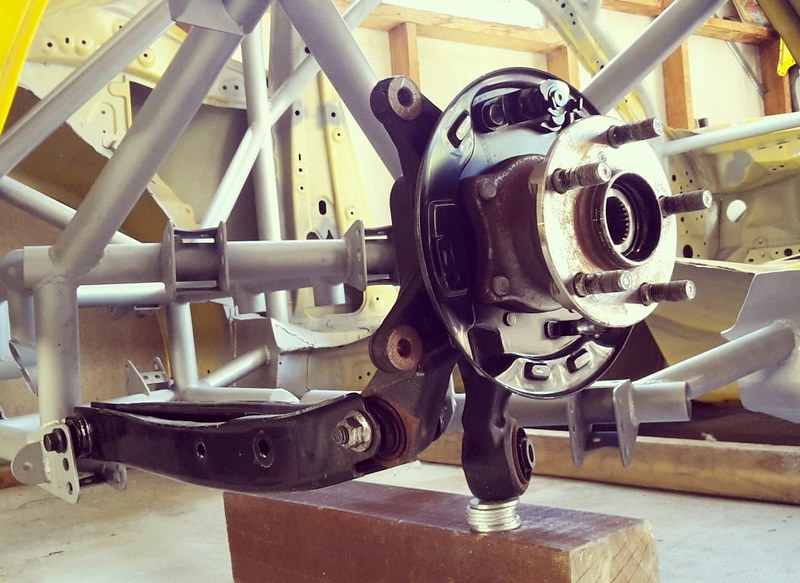
I have Hardrace adjustable LCAs if you want them.
Follow me on Insta: @brzdiy
Member's Member
Posted 20 October 2018 - 12:50 PM
Regular Member
Posted 20 October 2018 - 01:11 PM
$350, or I could install them and give you my stock ones [emoji23].
But would have thought you'd knock some up yourself.
Follow me on Insta: @brzdiy
Regular Member
Posted 27 October 2018 - 10:05 PM
Follow me on Insta: @brzdiy
Regular Member
Posted 11 November 2018 - 08:07 PM
I took my WRX out today for a little skidpan racing. The new hydraulic handbrake is simply awesome!
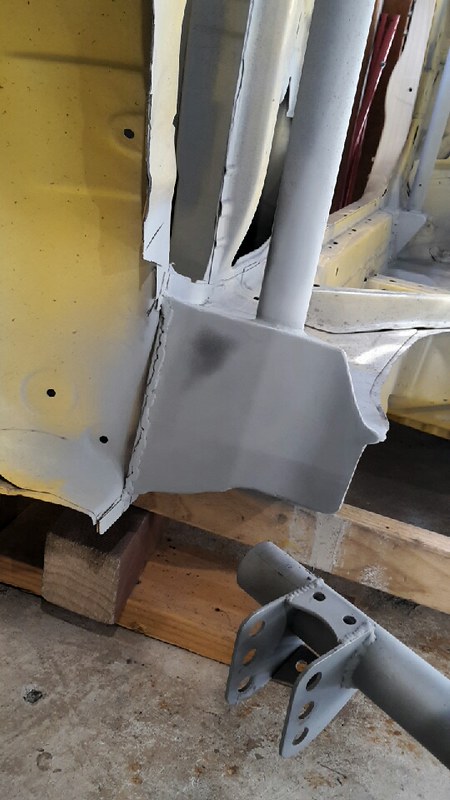
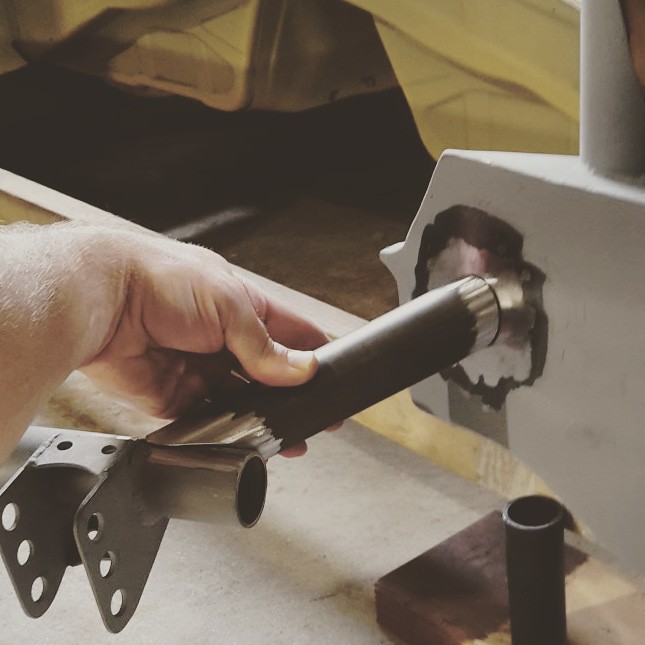
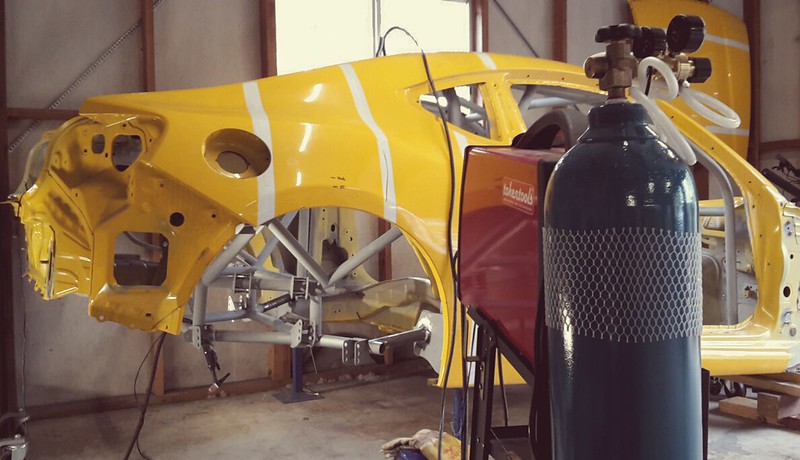
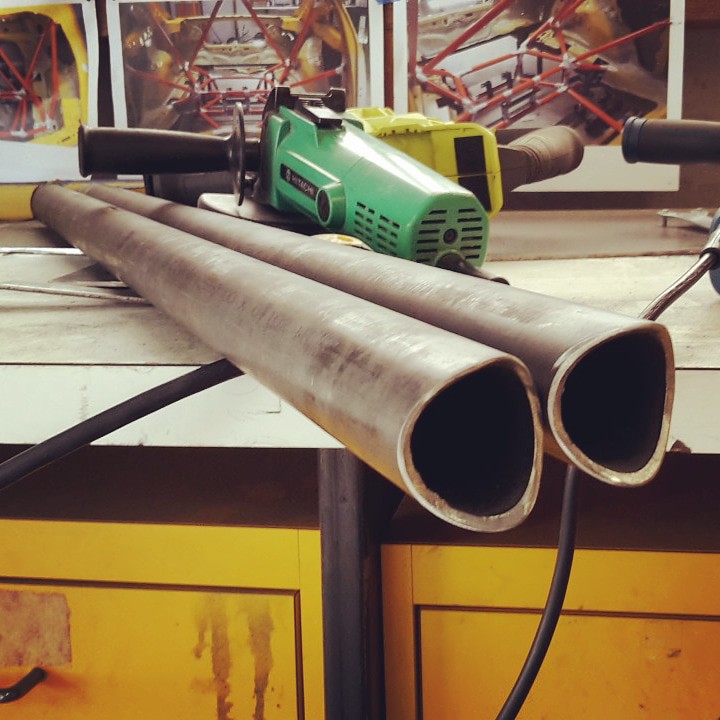
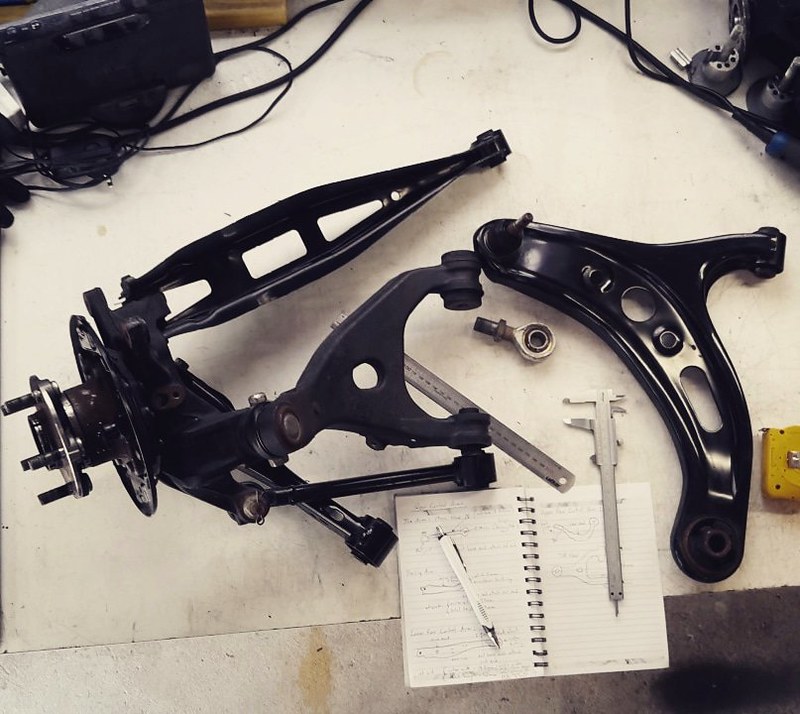
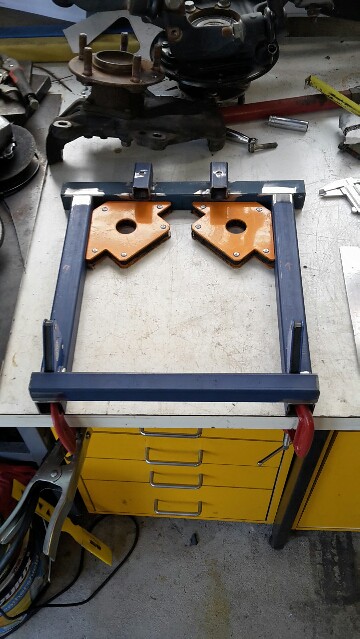
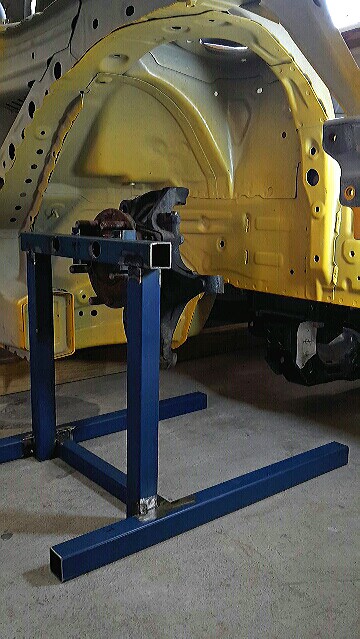
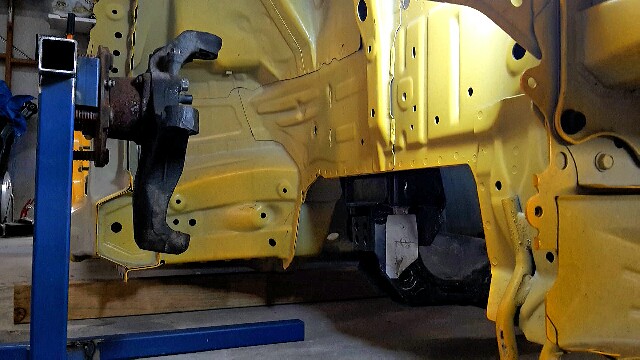
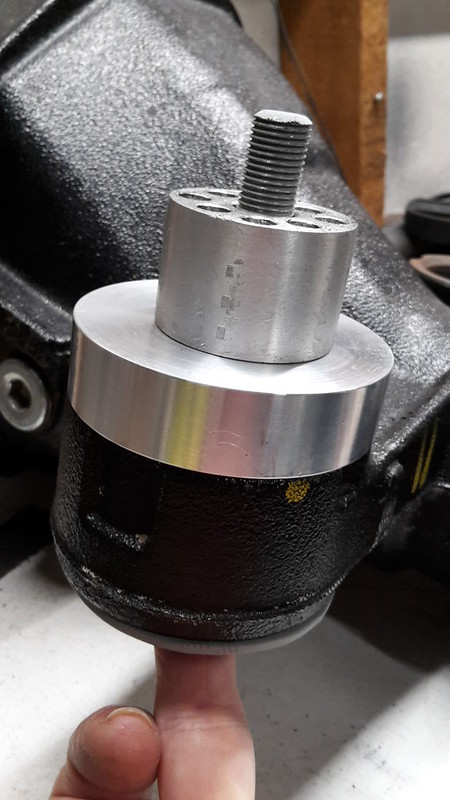
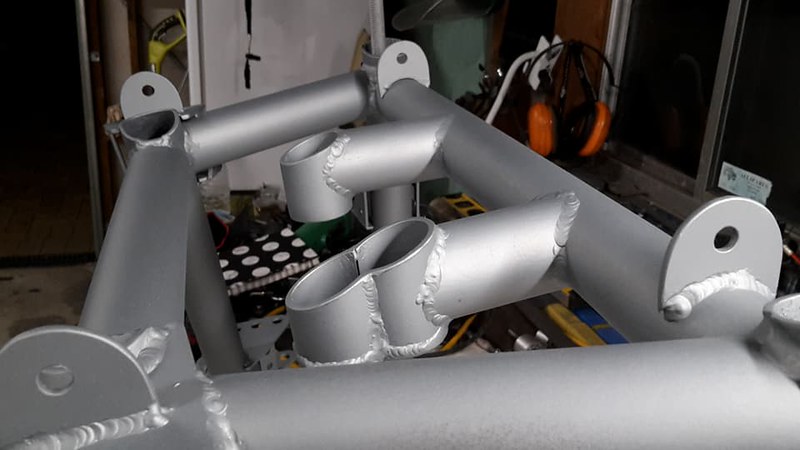
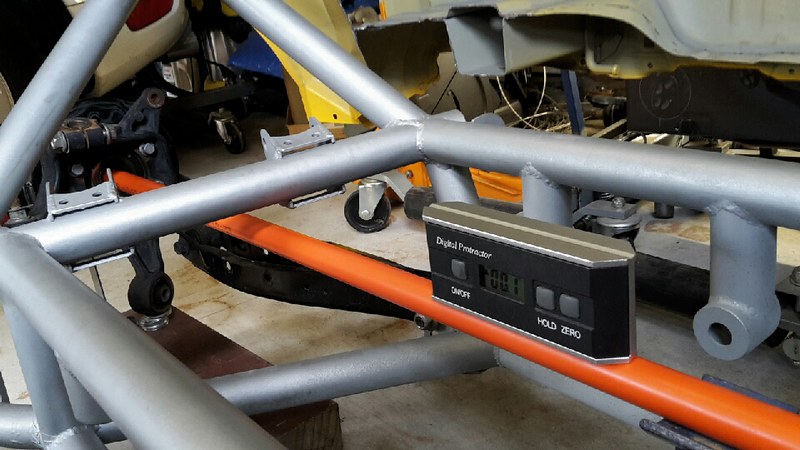
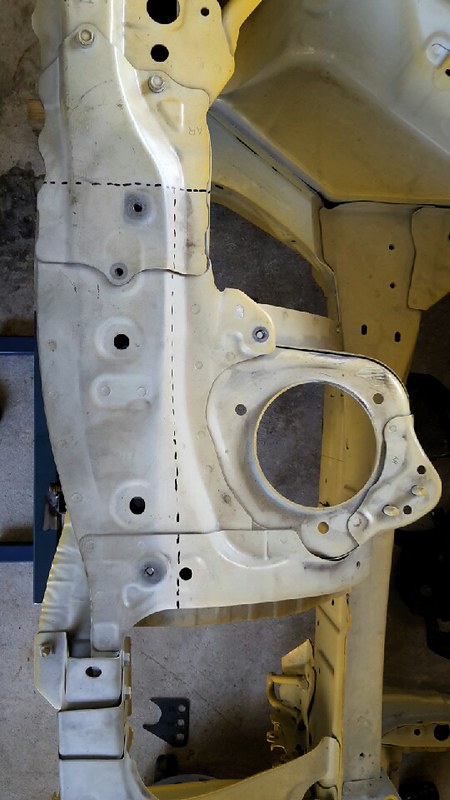
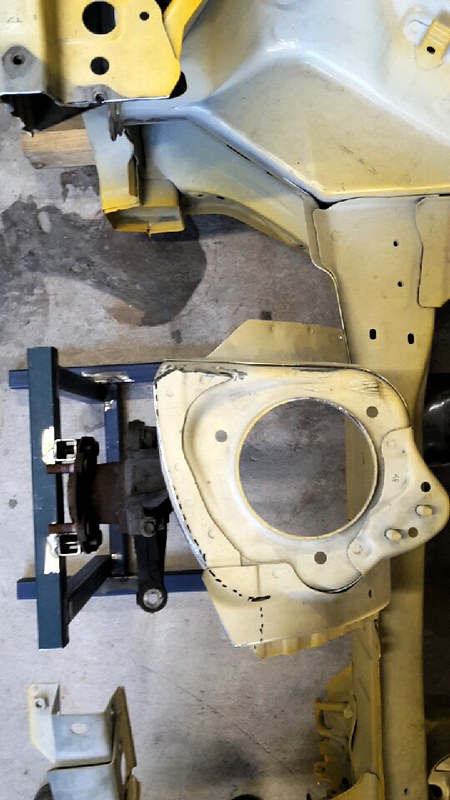
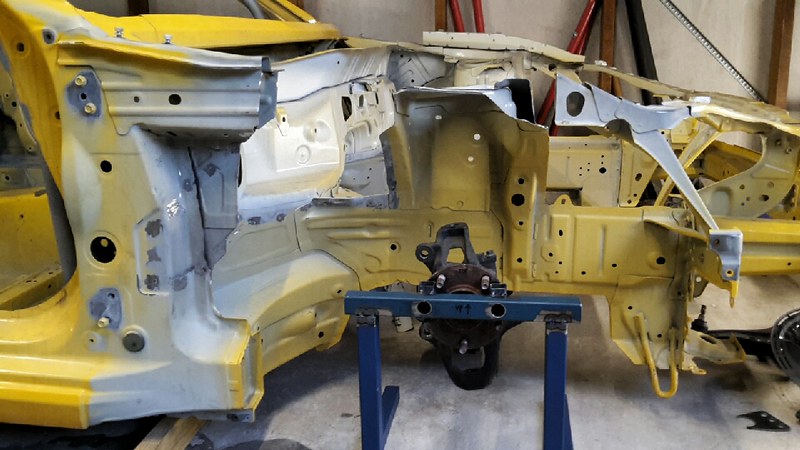
Not much happening with the BRZ right now, I'm ready to order everything I need to build the rear control arms but I want to order the parts for the front as well to save on shipping. The problem is I am undecided on how I want to do the front, part of me wants to convert it to double wishbone so I'm looking into that and doing some reading.
Follow me on Insta: @brzdiy
Regular Member
Posted 02 December 2018 - 08:56 PM
Follow me on Insta: @brzdiy
Rock'n the old Skool
Posted 02 December 2018 - 09:46 PM
Regular Member
Posted 09 December 2018 - 07:49 PM
Follow me on Insta: @brzdiy
Regular Member
Posted 16 December 2018 - 08:58 PM
Follow me on Insta: @brzdiy
Touring Bruce
Posted 17 December 2018 - 07:43 AM
This is amazing
Rock'n the old Skool
Posted 18 December 2018 - 08:54 PM
This is amazing


0 members, 0 guests, 0 anonymous users

