
The idea of the check valve is to hold water in the line above the level of the bottle. This is so the pump does not have to 'fill' the hose each time the washers are used.
I would fit it where I suggested. I doubt the water in the line would come out, assuming there are no leaks. As Buzz suggested, a vacuum would be created.
Brand 2nd-hand 1999 Liberty
Started by Merlin01, Aug 20 2009 09:39 PM
311 replies to this topic
#281

RX25SE
-

- Members
-

- 12,757 posts
...............Car nerd................ now a H6 pilot
- Gender:Male
- Location:Melbourne eastern 'burbs
- Interests:Cars with chrome bumpers!
Posted 22 December 2009 - 08:29 AM
If I told you I was a compulsive liar, would you believe me?
#282
Merlin01
-
- Members
-
- 300 posts
N/A
- Gender:Male
- Location:Adelaide
Posted 22 December 2009 - 07:46 PM
This still has me puzzled....
The Parts guy at Subaru told me that his Full Parts Listing for my model has this valve marked as an additional component - ie. not original, but when I spoke to the Service guy, he told me his Partial Parts listing shows the valve as standard - and he used my VIN# to check the part#.....
The service guy is the one who rang me (last night) and told me to put it as close to the RHS nozzle as possible, because that's where it's located on his exploded parts view....
Still makes me wonder which models have it as standard though - as it appears even Subaru Parts and Service personnel can't agree.....
#283
Merlin01
-
- Members
-
- 300 posts
N/A
- Gender:Male
- Location:Adelaide
Posted 24 December 2009 - 03:32 PM
Mark another one up to my own stupidity and lack of attention to detail....
When I first looked at the nozzle, I removed the rubber elbow connector from the nozzle directly - I didn't however remove the line leading to the elbow connector. My assuption was the elbow connector fitted inside the feed line - it doesn't. The Check Valve is what joins the feed line to the elbow connector.
Anyways, on to another matter.
Had to go to my step-fathers funeral yesterday (67yrs old - Liver Cancer).  Ended up taking some passengers in the back seats for the first time. Didn't take long to realise the RH rear door doesn't open from the inside. Double checked the Child Safety switch and still no-worky. Opens from outside, but nada from inside.
Anyone had this problem?
Best guess if something is broken and needs replacing or something has fallen off and needs adjusting?
Either way I don't like the idea of taking the trim off, just in case it never goes back on properly...
Ended up taking some passengers in the back seats for the first time. Didn't take long to realise the RH rear door doesn't open from the inside. Double checked the Child Safety switch and still no-worky. Opens from outside, but nada from inside.
Anyone had this problem?
Best guess if something is broken and needs replacing or something has fallen off and needs adjusting?
Either way I don't like the idea of taking the trim off, just in case it never goes back on properly...  Suggestions?
Ended up taking some passengers in the back seats for the first time. Didn't take long to realise the RH rear door doesn't open from the inside. Double checked the Child Safety switch and still no-worky. Opens from outside, but nada from inside.
Anyone had this problem?
Best guess if something is broken and needs replacing or something has fallen off and needs adjusting?
Either way I don't like the idea of taking the trim off, just in case it never goes back on properly...
Suggestions?
#284
RX25SE
-
- Members
-
- 12,757 posts
...............Car nerd................ now a H6 pilot
- Gender:Male
- Location:Melbourne eastern 'burbs
- Interests:Cars with chrome bumpers!
Posted 25 December 2009 - 11:04 AM
Sorry to hear of your step fathers passing.
As far as the door goes. Pull the trim off and see if the linkage from the internal handle to the latch is still connected. If so, see if it can pull the latch far enough to open, if not you may need to bend the linkage a bit. You can set the latch with the door open (as if it were closed) to test it.
Merry Christmas.
J
If I told you I was a compulsive liar, would you believe me?
#285
Merlin01
-
- Members
-
- 300 posts
N/A
- Gender:Male
- Location:Adelaide
Posted 25 December 2009 - 06:45 PM
Thanks Jase,
Anything noteworthy about taking the trim off? Wires etc. for electric windows??
Will try and have a look tomorrow, once I get over this feeling like a hippo after lunch today  Hope you had a great day too!
Hope you had a great day too!
#286
Alex
-

- Members
-
- 8,230 posts
NO AIDS
- Gender:Male
Posted 25 December 2009 - 10:36 PM
Sorry to hear about your loss Merlin.
Removal should require screw removal on the arm rests. The rest of it should be held on with plastic snap lock thingos (sorry.. plenty of egg nog)
Best to have someone experienced watch over you to give you pointers, else, be careful about removing things. remember, excessive force breaks things!
#287
Merlin01
-
- Members
-
- 300 posts
N/A
- Gender:Male
- Location:Adelaide
Posted 25 December 2009 - 11:00 PM
Thanks Alex - such is life.
Just had a look at the workshop manual - says:
1) Pull up inner remote cover toward you to remove upper hook. Pull down it to remove lower claw. Remove inner remote cover.
CAUTION: Do not apply excessive force to clip. Otherwise the clip may be broken.
2) Remove two hook of switch panel to remove power window sub switch and disconnect electrical connector.
3) Remove three screws and clips.
4) Remove seven clips of trim panel using clip remover to remove trim panel.
So, don't use brute force - check.
But I have no idea what a clip remover is.... sounds like some custom tool - like ultra-thin pointy nose pliers or something... Hope I don't have to break one to find out how they are best removed.... Surely there has to be a back-yard method without destroying clips?
#288
SUBARU
-

- Members
-
- 2,542 posts
Massive Member
- Gender:Male
- Location:Melbourne.
Posted 26 December 2009 - 03:36 AM
Dude, just unscrew the screws and pop off the trim. It's one of the easiest diy's around!! You don't need any fancy tools and as for he power window connectors etc, easy. Is just like Lego.
Only caution is to not damage the trim when popping off the power window switch and to make sure you line up the hanger properly when remounting the trim so the the clips pop back in nice and easily.
As for the door not opening from he inside.... Is probably the lever arm having come loose or the child lock jammed on?? Hard to say really, but shouldn't be a big job.
Just get out there and give it a go oh cautious one....
#289
RX25SE
-
- Members
-
- 12,757 posts
...............Car nerd................ now a H6 pilot
- Gender:Male
- Location:Melbourne eastern 'burbs
- Interests:Cars with chrome bumpers!
Posted 26 December 2009 - 03:15 PM
Alex and Chris are on the money.
The only thing I could add would be to use a large flat tool (such as a 25mm paint scraper, steel ruler, etc) with a twisting action to pop off the door trim clips.
Have you tried frigging around with the child lock with the door lock in different positions?
If I told you I was a compulsive liar, would you believe me?
#290
Merlin01
-
- Members
-
- 300 posts
N/A
- Gender:Male
- Location:Adelaide
Posted 26 December 2009 - 03:43 PM
Well, it's fixed! Thanks for the tips once again.
It was the rod from the door lever itself. I don't know how but it had come out of the hole it was supposed to be in. Fixing it wasn't without issues though;
The 90' bend in the rod that fits in the hole in the lever wouldn't go back in the hole without taking the remote assembly out (easy - 3 clips)
Once the rod was back in the hole, it wouldn't stay in there while pulling the leaver - it'd just slip out.
Modified the angle a little with some pliers and it stayed put, however because of the angle, the leaver would not spring back into its original position - it just stuck out about an inch.
More plier modification to a different axis and finally it worked as it should.
One other problem - when I took the remote assembly out, a small rubber plug type thing fell out from the back of the assembly. I spent about 15mins trying to fit it back in any orifice that looked big enough to hold it.... In the end I could not secure it anywhere and didn't find a practical application for it. Said rubber plug:

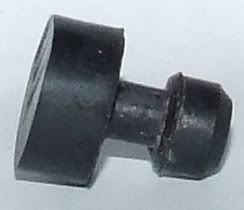
So just put everything back together without it..... Didn't want to but had to.
I know it's not good to be left with spare parts after a job, but I'll keep it for a rainy day just in case.
Thanks again for everyone's help.
It was the rod from the door lever itself. I don't know how but it had come out of the hole it was supposed to be in. Fixing it wasn't without issues though;
The 90' bend in the rod that fits in the hole in the lever wouldn't go back in the hole without taking the remote assembly out (easy - 3 clips)
Once the rod was back in the hole, it wouldn't stay in there while pulling the leaver - it'd just slip out.
Modified the angle a little with some pliers and it stayed put, however because of the angle, the leaver would not spring back into its original position - it just stuck out about an inch.
More plier modification to a different axis and finally it worked as it should.
One other problem - when I took the remote assembly out, a small rubber plug type thing fell out from the back of the assembly. I spent about 15mins trying to fit it back in any orifice that looked big enough to hold it.... In the end I could not secure it anywhere and didn't find a practical application for it. Said rubber plug:
So just put everything back together without it..... Didn't want to but had to.
I know it's not good to be left with spare parts after a job, but I'll keep it for a rainy day just in case.
Thanks again for everyone's help.
#291
Merlin01
-
- Members
-
- 300 posts
N/A
- Gender:Male
- Location:Adelaide
Posted 26 December 2009 - 03:45 PM
Ended up just slipping my hand between the door frame and the trim and gently coaxed them out....Alex and Chris are on the money.
The only thing I could add would be to use a large flat tool (such as a 25mm paint scraper, steel ruler, etc) with a twisting action to pop off the door trim clips.
Wasn't as bad as I thought it was gonna be..

#292
RX25SE
-
- Members
-
- 12,757 posts
...............Car nerd................ now a H6 pilot
- Gender:Male
- Location:Melbourne eastern 'burbs
- Interests:Cars with chrome bumpers!
Posted 26 December 2009 - 05:00 PM
Well, it's fixed!
WIN
If I told you I was a compulsive liar, would you believe me?
#293
Merlin01
-
- Members
-
- 300 posts
N/A
- Gender:Male
- Location:Adelaide
Posted 03 January 2010 - 06:40 PM
Well today was the day of suspension swap overs..... Front & Rear Springs & Shocks.... (and finish painting Callipers & Rotors - Thanks for all your advice Mark)
Had a Win and an epic Loss with the Suspension though: 
First I did the fronts because I thought they would be harder, also invited my Dad over to supervise just in case I accidentally tried to kill myself. All went well apart from rebuilding the first one with the big washer in the wrong place, but all in all not that hard and not that long to do - took us about 2.5hrs including preparing and painting the callipers. My housemate borrowed a torque wrench from work so did the two big bolts up to 129 ft-lb as suggested, no drama...
Feeling quite confident we then switched our attention to the rears, thinking this will be a walk in the park compared to the fronts - OMG! - What a freaking disaster.
This one freaking bolt on the bottom of the shock would not budge - AT ALL!
I consulted the manual and found out that this bolt had a spec. of 160 ft-lb. YOUR F*&%ing KIDDING ME!!! Couldn't get the car high enough to get enough leverage with the breaker bar, and even when we thought we had enough leverage - it's position made it difficult to get enough weight behind it to crack the stupid thing. Enter WD-40, and still nothing. I thought about chucking in the towel when I noticed the 15" breaker bar bending under load... THIS IS RIDICULOUS!!!
Both sides were the same, not even a hint of cracking them free.............
Resigned to the fact we couldn't do it, we considered acquiring a rattle gun and compressor (loaned), surely Rattle Guns have enough torque behind them to loosen 160 ft-lb?????? Either that or I'm gonna get spun around on the other end of it....
Better still, I may just pay Pedders $100 odd bucks and get them to install them. I didn't even realise the rears were 160 ft-lb..... The 18" (T&E Tools) Tension Wrench I borrowed only went up to 150 ft-lb, so I wouldn't be able to get it up to spec. anyway......
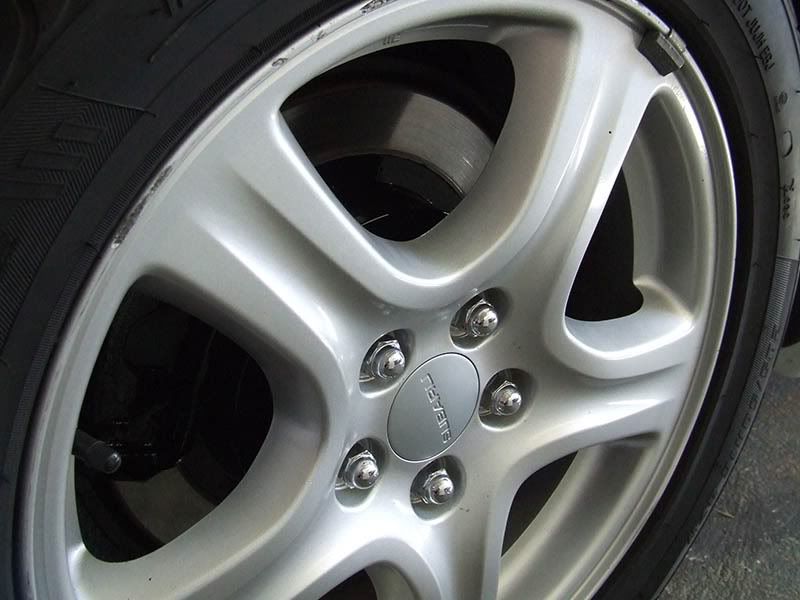
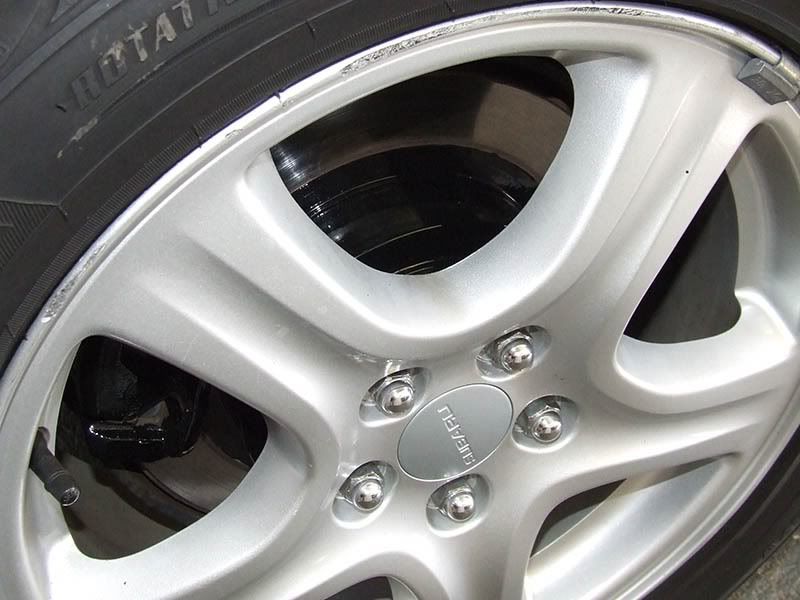
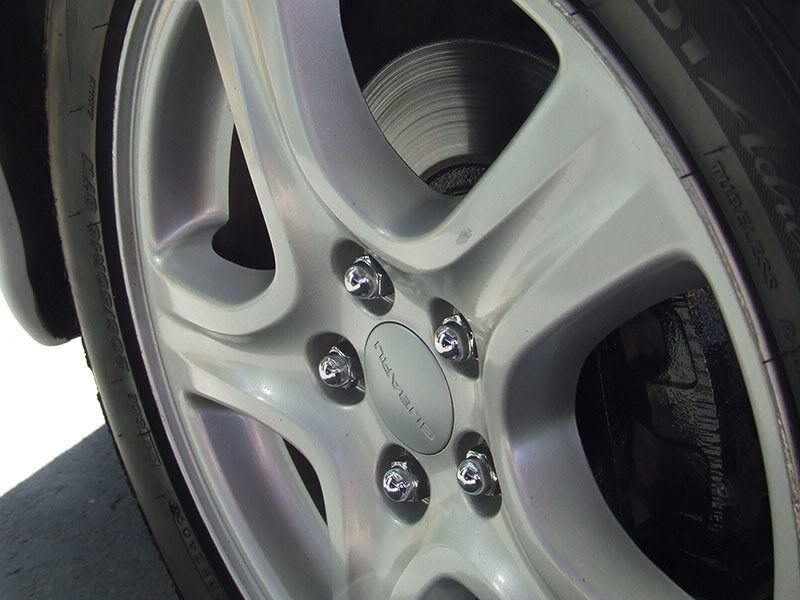
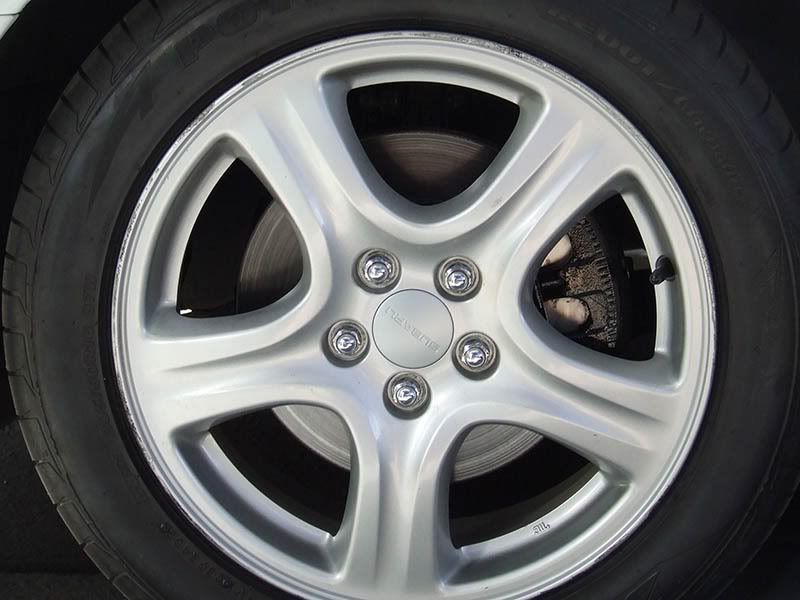
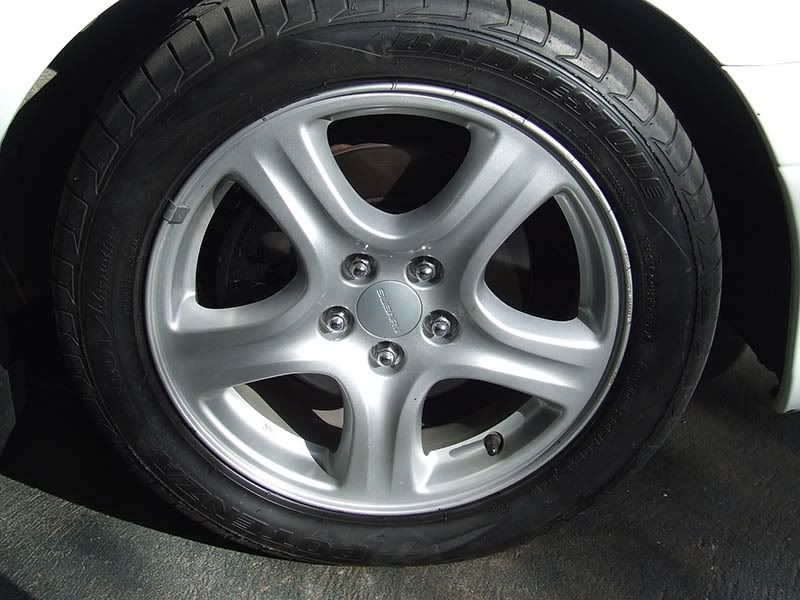
Anyways, the Rotor Hubs and Callipers came up alright after one coat of KillRust Black. Put it all on with a brush and learnt a little about painting along the way. Have yet to apply a second coat all round and have yet to clean up a bit of spillage on the exterior pads as one of the following photos shows.
Not great lighting (or photo's for that matter) but thought about it after all the wheels were back on. (sorry).

Had a Win
and an epic Loss with the Suspension though: First I did the fronts because I thought they would be harder, also invited my Dad over to supervise just in case I accidentally tried to kill myself. All went well apart from rebuilding the first one with the big washer in the wrong place, but all in all not that hard and not that long to do - took us about 2.5hrs including preparing and painting the callipers. My housemate borrowed a torque wrench from work so did the two big bolts up to 129 ft-lb as suggested, no drama...
Feeling quite confident we then switched our attention to the rears, thinking this will be a walk in the park compared to the fronts - OMG! - What a freaking disaster.
This one freaking bolt on the bottom of the shock would not budge - AT ALL!
I consulted the manual and found out that this bolt had a spec. of 160 ft-lb. YOUR F*&%ing KIDDING ME!!! Couldn't get the car high enough to get enough leverage with the breaker bar, and even when we thought we had enough leverage - it's position made it difficult to get enough weight behind it to crack the stupid thing. Enter WD-40, and still nothing. I thought about chucking in the towel when I noticed the 15" breaker bar bending under load... THIS IS RIDICULOUS!!!
Both sides were the same, not even a hint of cracking them free.............
Resigned to the fact we couldn't do it, we considered acquiring a rattle gun and compressor (loaned), surely Rattle Guns have enough torque behind them to loosen 160 ft-lb?????? Either that or I'm gonna get spun around on the other end of it....
Better still, I may just pay Pedders $100 odd bucks and get them to install them. I didn't even realise the rears were 160 ft-lb..... The 18" (T&E Tools) Tension Wrench I borrowed only went up to 150 ft-lb, so I wouldn't be able to get it up to spec. anyway......
Anyways, the Rotor Hubs and Callipers came up alright after one coat of KillRust Black. Put it all on with a brush and learnt a little about painting along the way. Have yet to apply a second coat all round and have yet to clean up a bit of spillage on the exterior pads as one of the following photos shows.
Not great lighting (or photo's for that matter) but thought about it after all the wheels were back on. (sorry).
#294
CRUISN
-
- Members
-
- 6,970 posts
Doin it my way.
- Gender:Male
- Location:Melbourne
- Interests:Family, Surfing, Cars.
Posted 03 January 2010 - 08:01 PM
Nice painting mate.  A rattle gun should fix your sticky bolt problems.
A rattle gun should fix your sticky bolt problems.
OEM+
#295
SAV84C
-

- Members
-
- 3,480 posts
Regular Member
- Gender:Male
- Location:Sydney
Posted 03 January 2010 - 09:06 PM
Nice painting mate.
A rattle gun should fix your sticky bolt problems.
As cruisn suggested... One of the best investment u'll make... 1.5hp Air compressor and all the components go with...
Come to think of u just missed out on 20% off at supershit storewide
#296
Merlin01
-
- Members
-
- 300 posts
N/A
- Gender:Male
- Location:Adelaide
Posted 04 January 2010 - 08:47 PM
Went walking through S/Cheap today and spotted a small one that did up to 230ft/lb... (Don't know how big the compressor needs to be to run it though)As cruisn suggested... One of the best investment u'll make... 1.5hp Air compressor and all the components go with...
Come to think of u just missed out on 20% off at supershit storewide
However, the price in-store was $99.99, but when I got home to look it up online, they are listed as $39.99 on their website.
Llink
Plus $10 for delivery I can get one shipped to me for half the price of walking into their shop.....
Reasonable???
#297
buzzda
-

- Members
-
- 3,370 posts
Regular Member
- Gender:Male
Posted 05 January 2010 - 08:03 AM
Hey mate, I had same prob with the rear bottom bolts, rattle gun didn't work (will admit it's not a very good one)... I had to back it onto car ramps, then used the trolley jack handle on the breaker bar.
#298
Merlin01
-
- Members
-
- 300 posts
N/A
- Gender:Male
- Location:Adelaide
Posted 05 January 2010 - 04:08 PM
What brand was yours Buzz? Similar to the one I linked to above??? What was your compressor source??Hey mate, I had same prob with the rear bottom bolts, rattle gun didn't work (will admit it's not a very good one)... I had to back it onto car ramps, then used the trolley jack handle on the breaker bar.
#299
buzzda
-
- Members
-
- 3,370 posts
Regular Member
- Gender:Male
Posted 05 January 2010 - 04:48 PM
What brand was yours Buzz? Similar to the one I linked to above??? What was your compressor source??
Don't know the brand is. Was bought from SCA 8-10yrs ago, looks the same as that one in the link only it's yellow. Compressor was my bro's Kingchrome, was running @ 120psi.
#300
SUBARU
-
- Members
-
- 2,542 posts
Massive Member
- Gender:Male
- Location:Melbourne.
Posted 06 January 2010 - 07:01 AM
Had no problem getting my rear struts out. I just cracked them with the torque wrench.


0 user(s) are reading this topic
0 members, 0 guests, 0 anonymous users

