
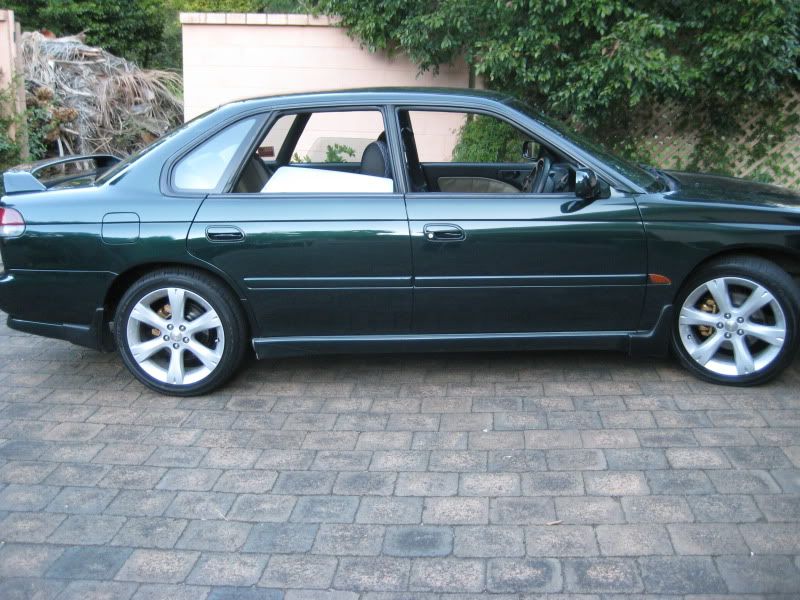
Looks ok with the green IMO. I know its not to the taste of many people on here but meh!
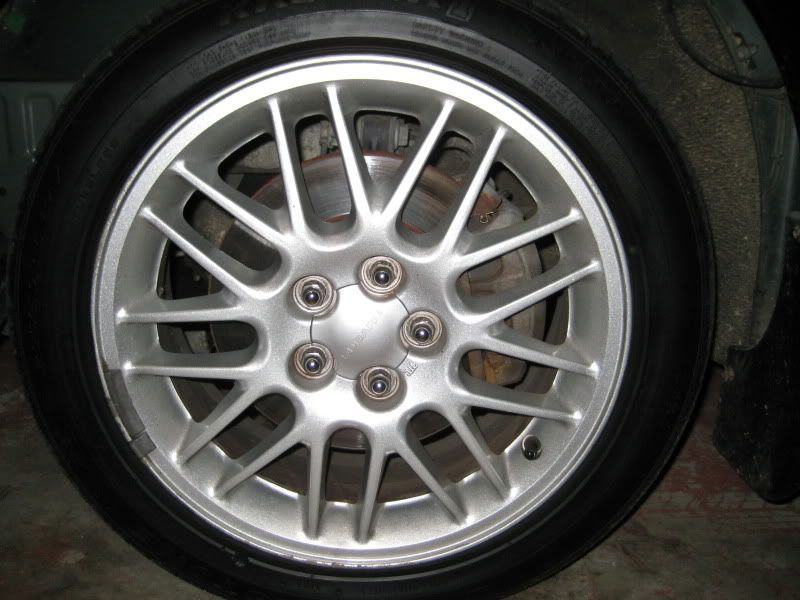
Before

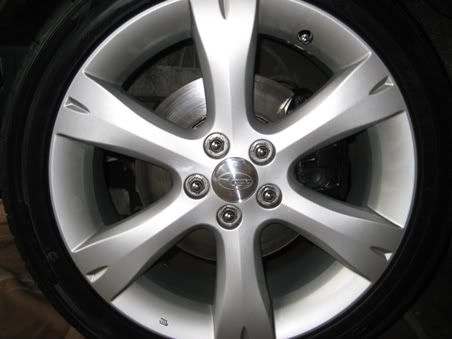
Black
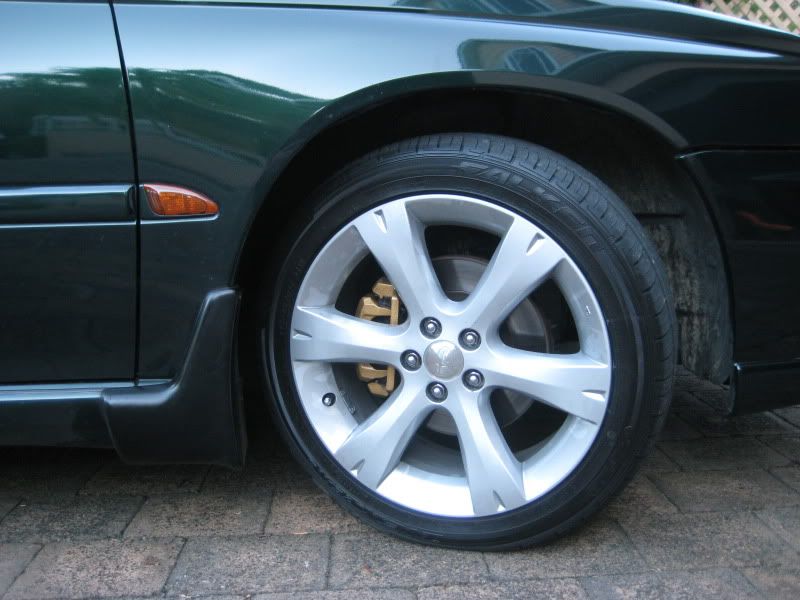
Gold
Never the less it looks better than rust


...jus waitin' 4 a m8


Posted 08 November 2009 - 11:53 AM
N/A
Posted 08 November 2009 - 12:05 PM
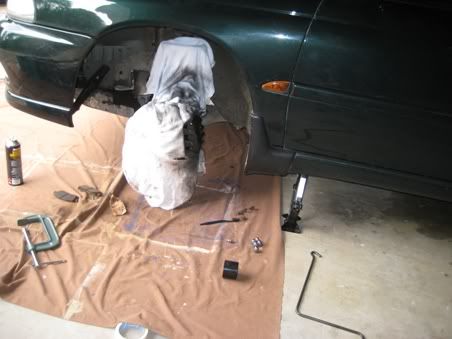
Still love those wheels Morgan!Ive done mine. I originally did them black but eventually they just got crap all over them and looked no different. So i got adventurous and did the callipers gold - but left the hubs black.
Looks ok with the green IMO. I know its not to the taste of many people on here but meh!
Never the less it looks better than rust

...jus waitin' 4 a m8
Posted 08 November 2009 - 12:11 PM
N/A
Posted 08 November 2009 - 12:20 PM
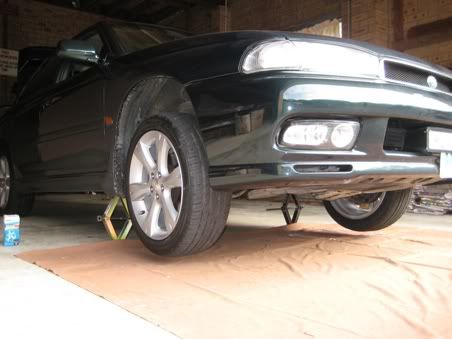
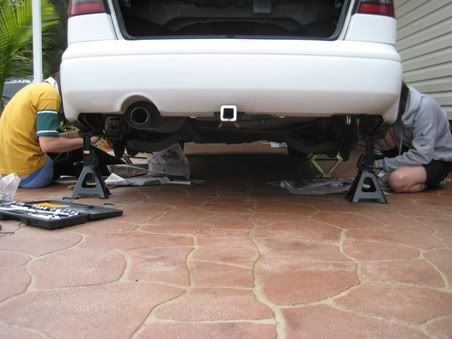
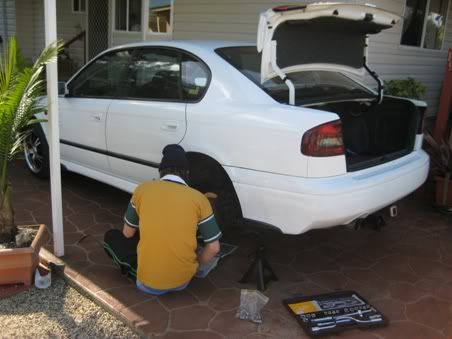
 Axle stands x 4 to do them all at once???
Regular Member

Posted 08 November 2009 - 12:28 PM

...jus waitin' 4 a m8
Posted 08 November 2009 - 12:40 PM
Regular Member
Posted 08 November 2009 - 12:57 PM
N/A
Posted 08 November 2009 - 01:44 PM
Thanks for the detailed post Morgan. +1I did front 2 first.

Did you have to take your pads out when doing it with a brush??I did'nt spray mine, i used a brush with the caliper paint, takes time but less masking...
Regular Member
Posted 08 November 2009 - 01:48 PM
Thanks for the detailed post Morgan. +1
Did you have to take your pads out when doing it with a brush??
...jus waitin' 4 a m8
Posted 08 November 2009 - 02:06 PM
Edit- BTW, that first pic with the two jacks scares the hell out of me!!!!
Regular Member

Posted 08 November 2009 - 02:10 PM
...............Car nerd................ now a H6 pilot

Posted 08 November 2009 - 02:38 PM
Me too.that first pic with the two jacks scares the hell out of me!!!!
two jacks is alright for this job as your not going under the car!
If I told you I was a compulsive liar, would you believe me?
Regular Member

Posted 08 November 2009 - 02:57 PM

N/A
Posted 08 November 2009 - 02:58 PM
NO AIDS

Posted 08 November 2009 - 04:18 PM
Regular Member
Posted 08 November 2009 - 04:53 PM
I agree with the sentiments of others. Scissor jacks are extremely dangerous. Awesome pic Mr. Buzz.
Doin it my way.
Posted 08 November 2009 - 08:18 PM
OEM+
N/A
Posted 08 November 2009 - 09:31 PM
Doin it my way.
Posted 08 November 2009 - 09:35 PM
 Wifes GT will be getting black.
OEM+
N/A
Posted 11 November 2009 - 09:52 AM


0 members, 1 guests, 0 anonymous users

